
- Updated : 15 Sept 2025
- Support URL: Support@pixelnx.com
Introduction
Inland WordPress Theme
We would like to thank you for purchasing Inland WordPress Theme! We are very pleased that you have chosen Inland WordPress Theme for your website.Before you get started, please be sure to always search our Documentation and Knowledgebase.
Inland WordPress Theme can be used with WordPress and we assume that you already have WordPress installed and ready to go. Inland WordPress Theme is a one click installation theme. If you do not, please follow this link WordPress Installation to see our section on WordPress to help you get started.
Inland WordPress Theme is a Top-Notch WordPress theme that is designed with utmost creativity. This is an awe-inspiring theme that has a one-in-class format. You cannot really find another WordPress theme as Inland WordPress Theme. It is designed very neat and clean, and 100% responsive. This theme can be accessed through Phone and Desktop alike. The layout of the Inland WordPress theme is not at all complex but handy. The sections of the theme are clearly categorized and the flow of the theme is really smooth. It contents Elementor Page Editor option to Manage shortcodes. This Classy, modern and chic theme is sure to attract visitors to the site. The aim of this theme is to provide a platform for budding architects to showcase their talent. This theme is also suitable for the ones who have aced the field of Architecture.
The theme is also integrated with AI content generator plugin, that allows you to quickly and easily generate massive content for your blogs. Utilizing the power of natural language processing technology, this plugin makes it simple to generate valuable, engaging, relevant, and high-quality content for your WordPress website. It generates and transforms text using OpenAI API. It has various features like content generation, image generation, chatbot, question and answer, generate SEO optimized content and can schedule post.
The contribution of Architects in everyone's life is priceless. The Redux Framework functionality enables Users to adjust various design and functionality features. As the architectures provide the right kind of ambiance to people whether they are in their workplace, home or strolling around. So It is important for every Architecture to have an online platform to showcase their masterpieces. As an online platform always help Artists to reach the maximum number of people.
Inland WordPress Theme is designed by professionals and is created thoughtfully. This is once in a lifetime opportunity to grab such an awesome and classy theme. Inland WordPress Theme is a perfect theme for architecture.
Created Date:
Updated Date:
Please check Live Preview:
Creative Author Portfolio:
Features
Key Features of the theme
- Content Generator
- Custom post and Page Content Writer
- Image Generator
- WP Media Images
- Chatboat
- SEO Optimizer
- Redux framework
- Elementor Page Builder
- Q&A - Question And Answer
- Single Home Pages
- Awesome Revolution Slider
- Drag And Drop Builder
- One Click Demo Installation
- Compatible With WPML
- Theme Setting Options
- Fully Responsive Design
- Latest WordPress Supports
- Easy To Customize
- Cross Browser Compatible
- Unique Shop Pages
- Animation Effects
- SEO Friendly
- WooCommerce
- Supports RTL

Installation
You can install the theme in two ways: through WordPress, or via FTP. The inland.zip file is the Installable WordPress Theme and that is what you need to use to get the theme installed. Please see the following sections for each method.
1) Installation via FTP: Prefer upload the un-zipped theme folder
2) Installation via WordPress: Install and Activate
WordPress Installation
How To Install Inland WordPress Theme! via WordPress
Step 1 – Navigate to Appearance > Themes .
Step 2 – Click Add New and click the Upload button. Navigate to find the “inland.zip” file on your computer and click “Install Now”

NOTE: From 5th step onwards all the points are same for both installation method ie WP installation and FTP installation.
FTP Installation
How To Install Inland WordPress Theme ! via FTP
Step 1 – Log into your hosting space via an FTP software.
Step 2 – Unzip the inland.zip file and only use the extracted inland theme folder.
Step 3 – Upload the extracted inland theme folder into wp-content > themes folder.
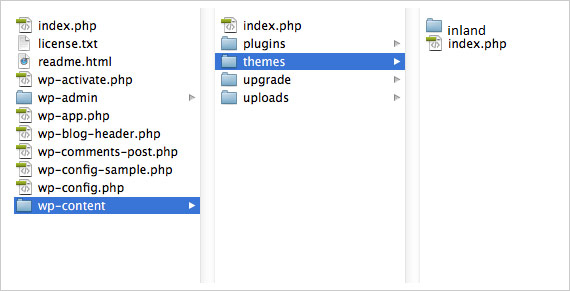
Step 4 – Navigate to the wp-dashboard and then activate the newly installed theme by going to Appearance > Themes and clicking the Activate button.
Step 5- Now You can begin Plugin installing.
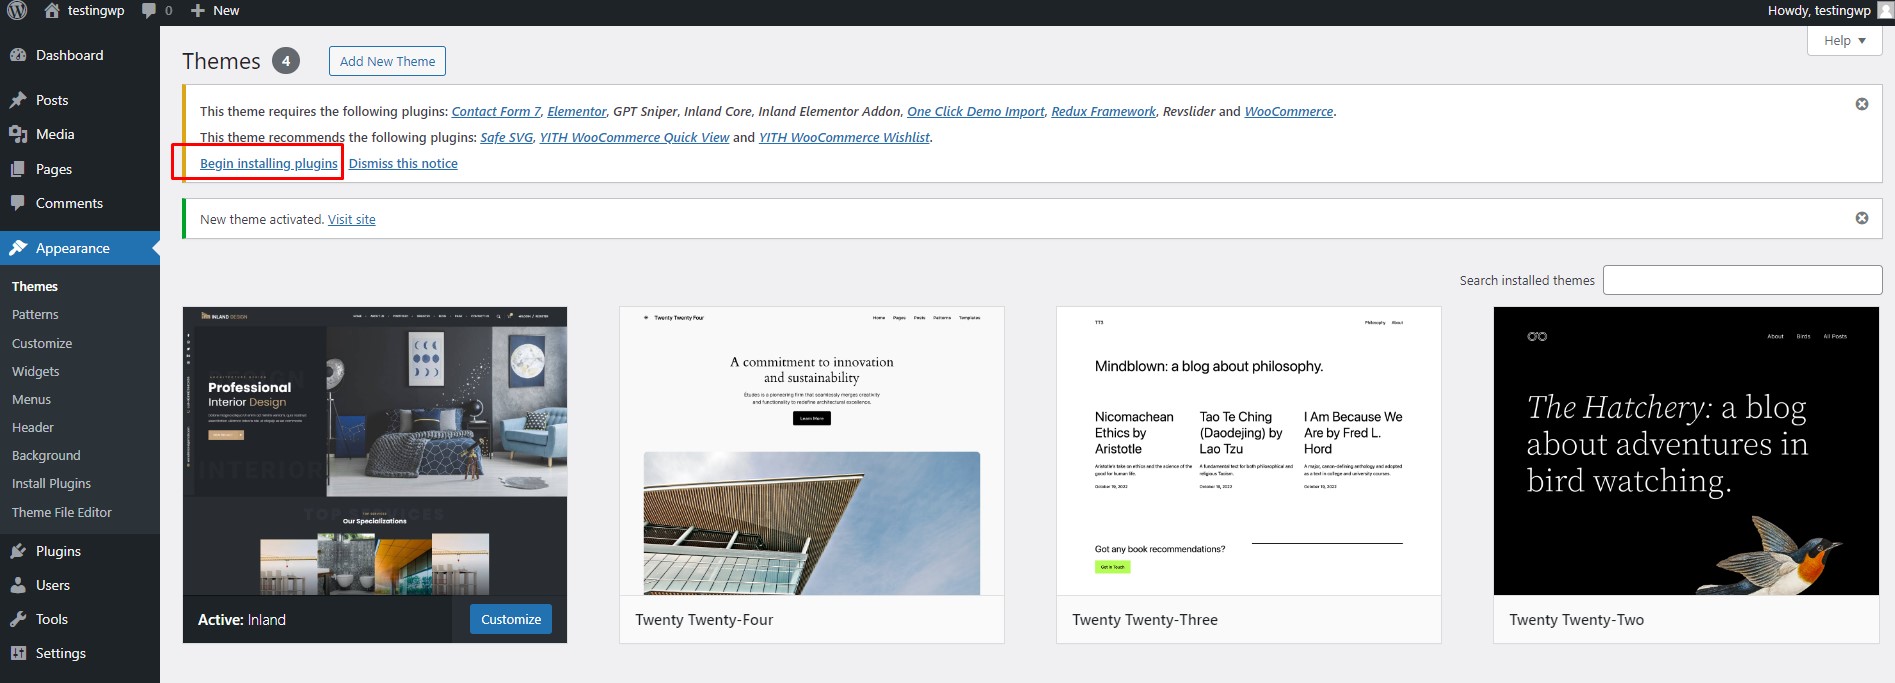
Step 6 – Below mentioned plugins are required plugins.
Plugins that will need to be installed and activated: Contact Form7, Elementor, Inland Core, Slider Revolution, Woo-Commerce Plugin are required for the theme to work, it contains all of our theme features like shortcodes and shortcode generator.
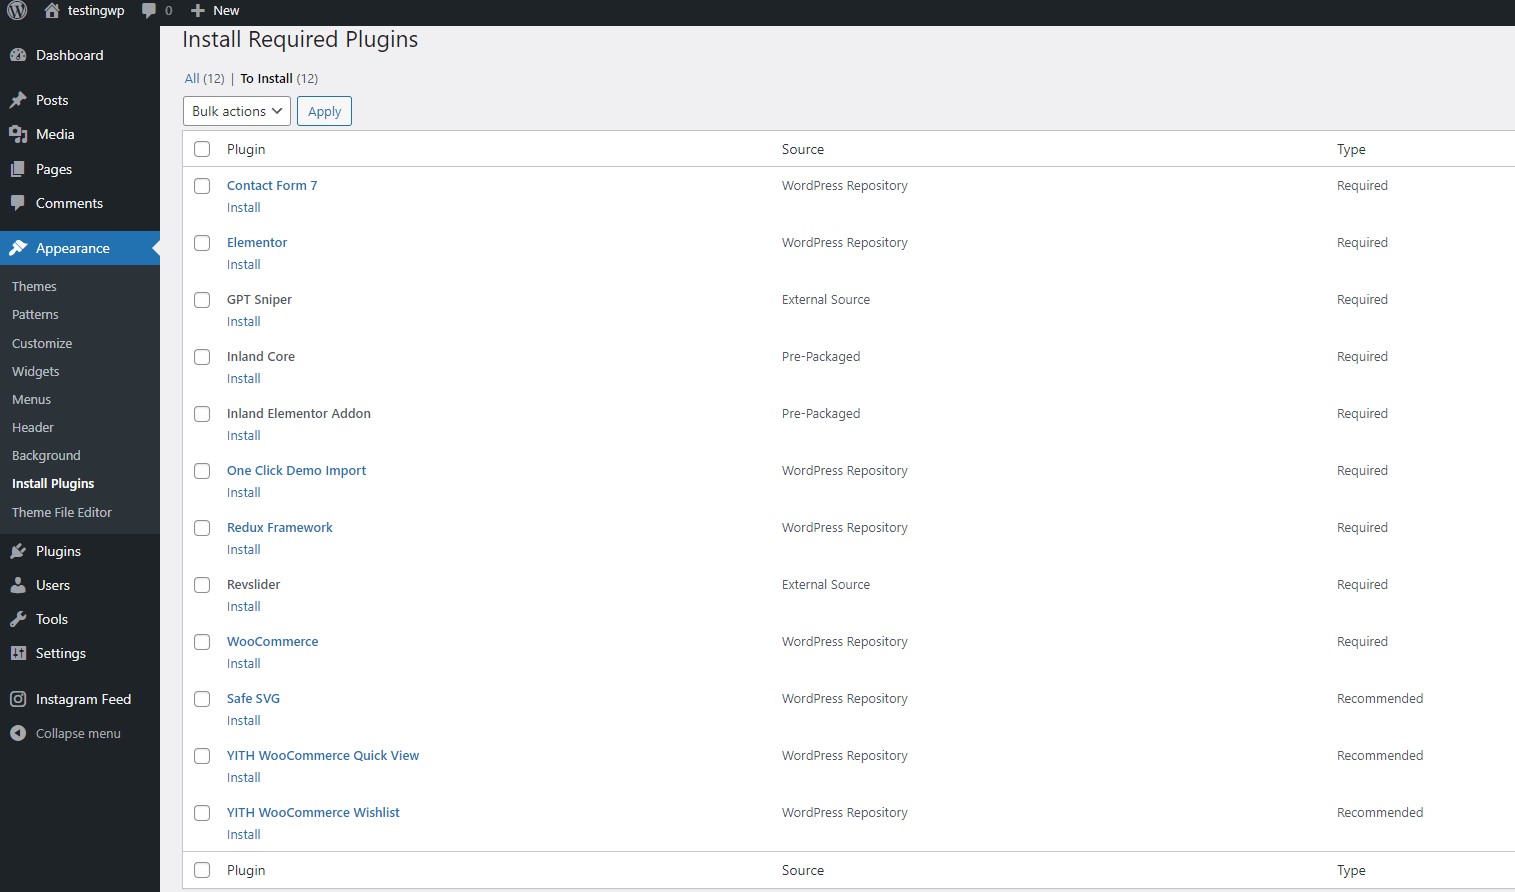
1. Elementor – Elementor is a drag-and-drop page builder for WordPress that allows Users to create custom, responsive websites without coding. It offers real-time editing, pre-built templates, and advanced customization options, with additional features in the Pro version.
2. Inland Core – This is our default plugin that is required to use Inland Theme. Please make sure this is always installed and activated.
3. Slider Revolution – Slider Revolution is an innovative, responsive WordPress Slider Plugin that displays your content the beautiful way. Whether it's a Slider, Carousel, Hero Scene or even a whole Front Page, the visual, drag & drop editor will let you tell your own stories in no time!
4. ContactForm 7 – Contact Form 7 can manage multiple contact forms, plus you can customize the form and the mail contents flexibly with simple markup.
5. Safe SVG – This plugin allows SVG uploads into WordPress and sanitizes the SVG before saving it.
6. WooCommerce Plugin – WooCommerce is a an eCommerce plugin that allows you to sell anything, beautifully. Built to integrate seamlessly with WordPress, WooCommerce is the world’s favorite eCommerce solution that gives both store owners and developers complete control.
7. GPT Sniper Plugin - This plugin allows you to quickly and easily generate massive content for your blogs.
8. Inland Elementor Addon- The Inland Elementor Addon is an extension for the Elementor page builder in WordPress, designed to provide additional widgets, design elements, and functionality. It enhances Elementor's core features, offering more creative options like advanced sliders, pricing tables, image galleries, and various styling enhancements, enabling Users to create more complex and visually appealing websites.
10. One Click Demo Import-The One Click Demo Import plugin for WordPress allows Users to easily import demo content, such as pages, posts, widgets, and theme settings, with a single click. It is commonly used with themes that offer pre-built demo websites, enabling Users to quickly set up their site to look exactly like the theme demo, which can then be customized further. This plugin simplifies the process of building a website, especially for beginners.
11. Redux framework-The Redux Framework plugin is a tool to create customizable settings panels and options for themes and plugins. It enables Users to adjust various design and functionality features through the WordPress admin area without coding.
Demo Import
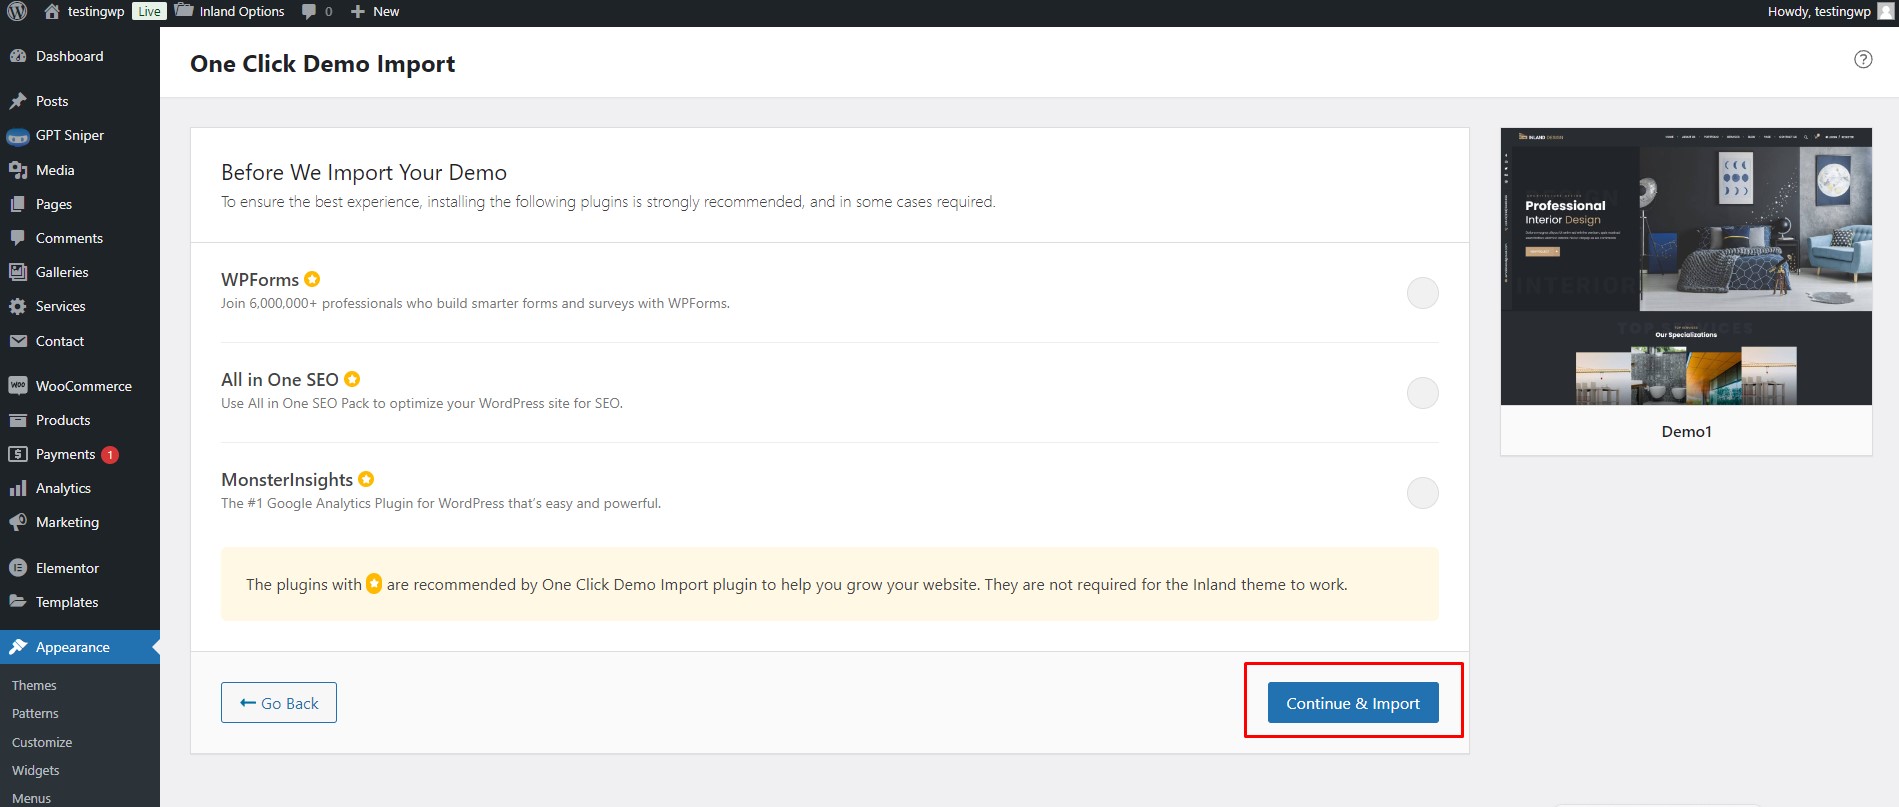
To install the dummy content as shown in the live preview, go to Appearance > Import Demo Data. You'll see the demo options here, and you can select and install the demo from this section. After selecting the demo, click "Import Demo."
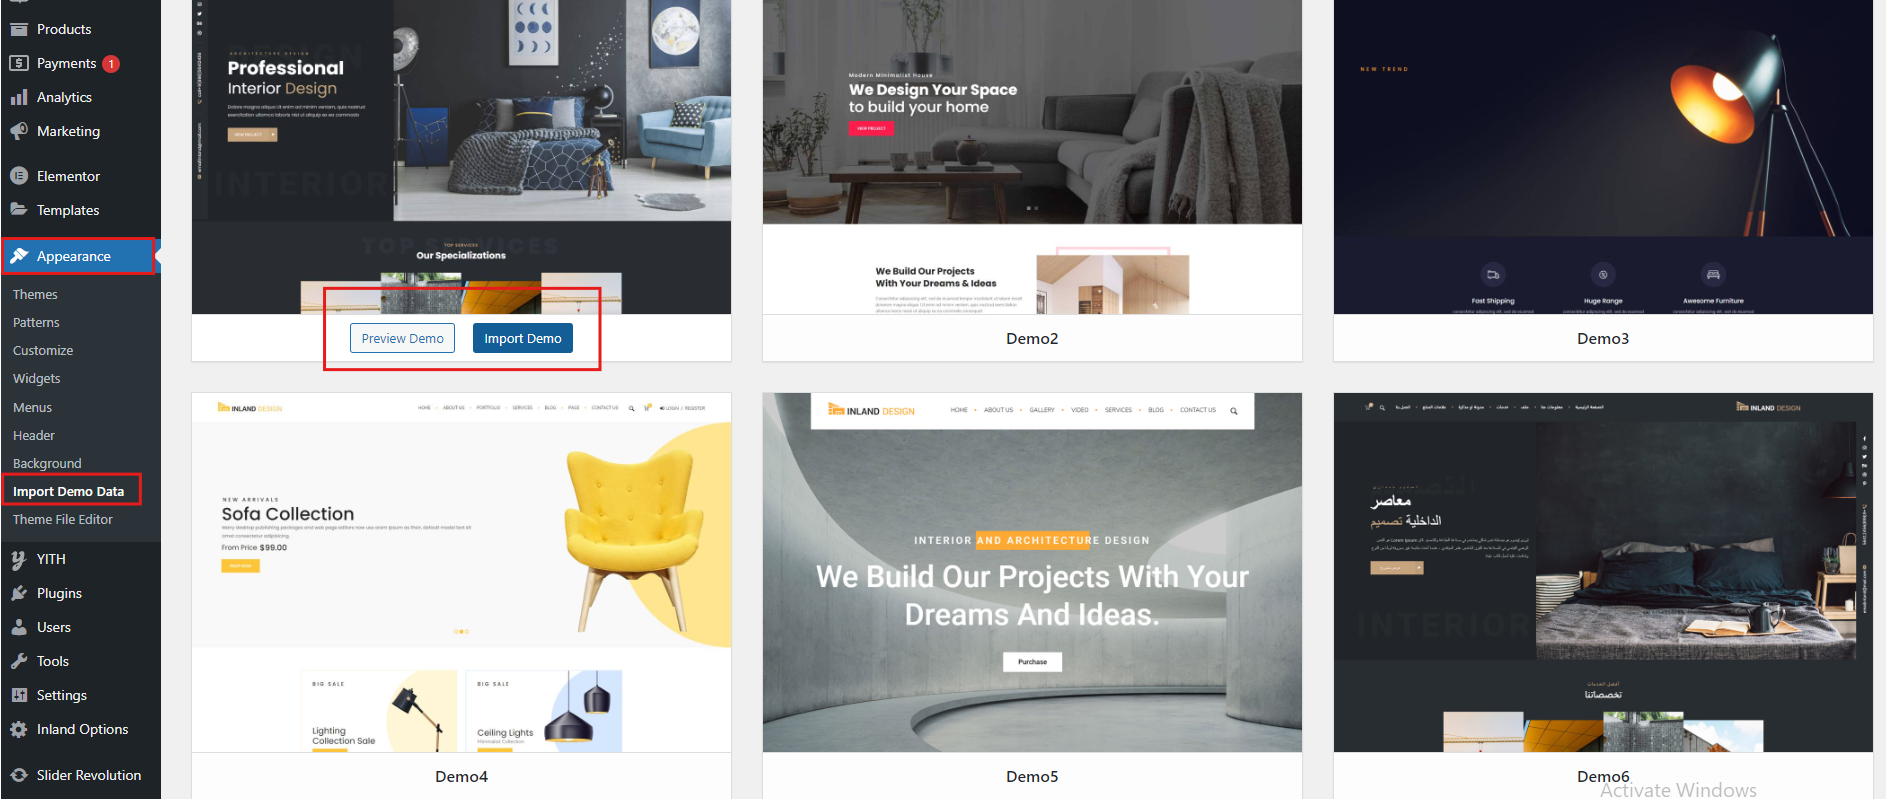
When the recommended plugins are displayed, click "Continue & Import"
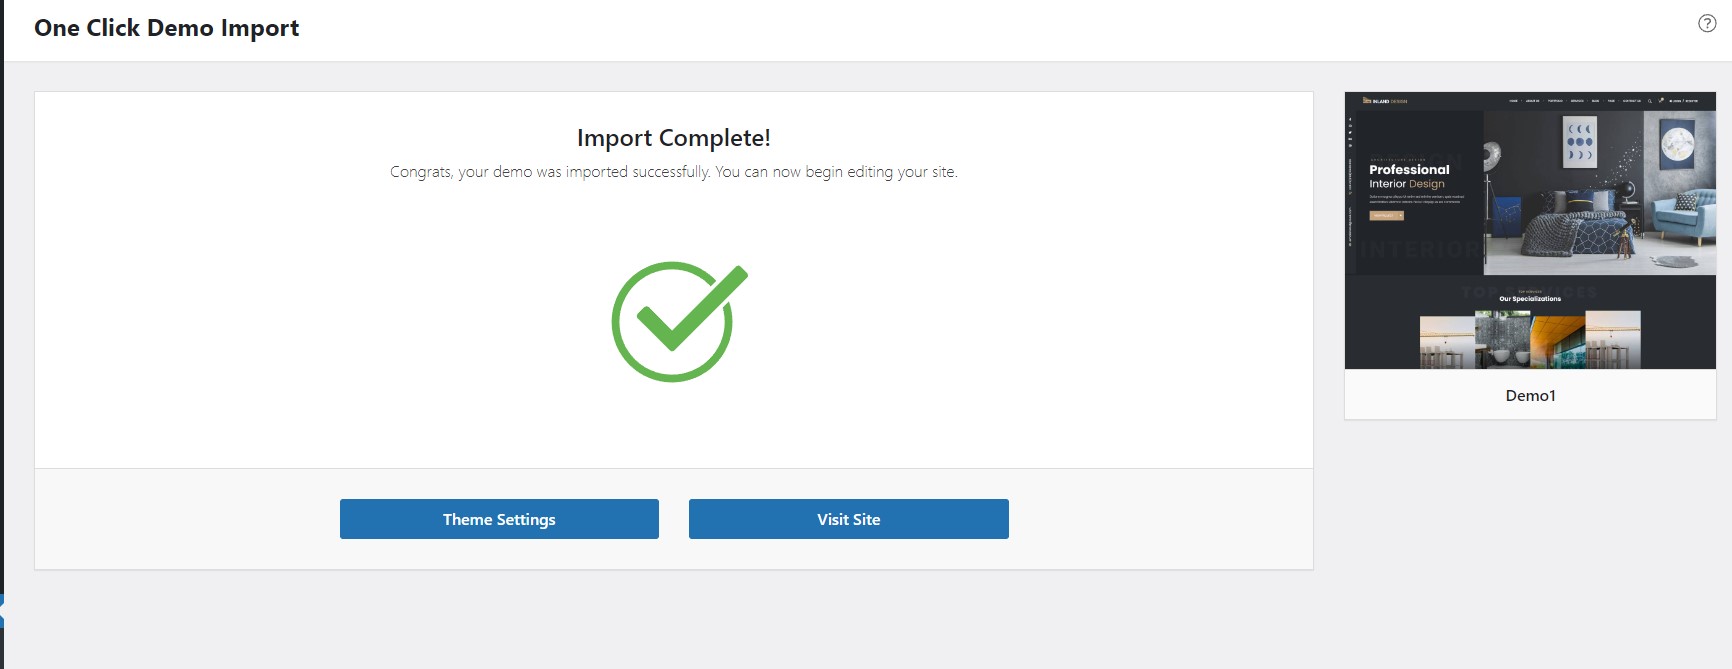
You will be able to check the imported demo here. You can check the imported demo and visit site from here.
Theme Options
The Inland WordPress theme options panel has been specially created to make your work faster and easier. These options are very easy to use and in a few minutes you can change a lot of things on the website.
Navigate to appearance>> Theme Settings
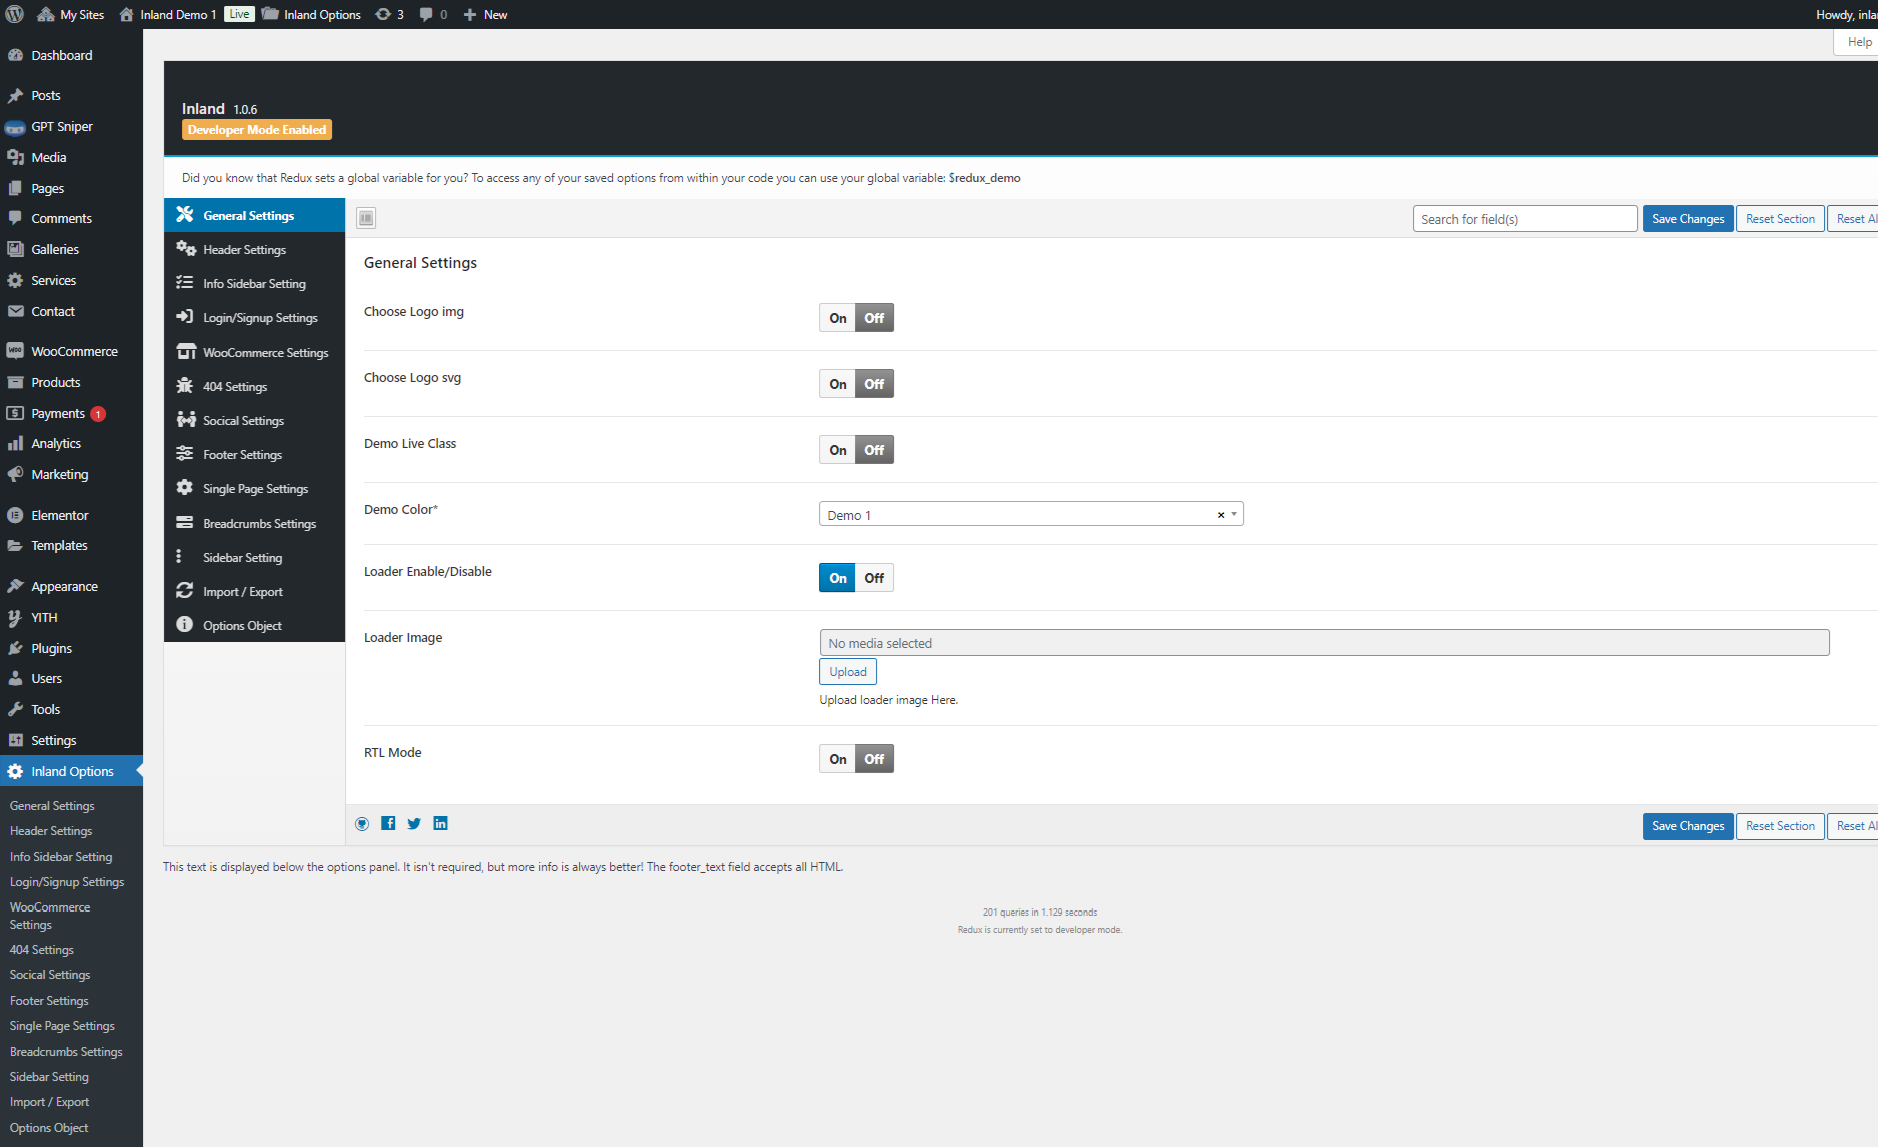
General Setting
General settings consist of logo settings, Demo color, demo Live class and loader settings.
Header Setting
You can select the header and can change header background color using this setting, also enable/disable cart, search icon and Login/Registration Icon from this setting. User can add Add Multiple Pages.
.png)
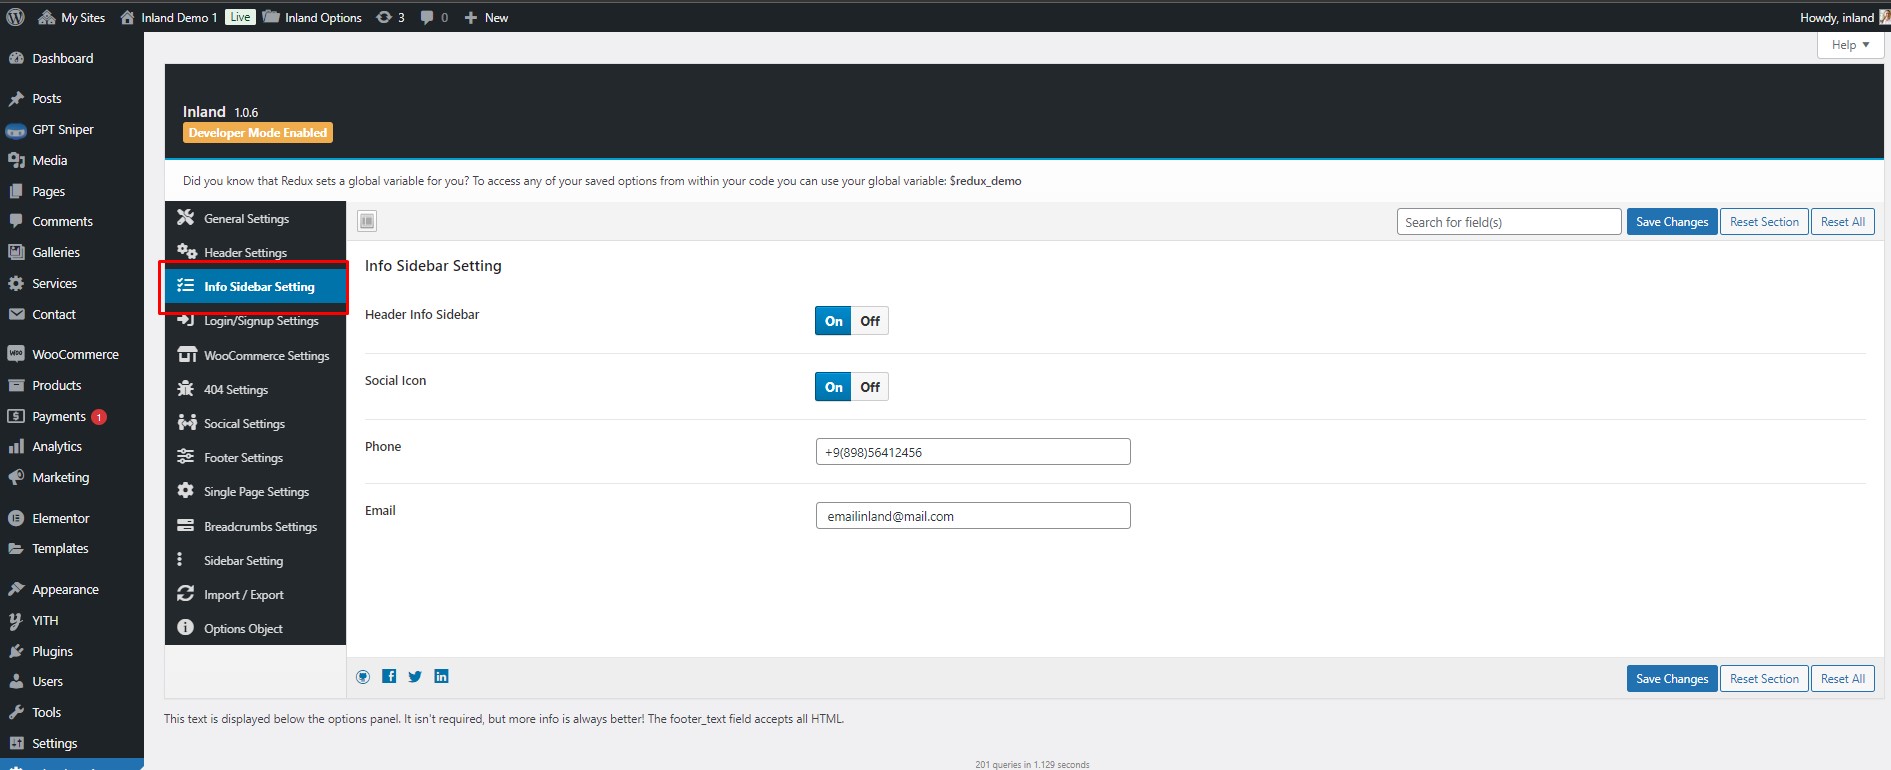
Info Sidebar Setting
User can manage the info sidebar setting. User can enable/ disable social icon. User can add contact details through this setting option.
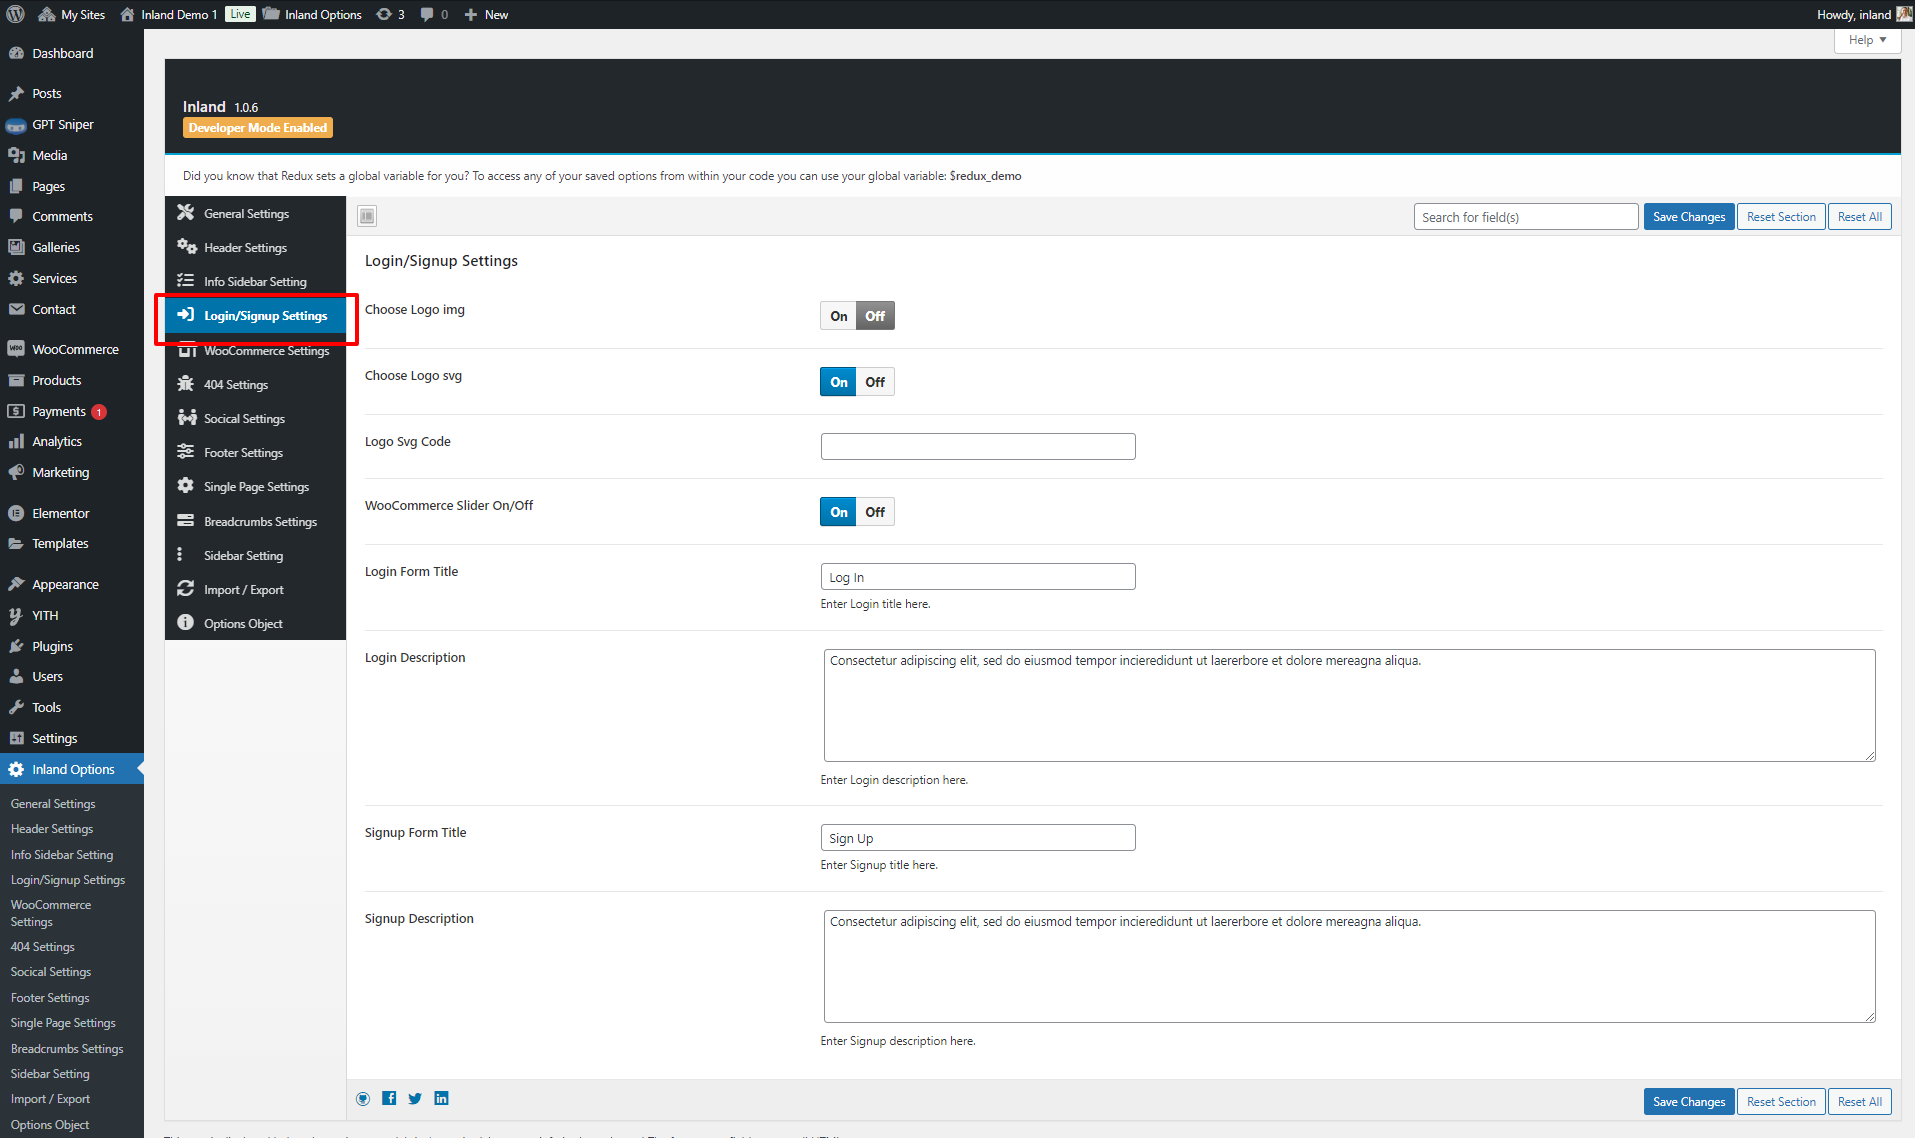
Login/Signup Settings
User can manage the settings of Login/ signup settings. User can manage the logo settings, enable/ disable the WooCommerce Slider,Login Form Title, Login Description, Signup Form Title, Signup Description.
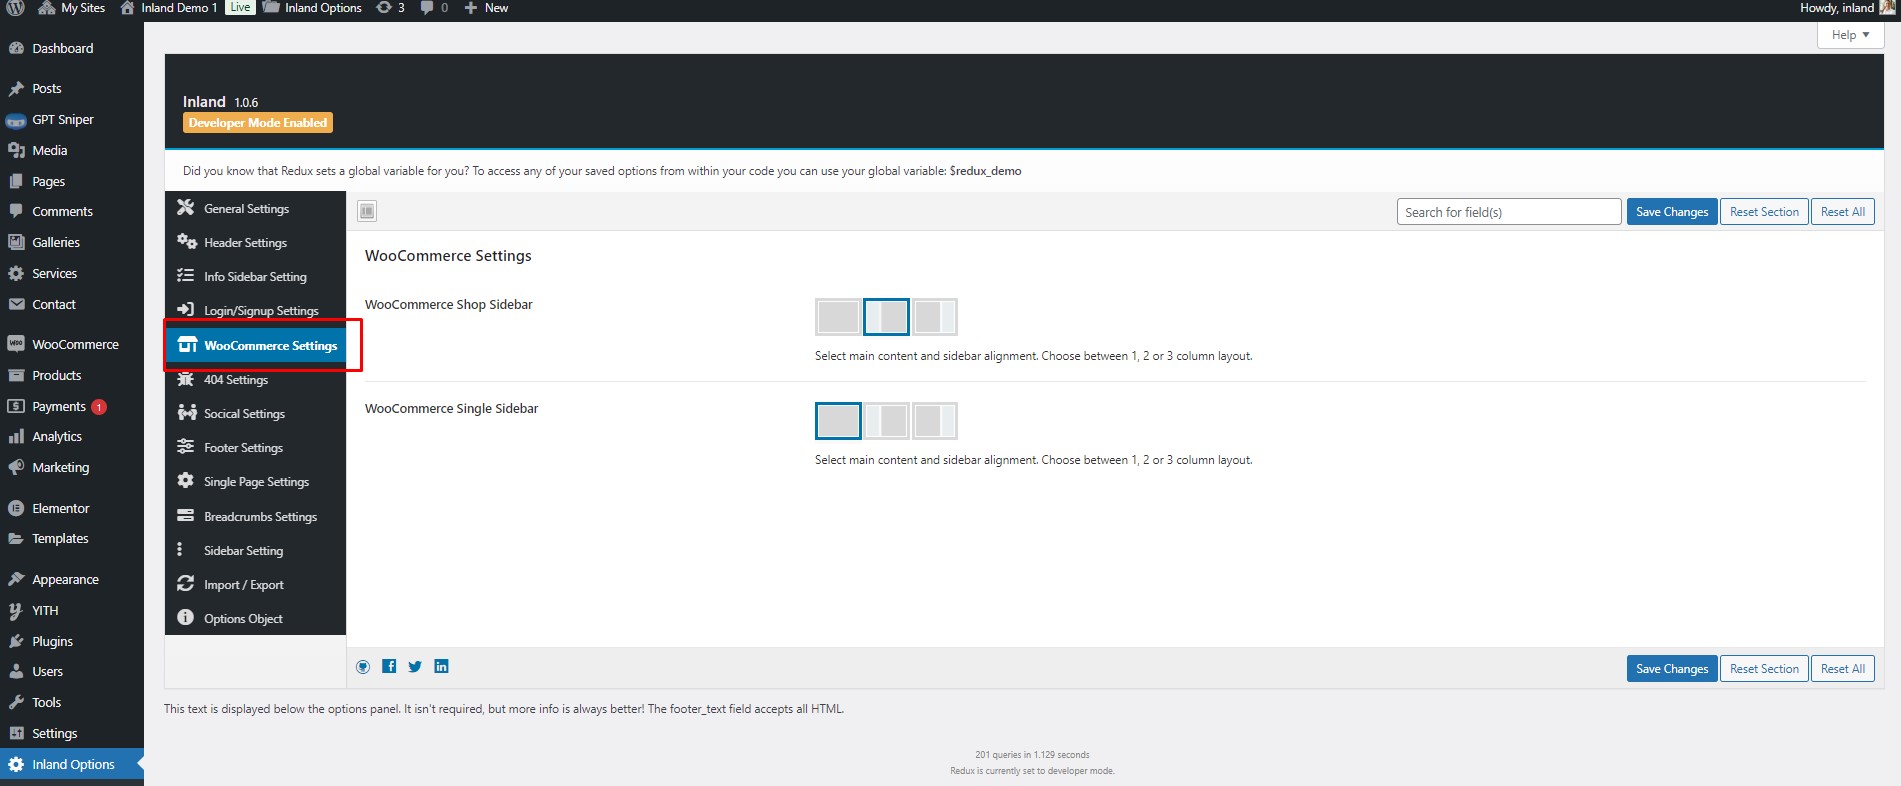
WooCommerce Settings
User can manage the WooCommerce setting, User can select sidebar position of shop and single page.
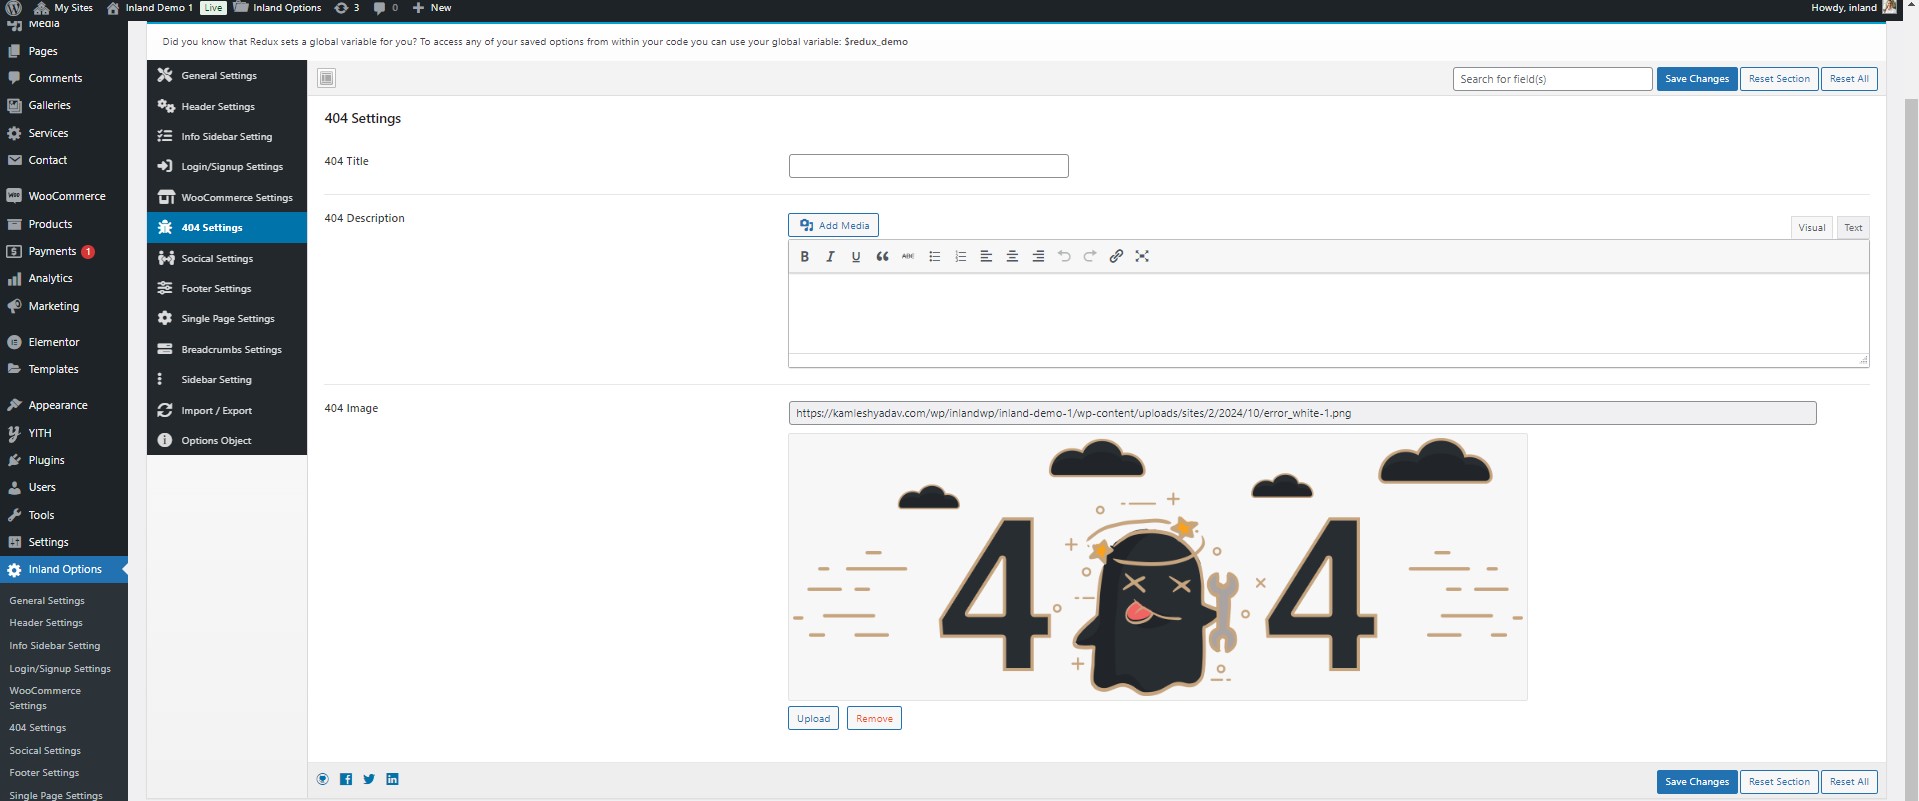
404 Setting
User can manage the 404 settings from here. User can change the Title, Image & description for 404 Page .
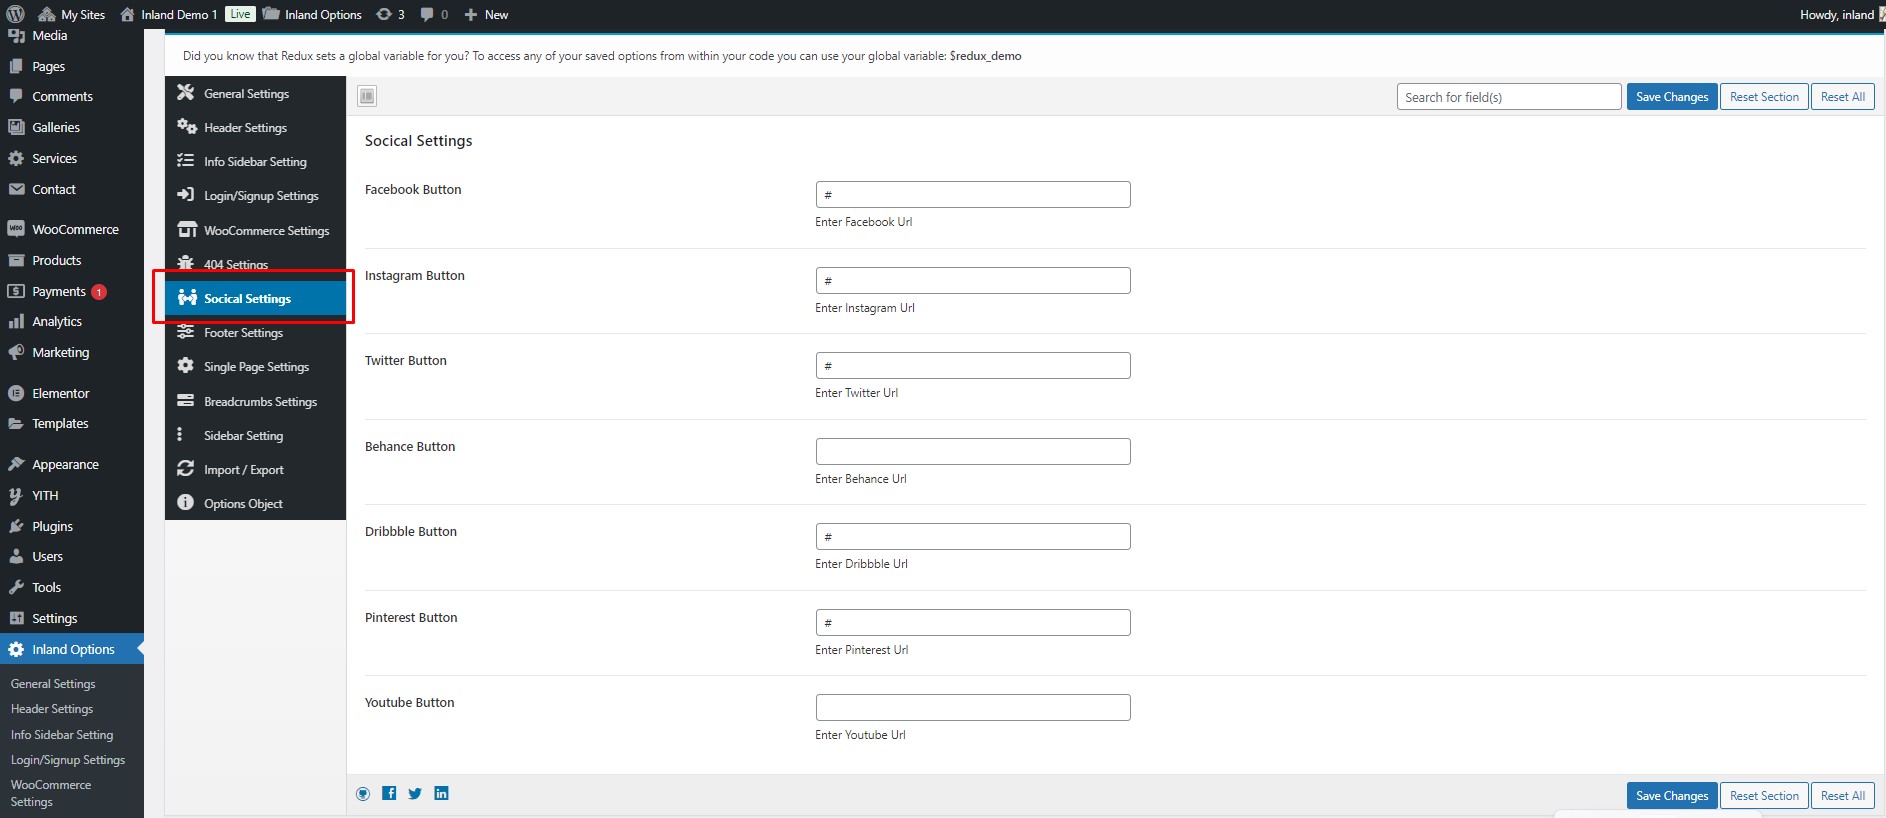
Social Settings
User can add & manage Social accounts URL from using this setting option. User can manage the Social account Button through this setting.
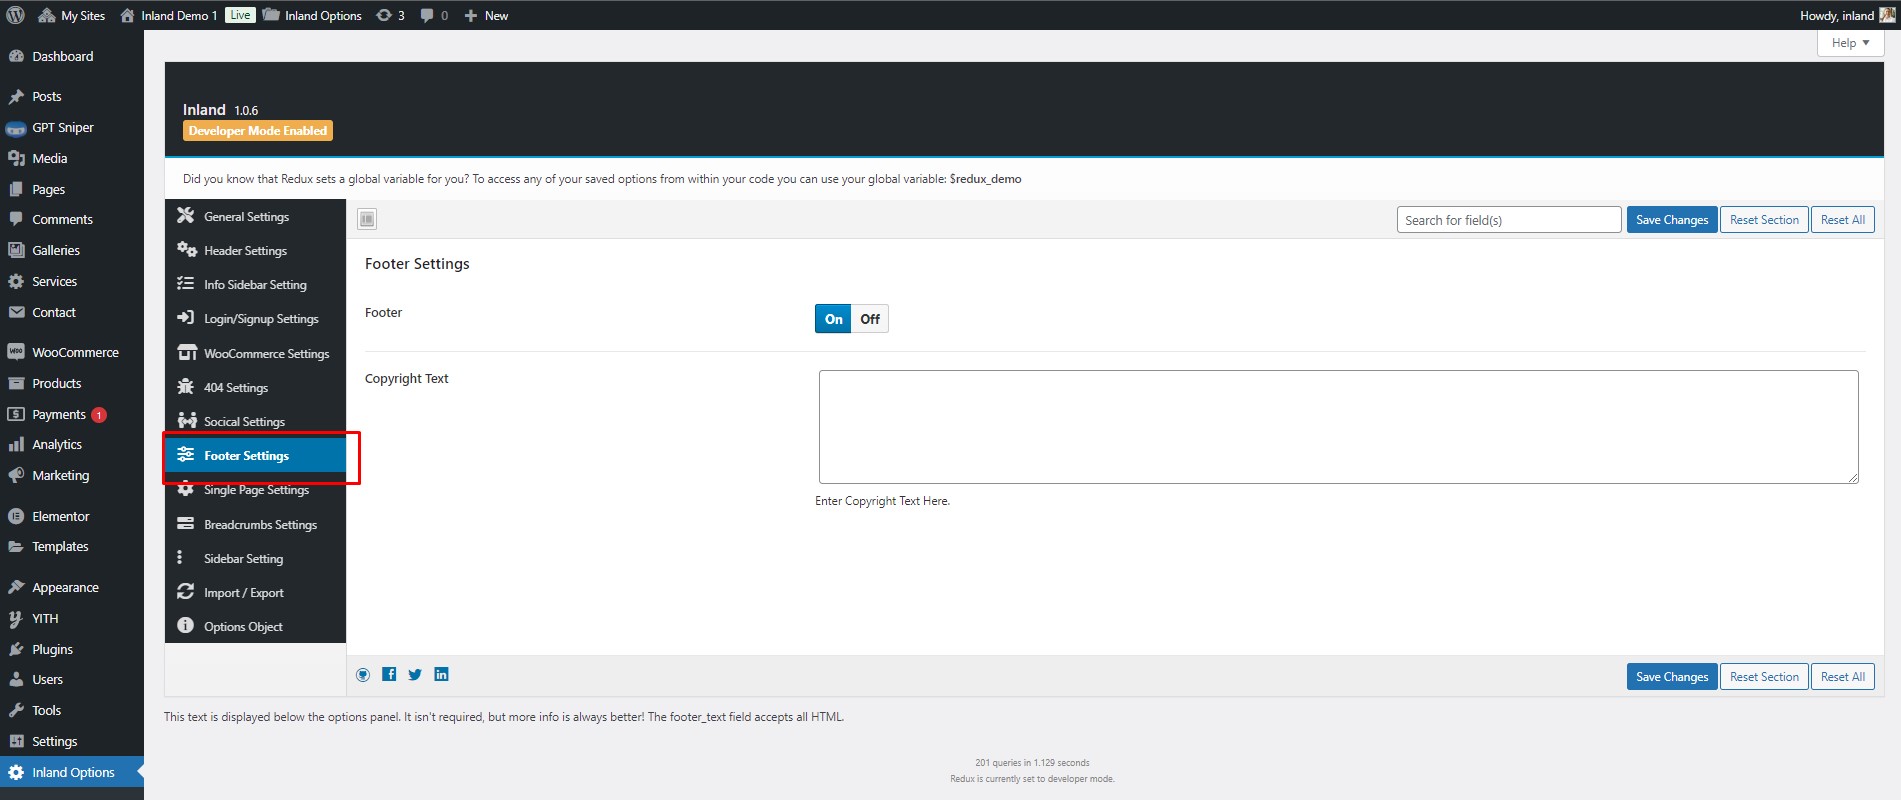
Footer Settings
User can manage the Footer section through this setting. User can enable/ disable the footer section. It consist copyright text as well.
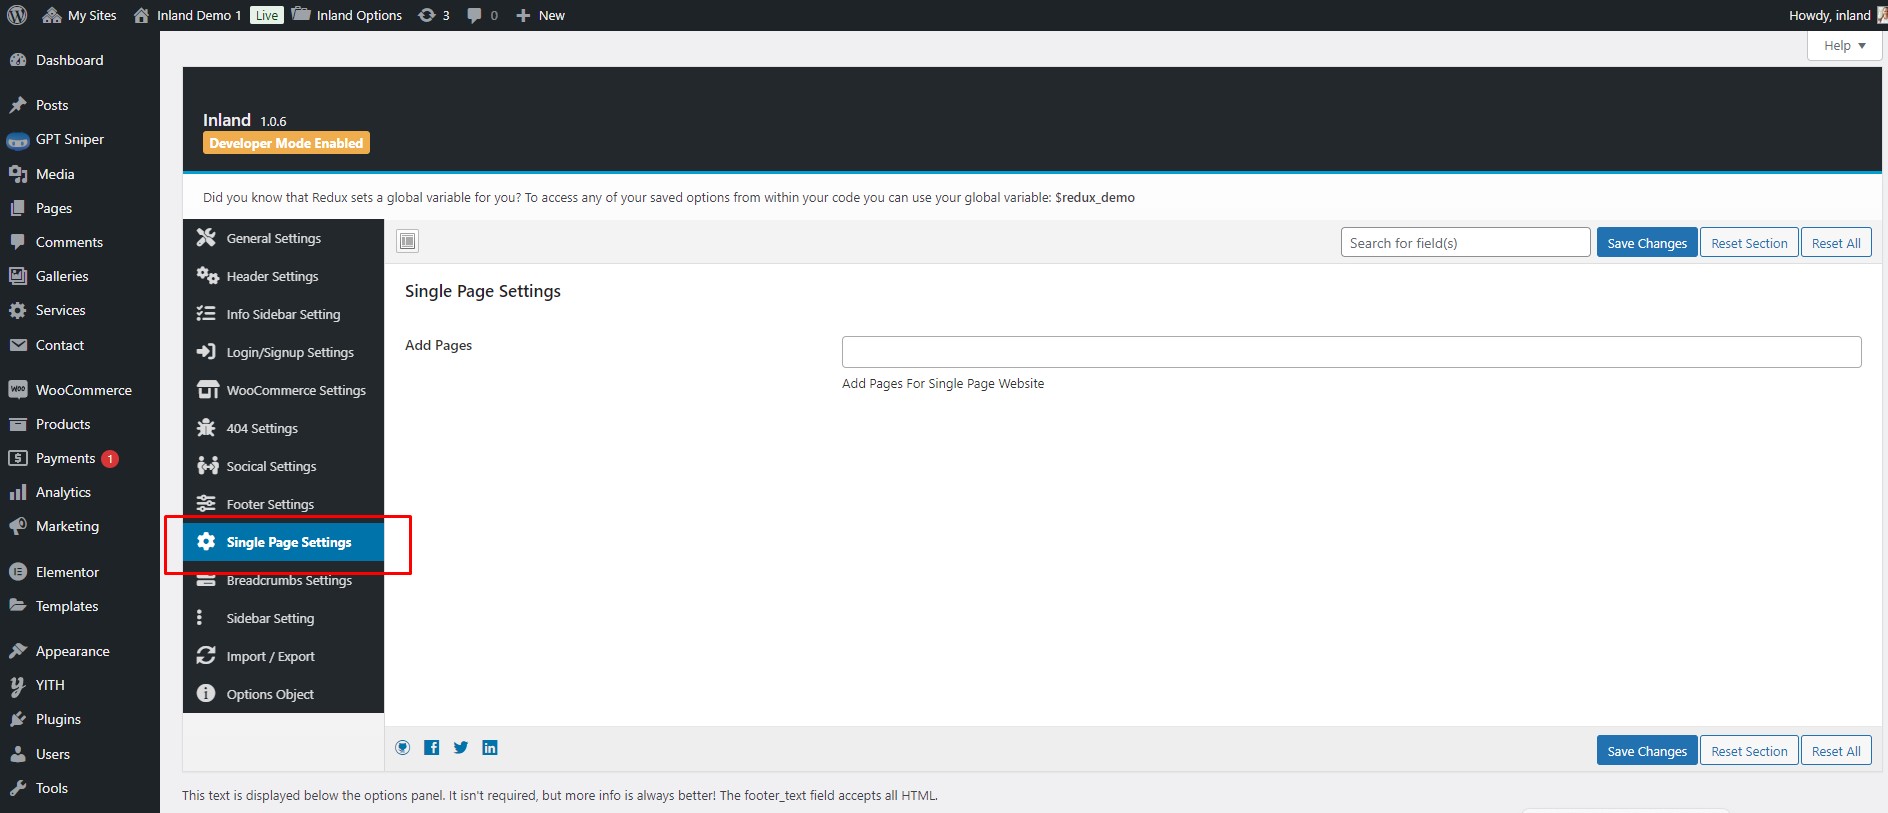
Single page Settings
User can add Page for single page websites.
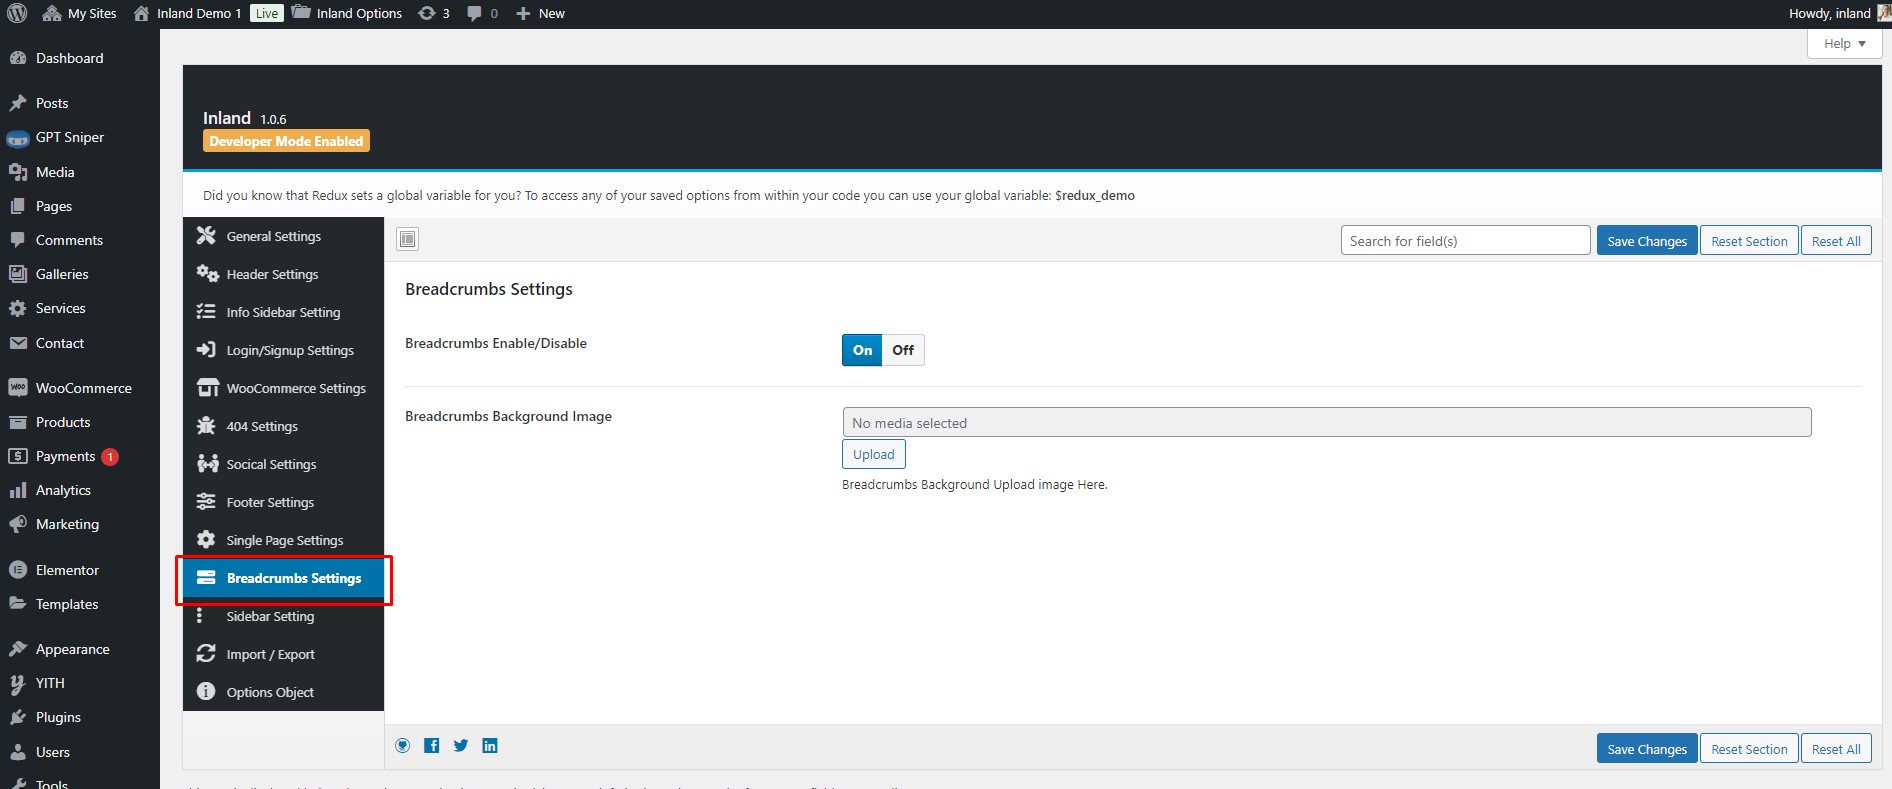
Breadcrumbs Settings
User can manage the Breadcrumbs Settings through this option. User can enable/desable the Breadcrumbs and manage the Background Images.
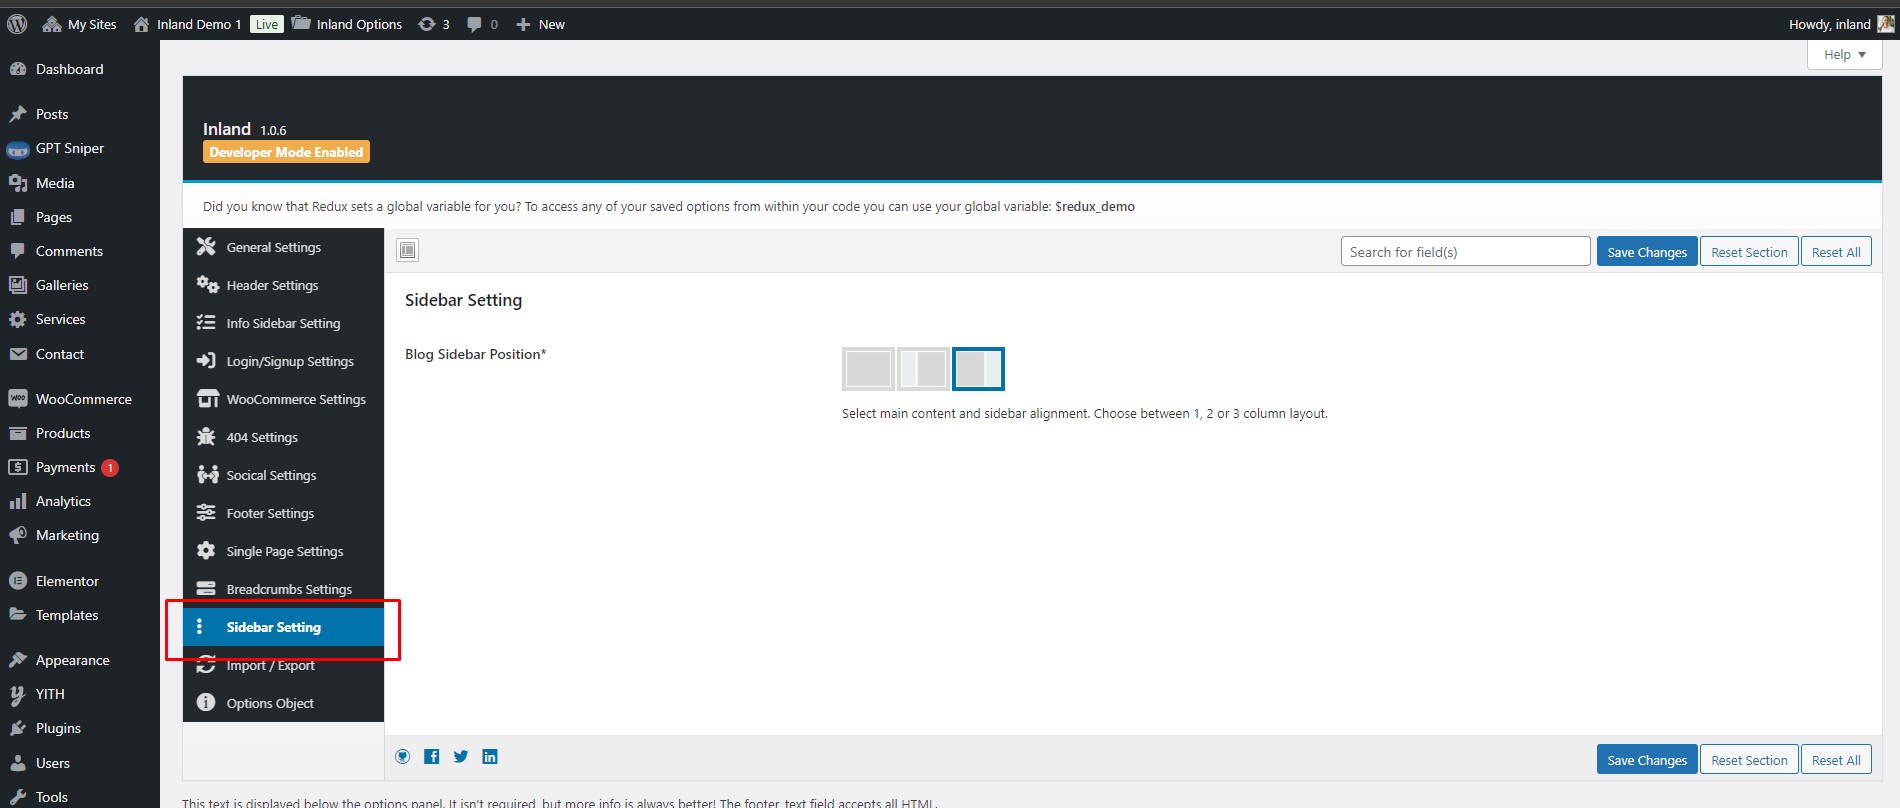
Sidebar Settings
User can manage the Sidebar settings. User can select main content and sidebar alignment.
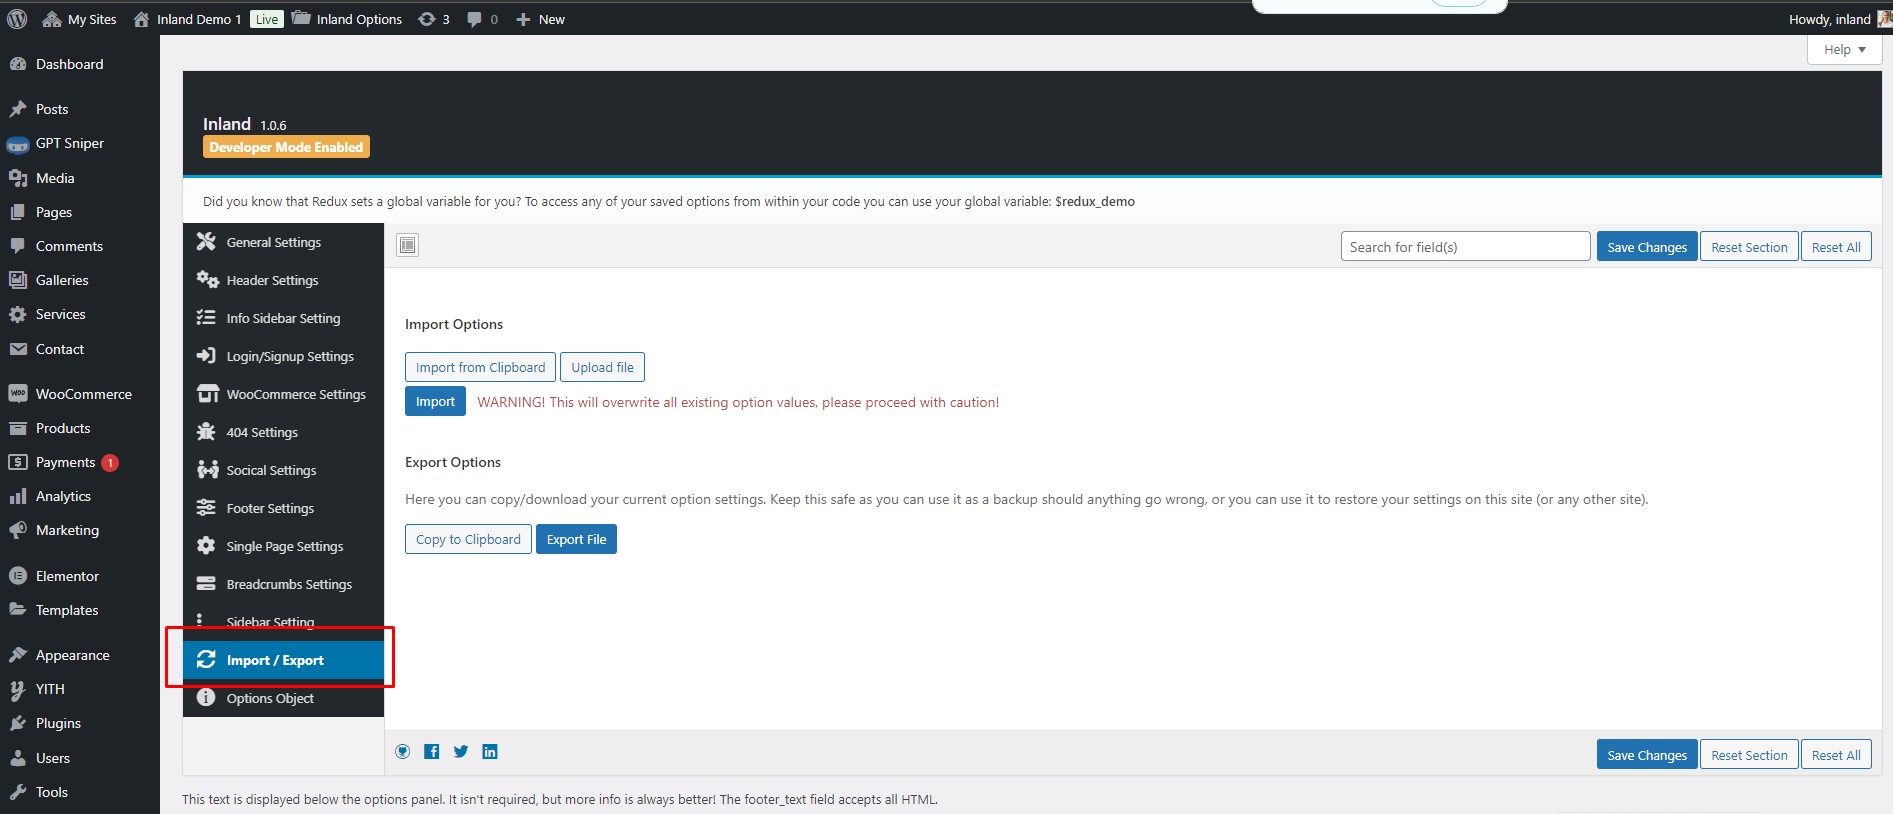
Import/ Export Settings
User can manage the Import Export setting from here. User can Import and Export the Current files through this setting Option. Here User can copy/download your current option settings. User can restore setting of this site.
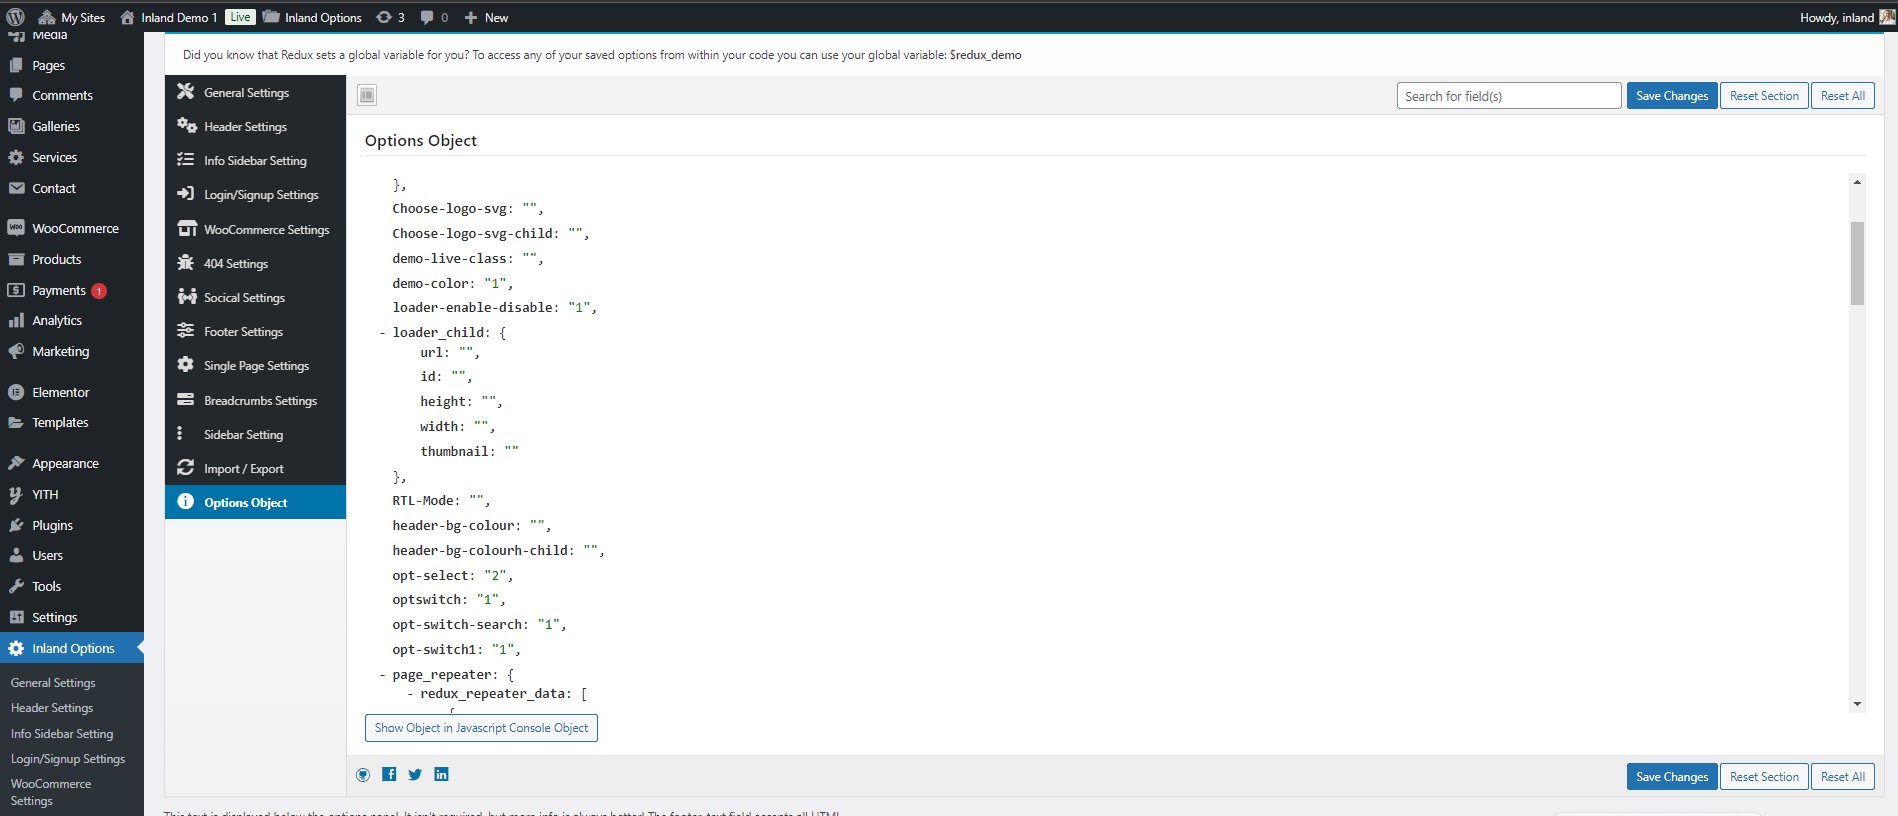
Options Object
User can manage Option Object setting through this Setting.
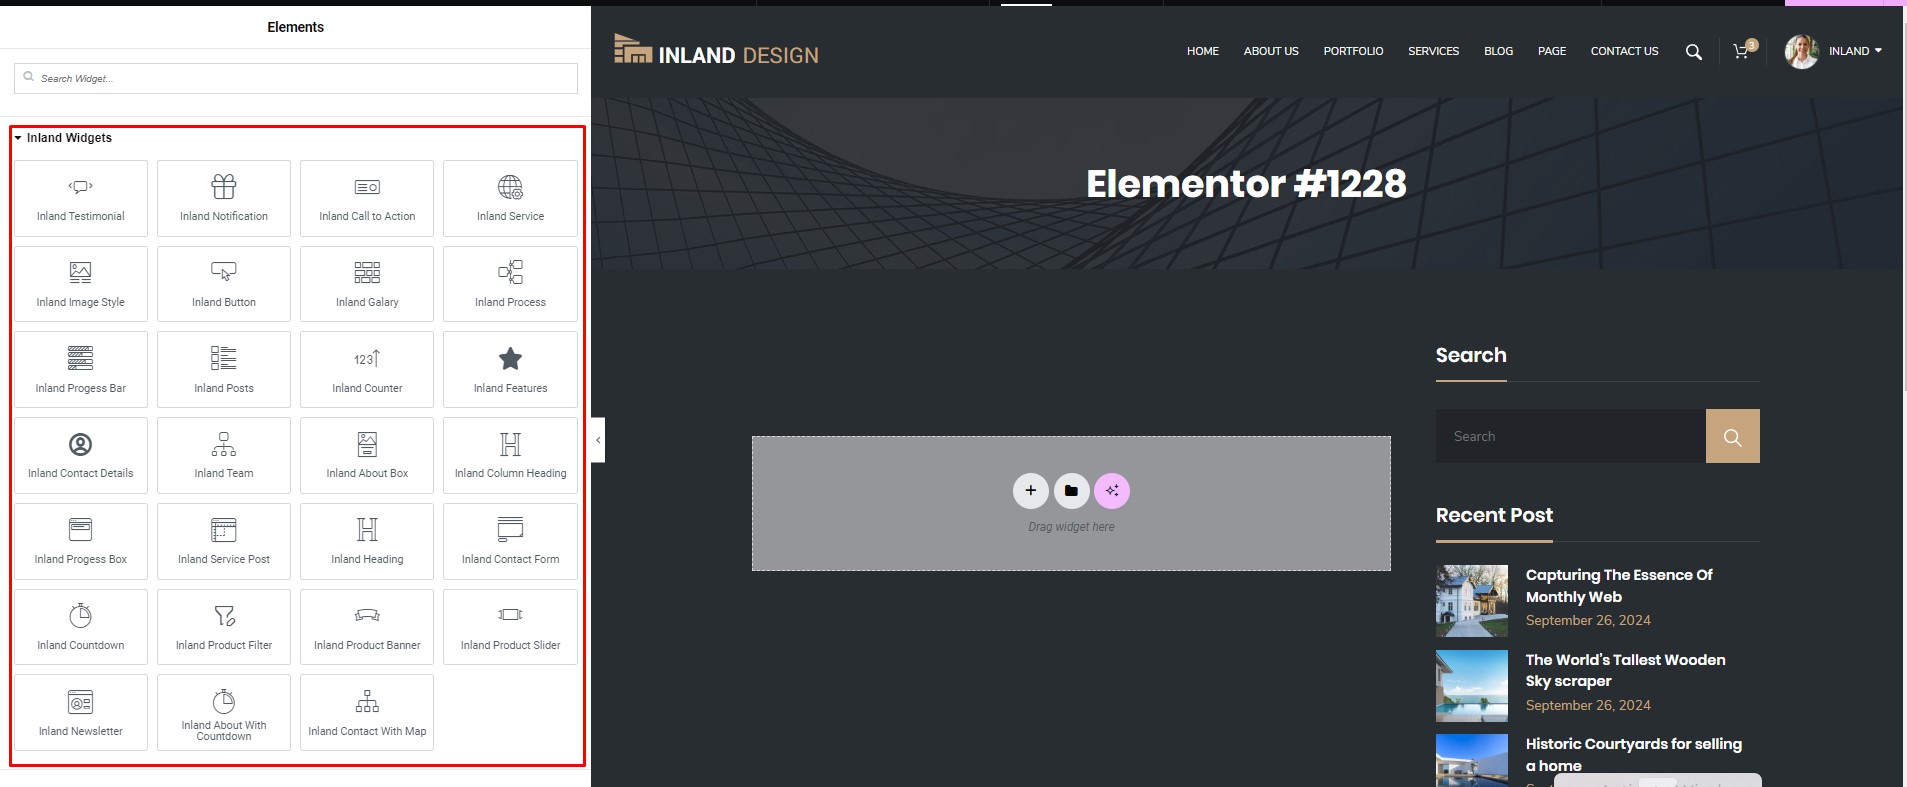
Widget
Inland WordPress Theme includes several custom widgets. All widgets are accessed in the Widgets section of the WordPress admin. Widgets can be added to any sidebar, footer column.There are various fields and settings present to choose for each individual widget all are self explanatory.
To Add Widgets, Follow The Steps Below :
You need to navigate to Inland Options >> Footer settings >> Here you can select footer style and also settings related to this option.
Shortcodes
A specific code that lets you do difficult things with very little effort. Shortcodes can embed files or create objects that would normally require lots of complicated, ugly code in just one line.
How To Add ShortCode
Navigate to Pages >> Add New
These are the theme shortcodes, you can use to display different thing on the page.
You can add more shortcode By using the Elementor Page Builder.
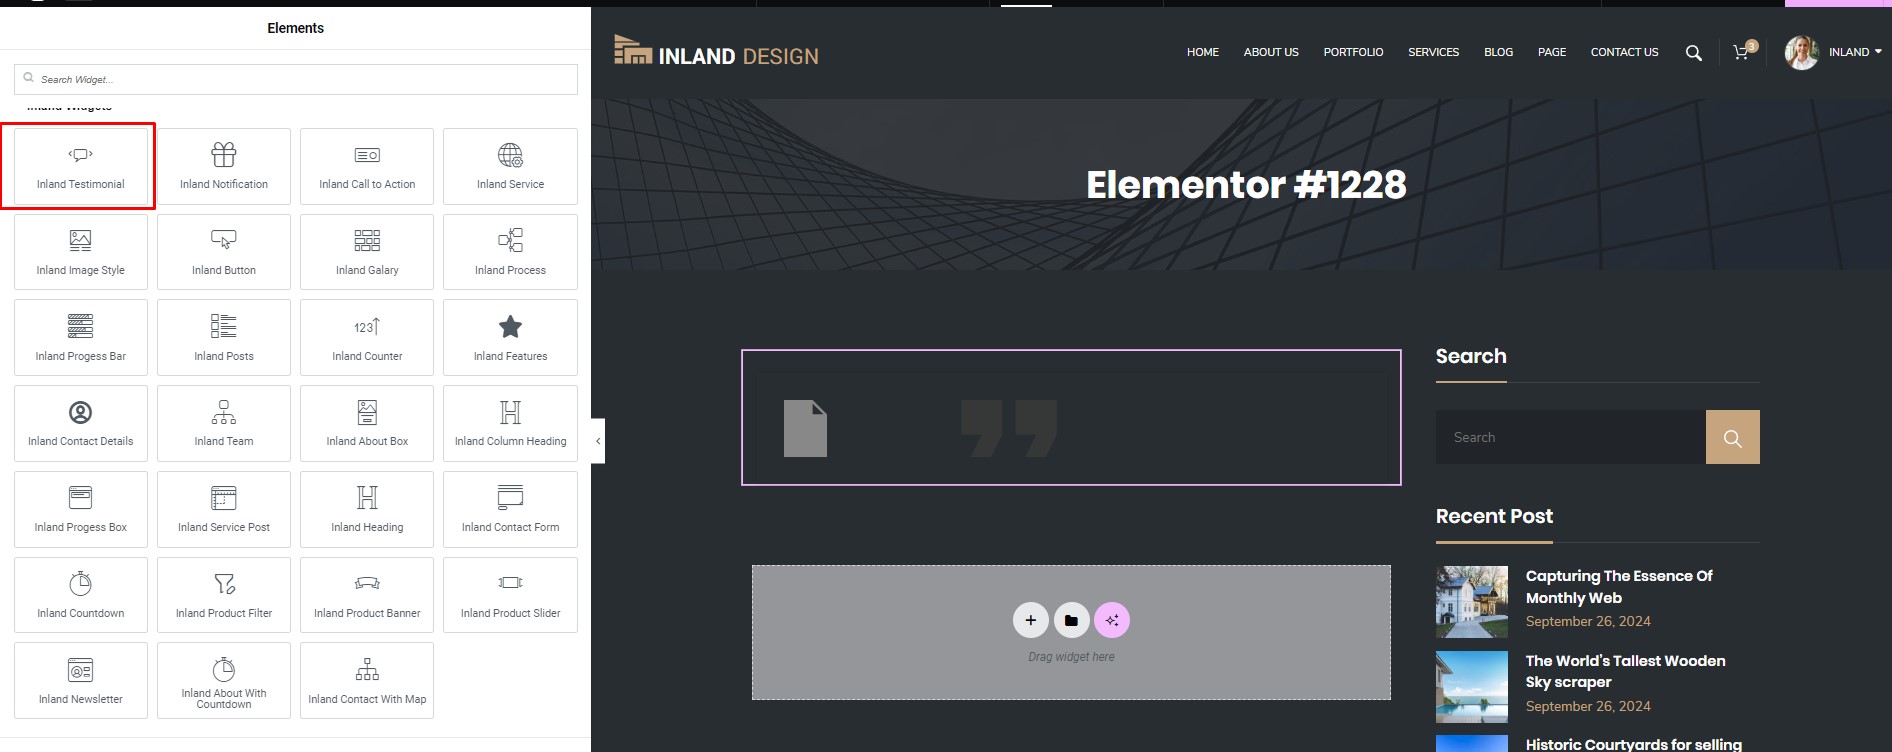
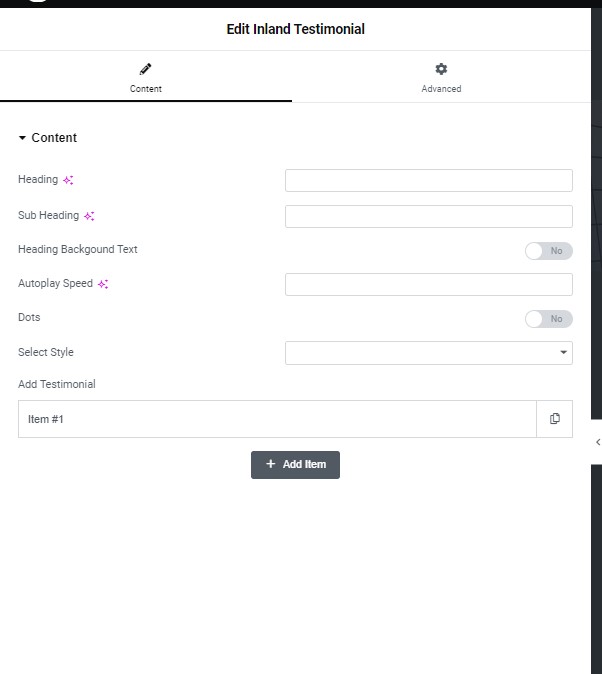
Inland Testimonial
User can create a shortcode for Testimonial. It content Heading, sub heading, heading background text, Autoplay speed,Dots, style, and option to add Testimonial.
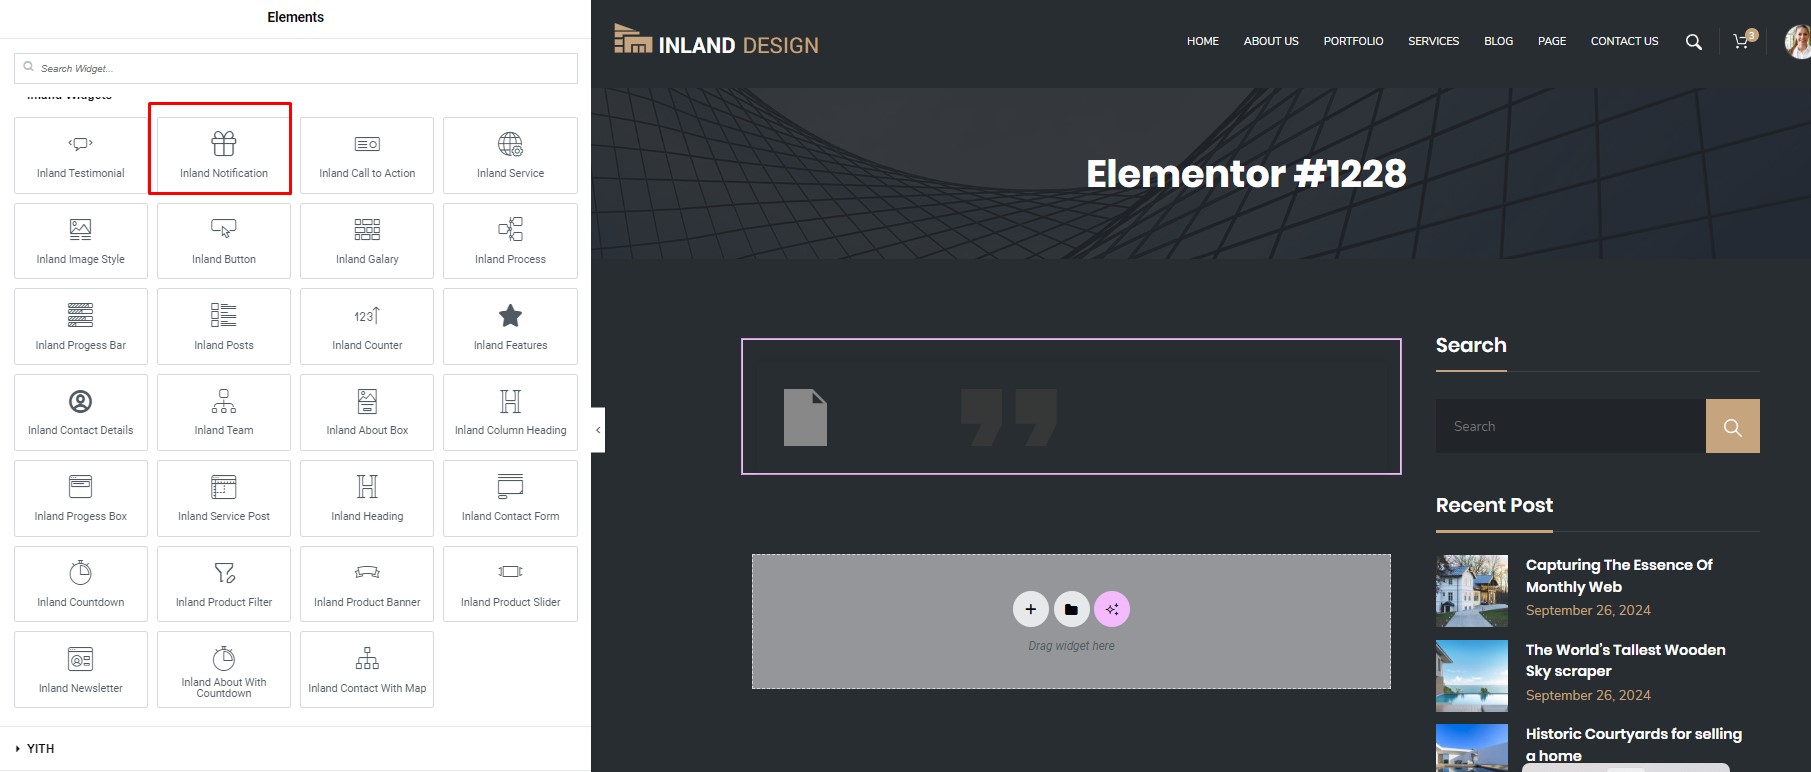
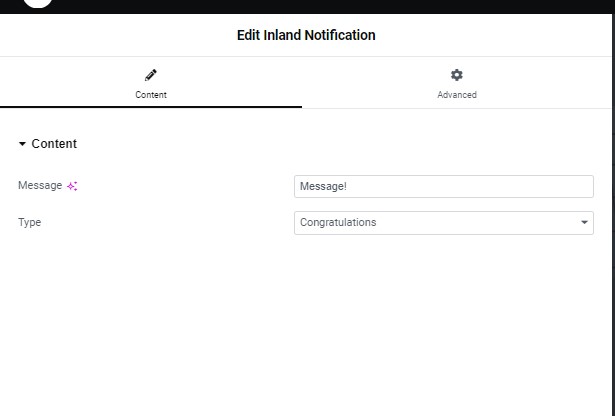
Inland Notification
Inland Notification Shortcode used to manage the Notification settings. User can manage the Message & Type of notification.
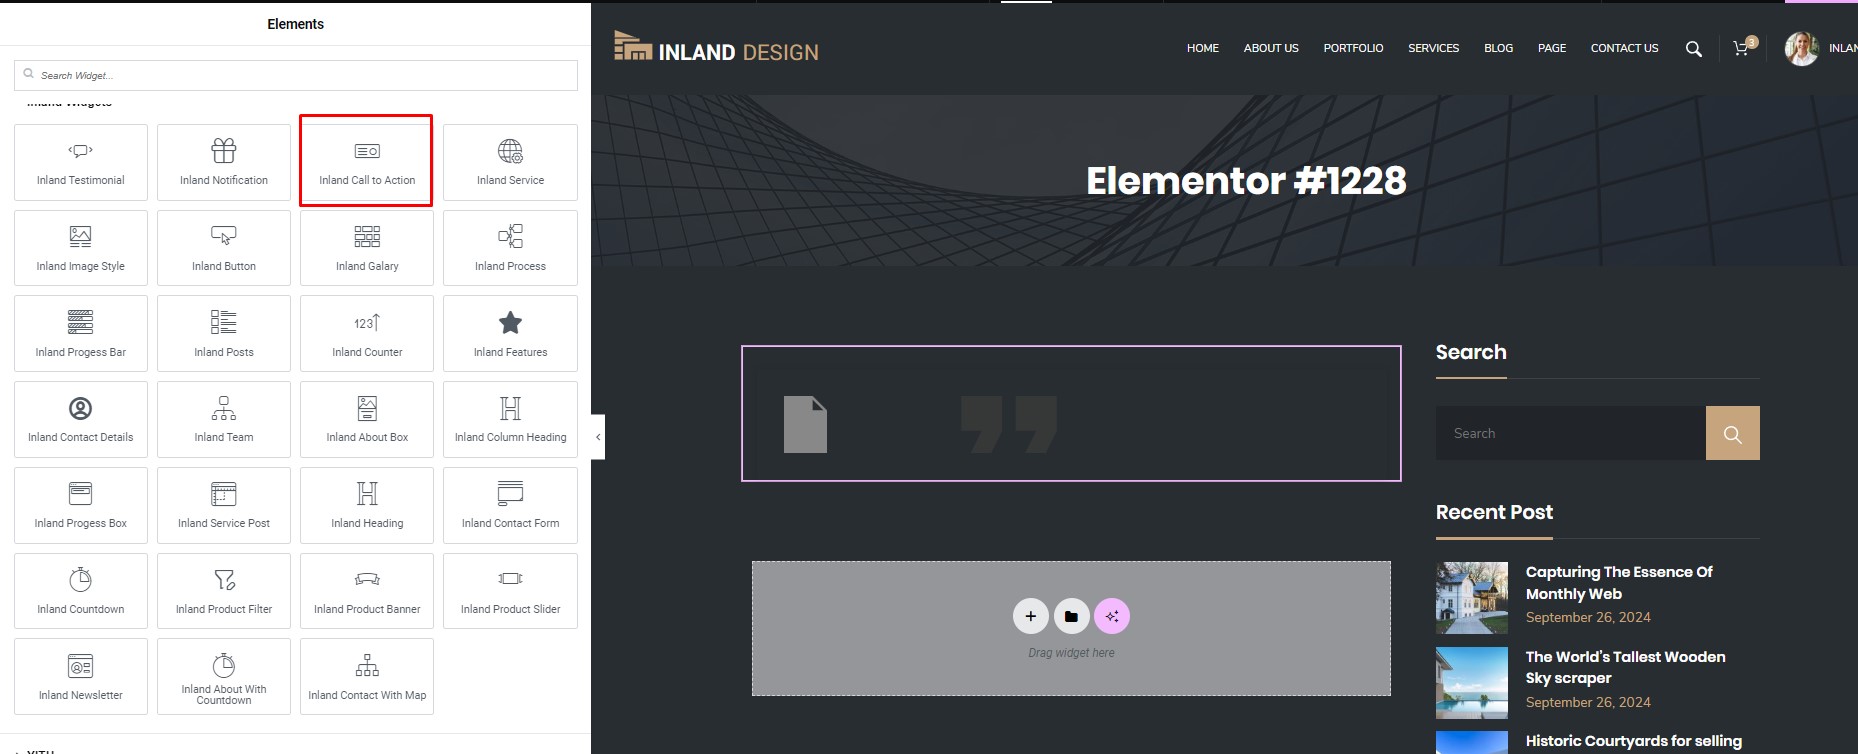
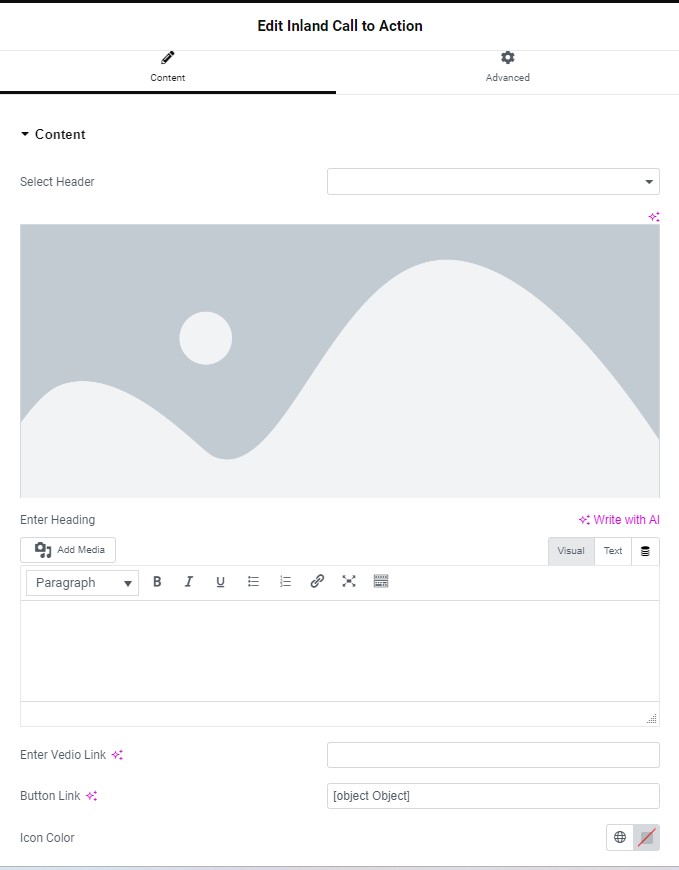
Inland Call to action
User can add & manage the Call to Action shortcode. User can add the header, image, video link , button link, Icon colors.
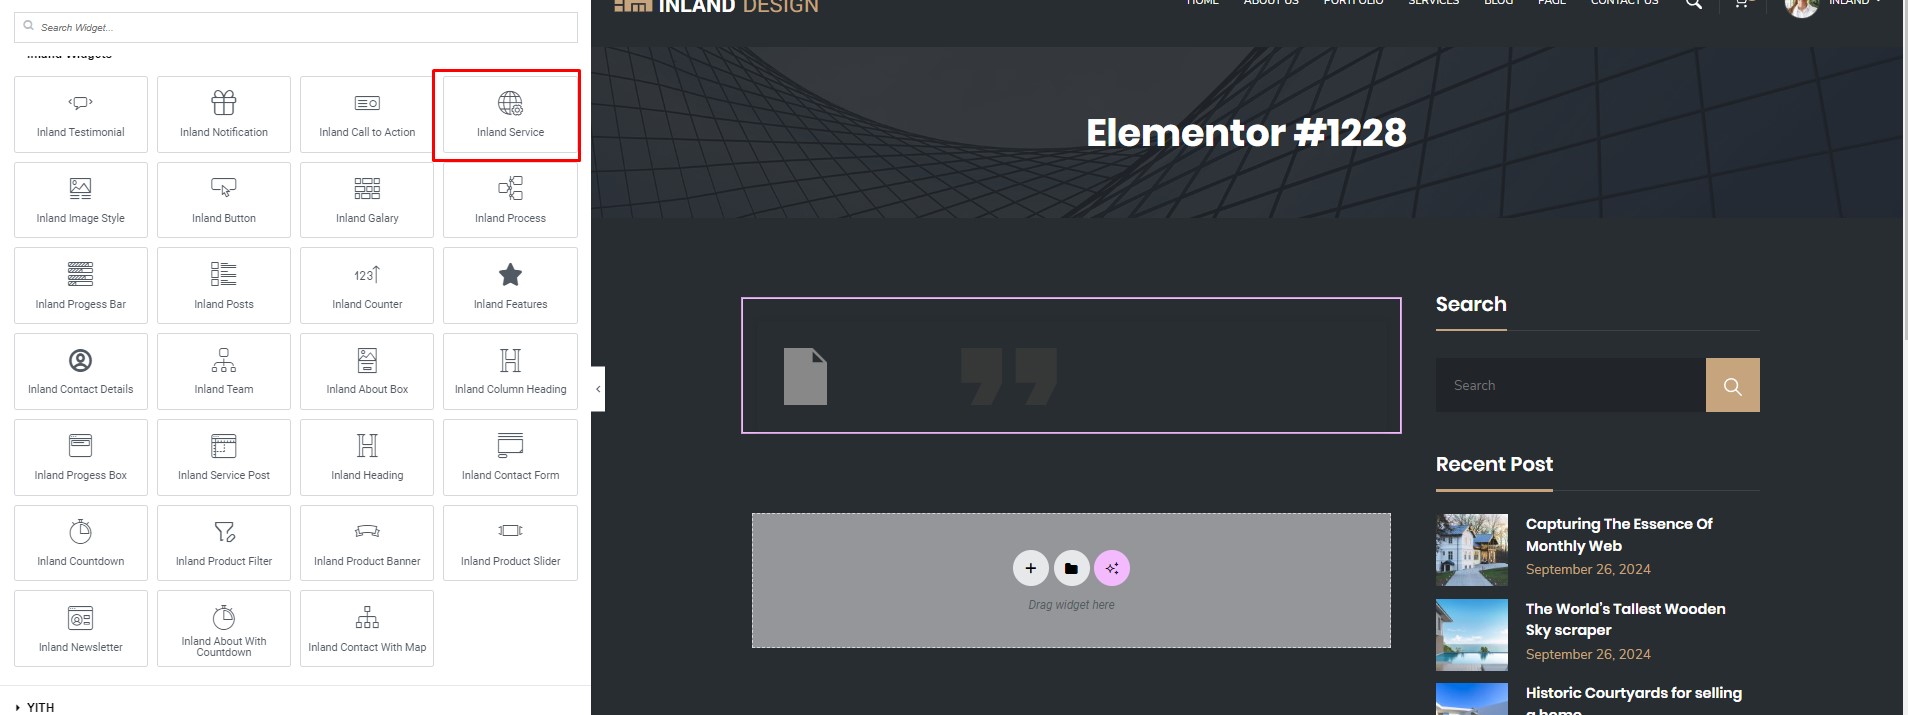
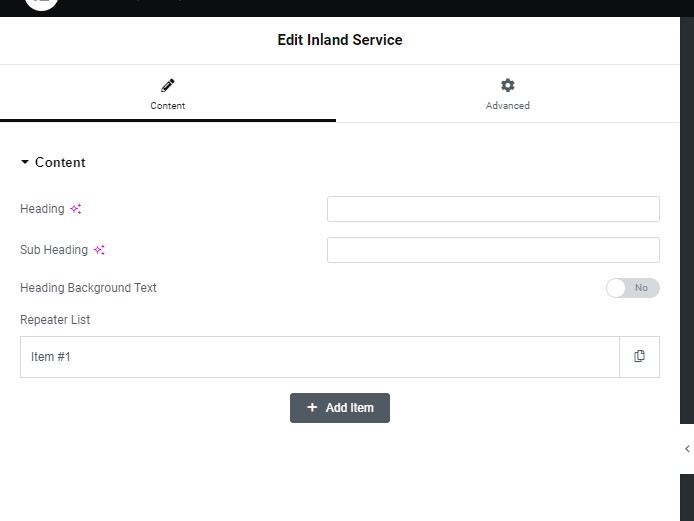
Inland Services
User can add & manage the Services section through this shortcode. It contents Heading , subheading, heading background text, Repeater list.
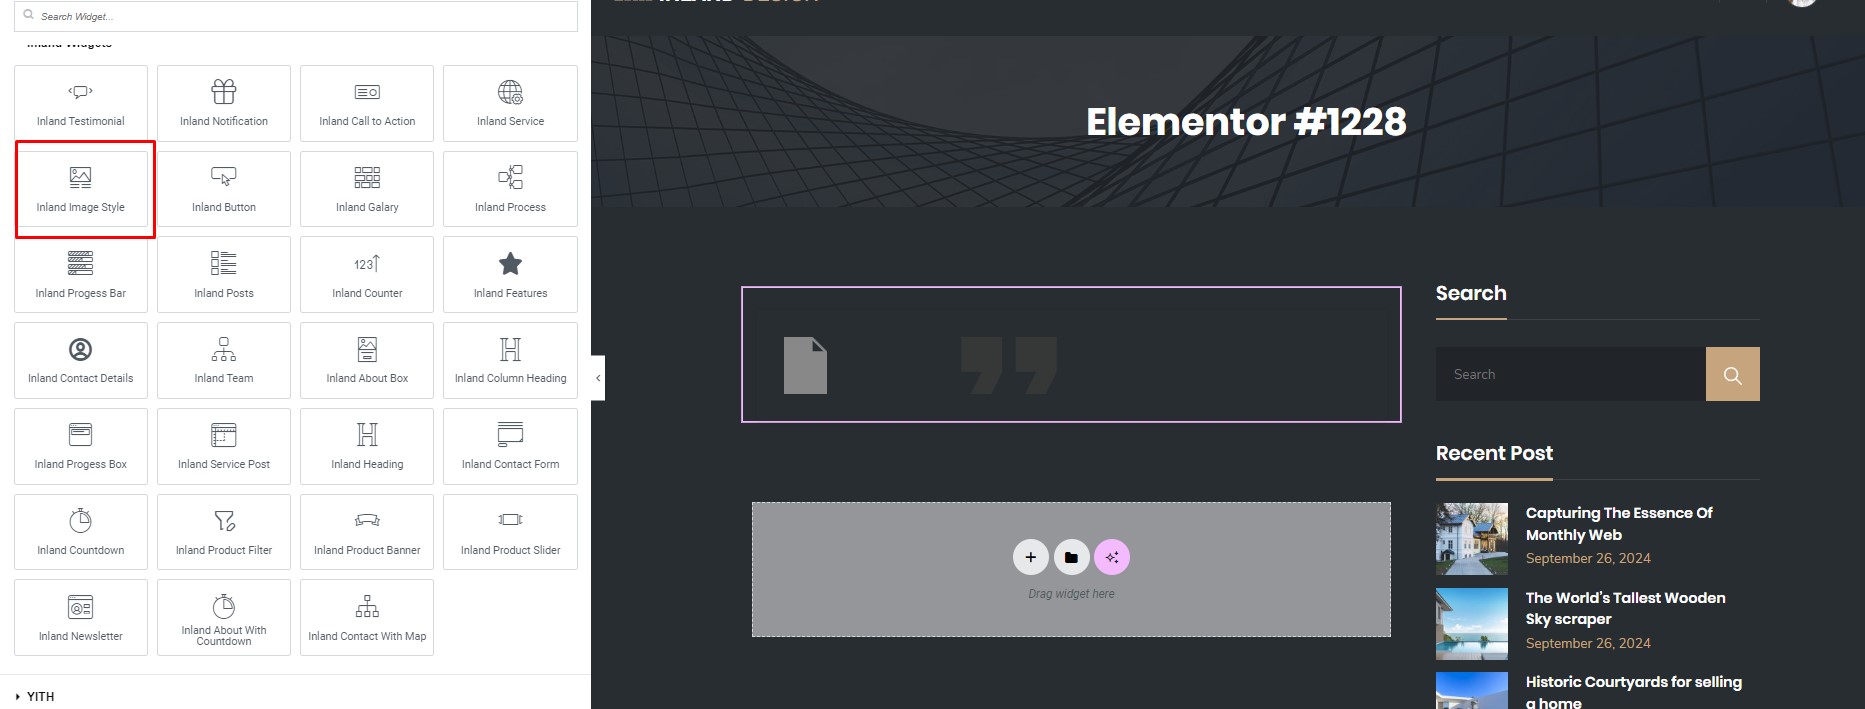
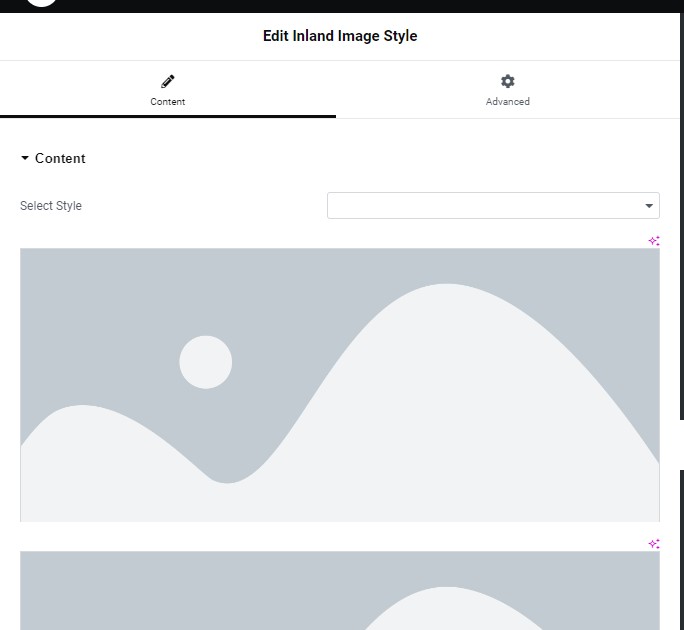
Inland Image Style
User can manage the Images style section through this shortcode.
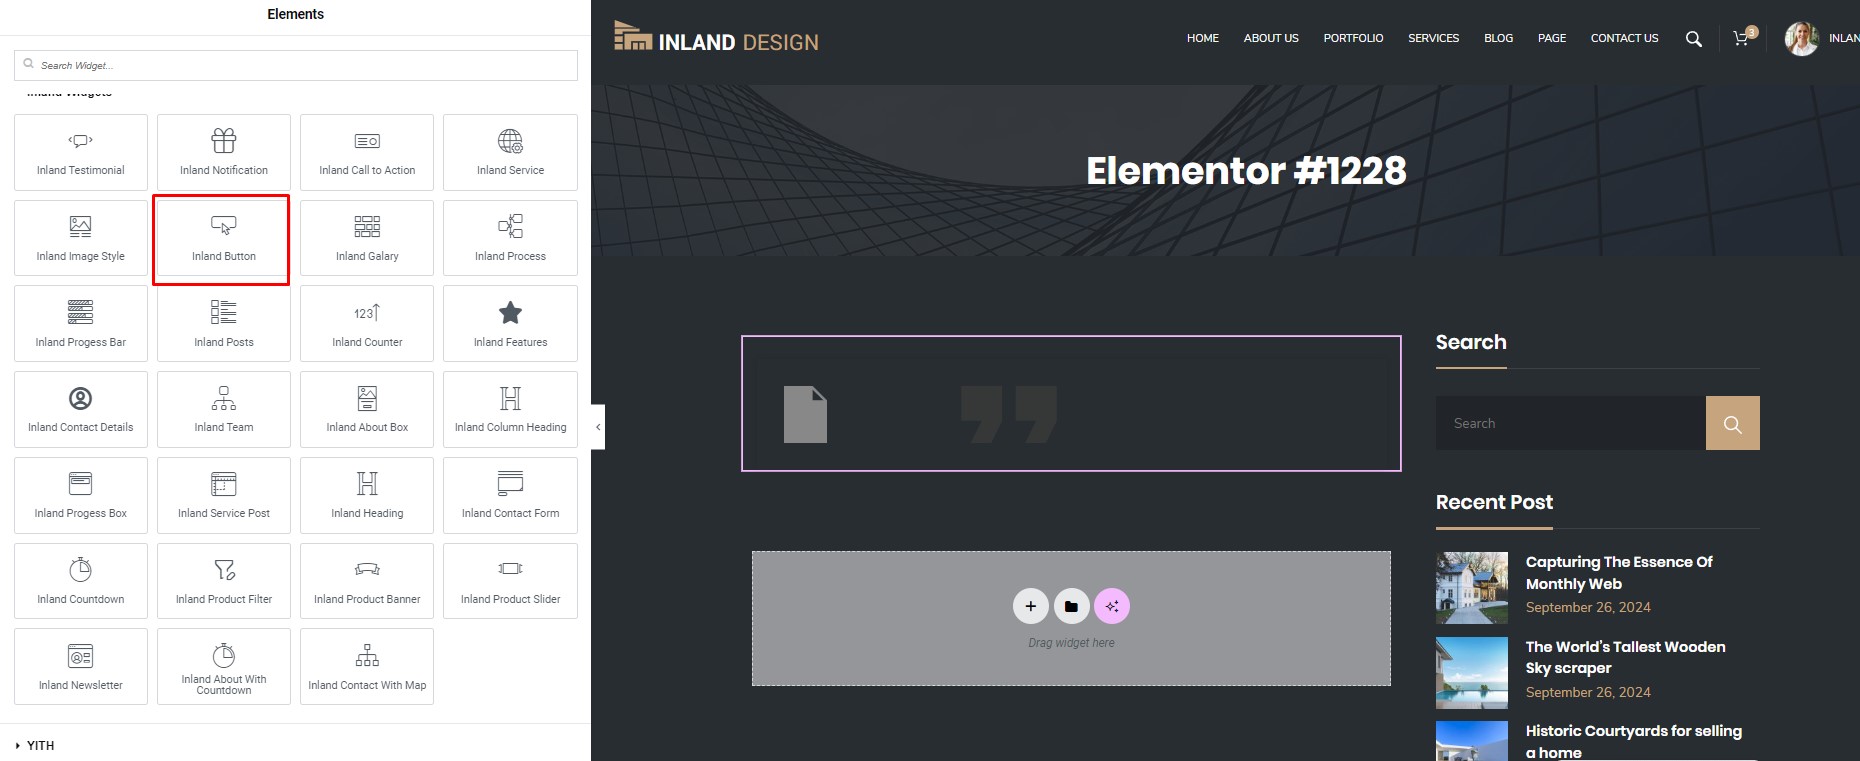
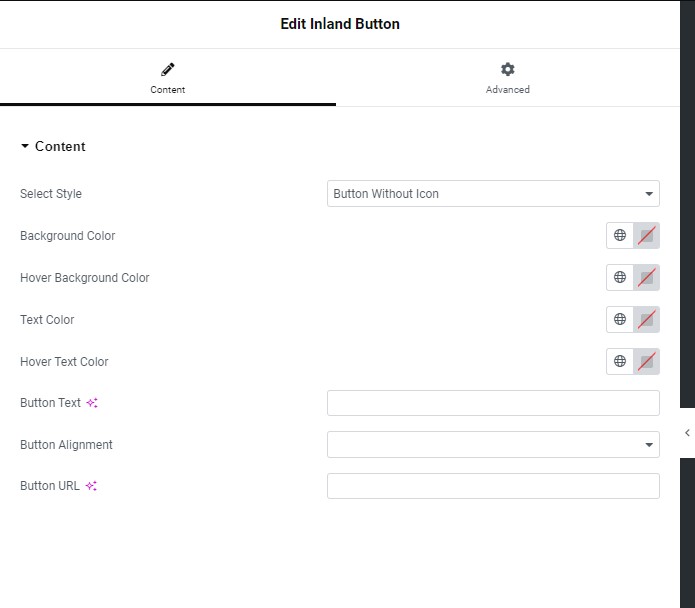
Inland Button
User can manage the Button Style, color, background color, Hover color, Button text, URL, alignment Through this shortcode.
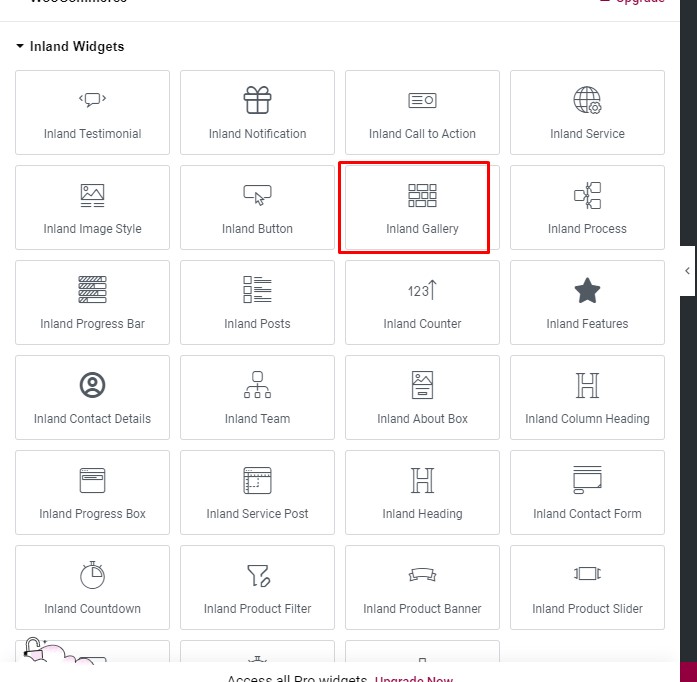
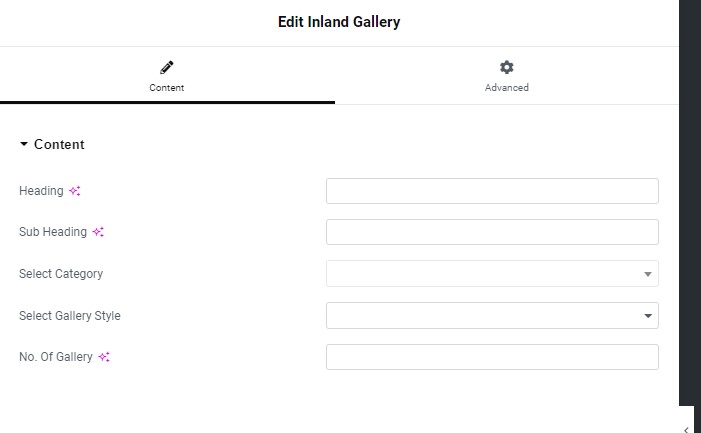
Inland Gallery
User can manage the section from this shortcode. It contents heading, subheading, Category, Style, no.of gallery.
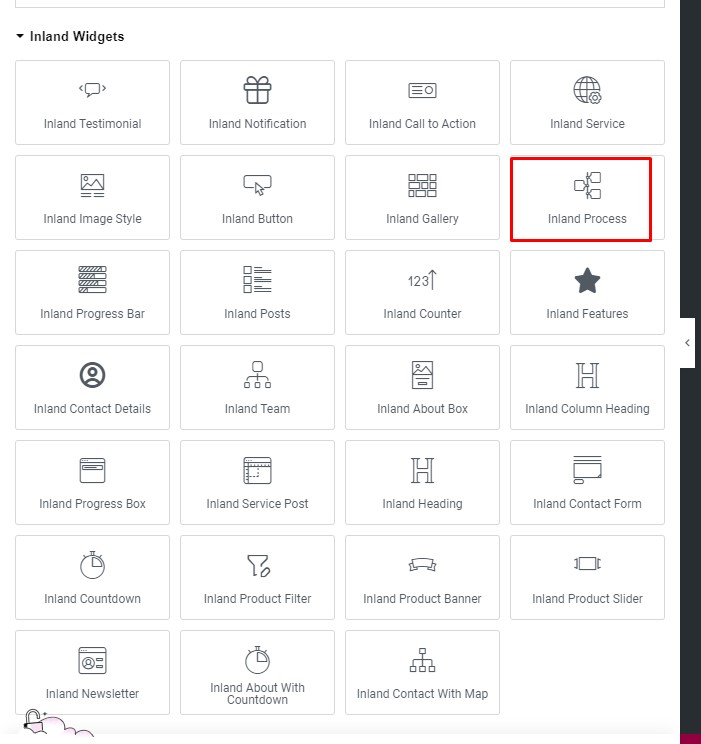
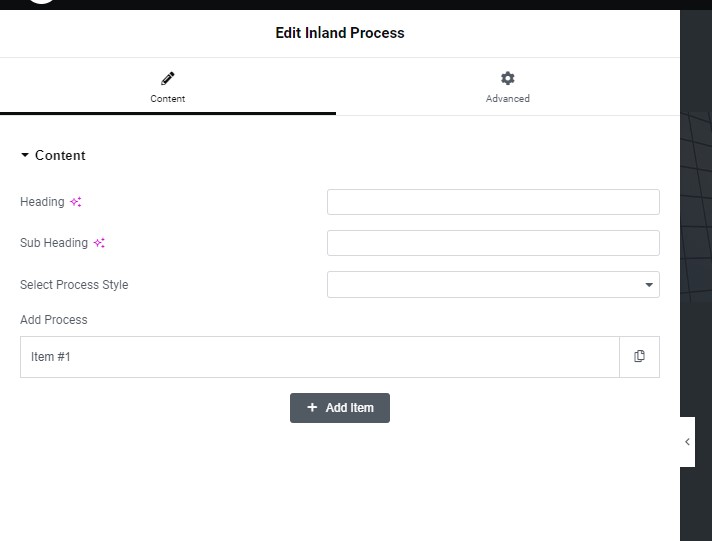
Inland Process
User can manage the Process section through this shortcode. User can manage the heading, Subheading, Process style and Process.
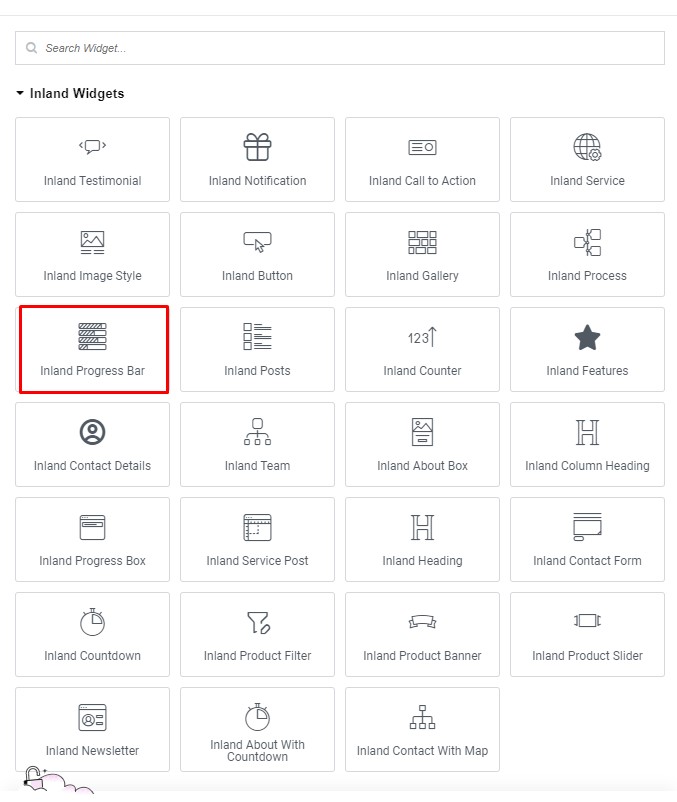
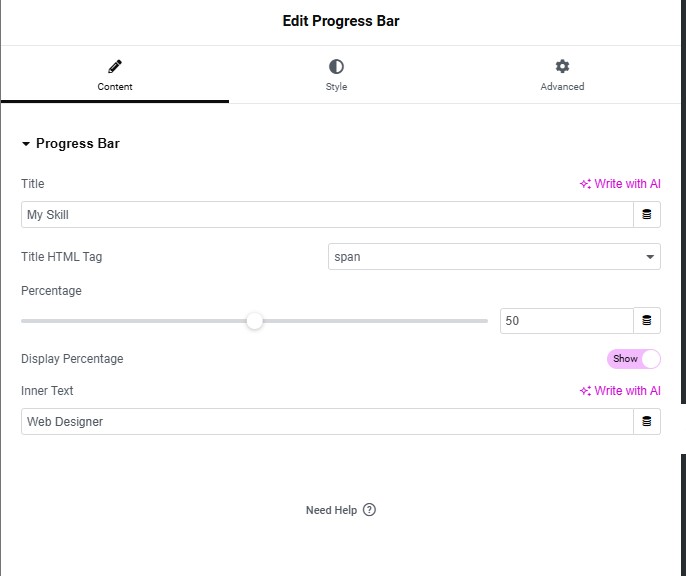
Inland Progress Bar
User can manage the Progress bar section through this shortcode. User can enter Video link, headings, Label and progress Bar.User can use AI writer option as well.
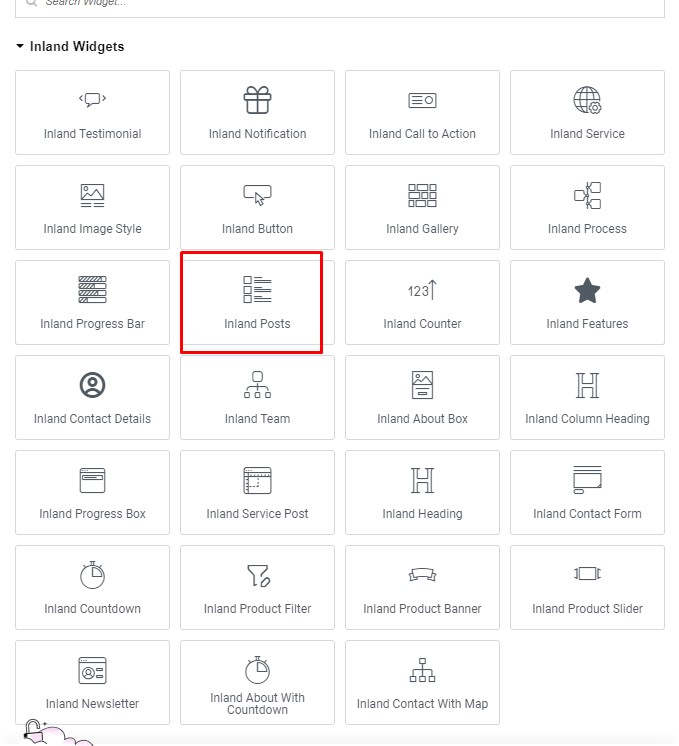
Inland Posts
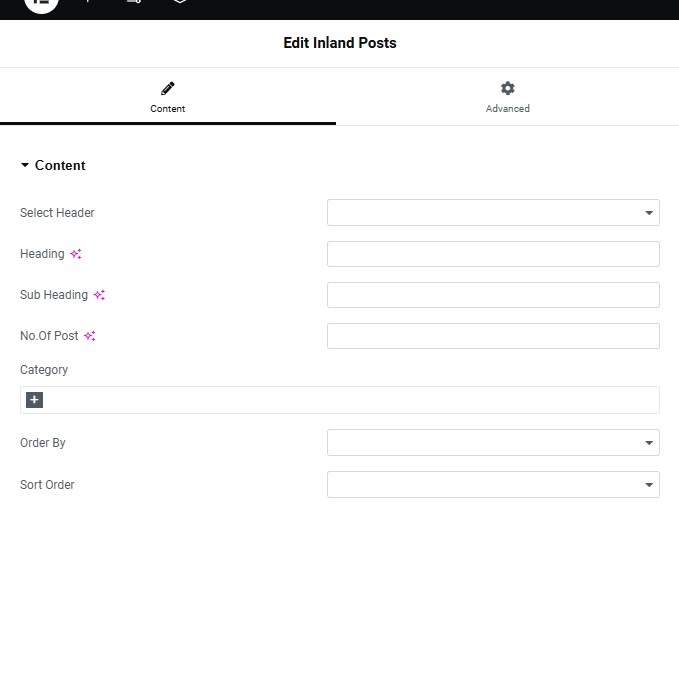
User can manage the Posts section through this shortcode. It contents Header style, Heading, Subheading, Number of post, Category, order by type and Sort order .
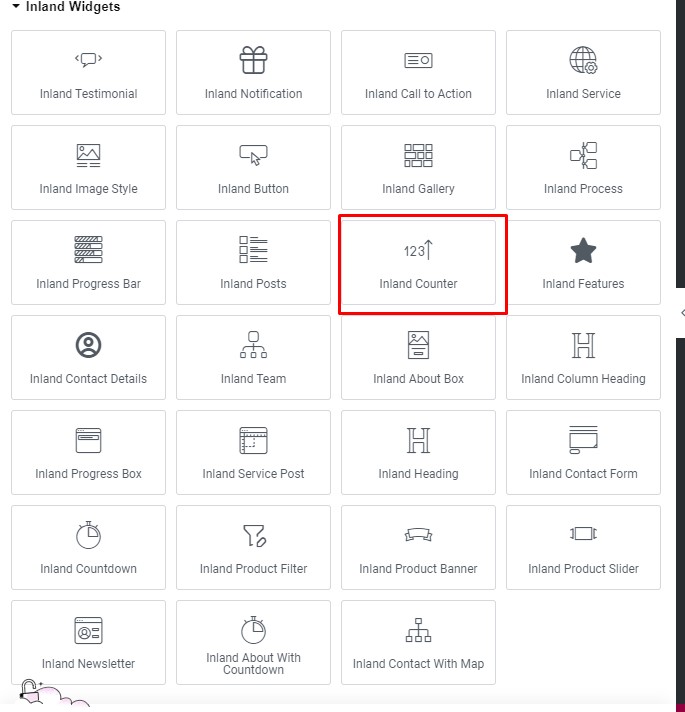
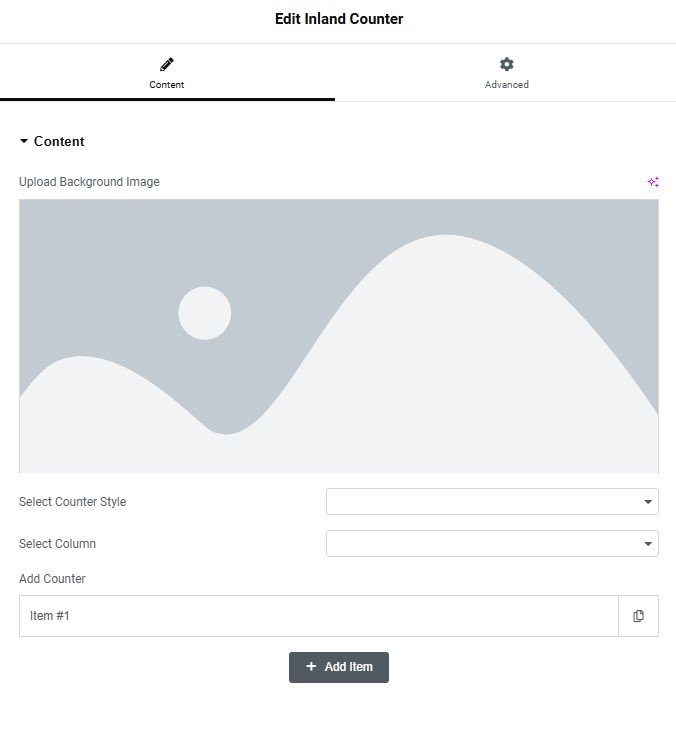
Inland Counter
User can manage the Counter section through this short code. It contents background images,Counter style, Column, Add counter option.
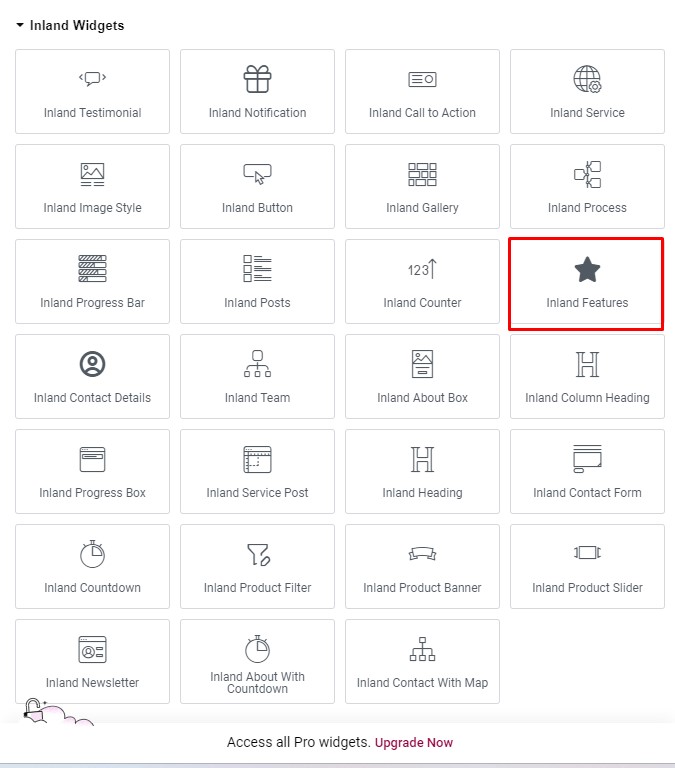
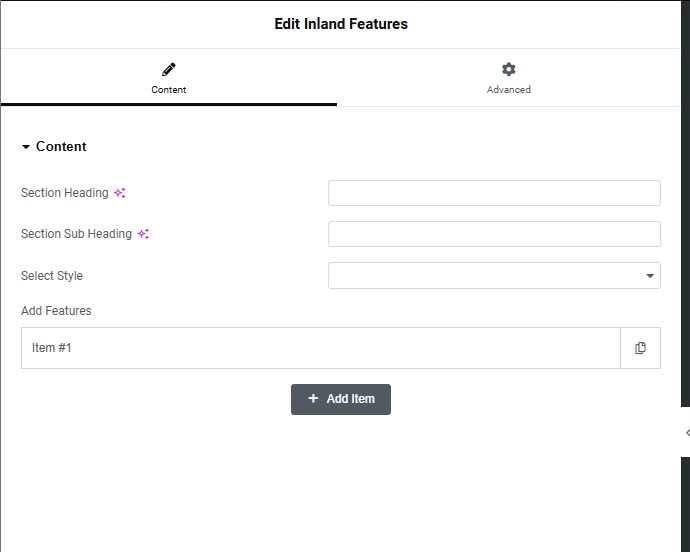
Inland Features
User can manage the Features Section. It contents Section Heading, Sub heading, Style, Option to add Features.
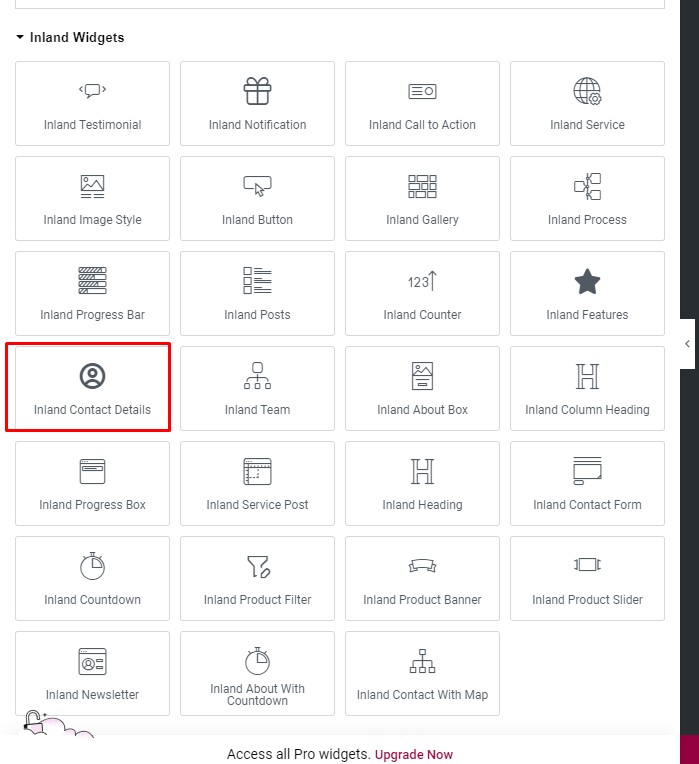
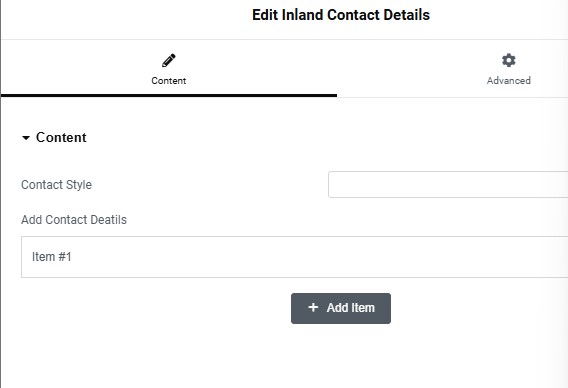
Inland Contact Details
User can Manage Contact Style & Contact details through this shortcode.
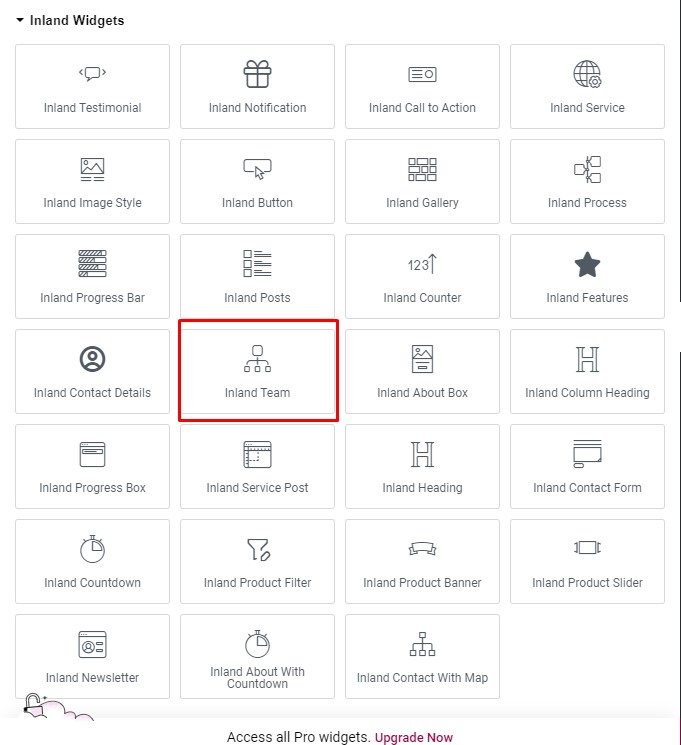
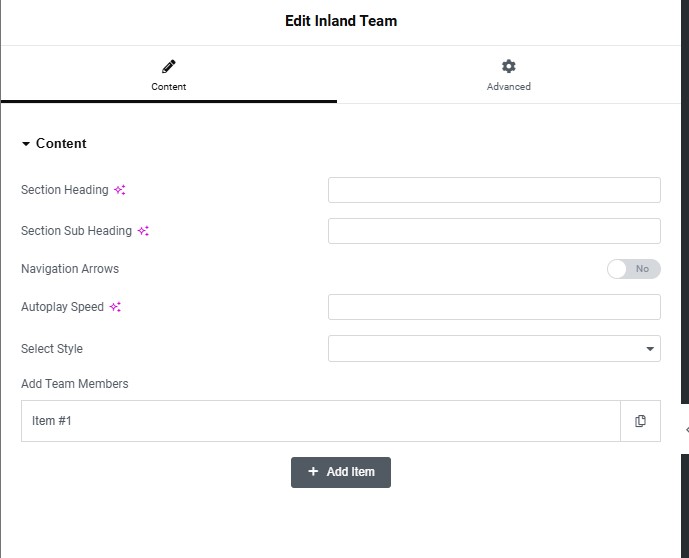
Inland Team
User can manage the inland Team section. It contents Section Heading, Sub heading, Navigation Arrows, Autoplay speed, Style, Option to add team members .
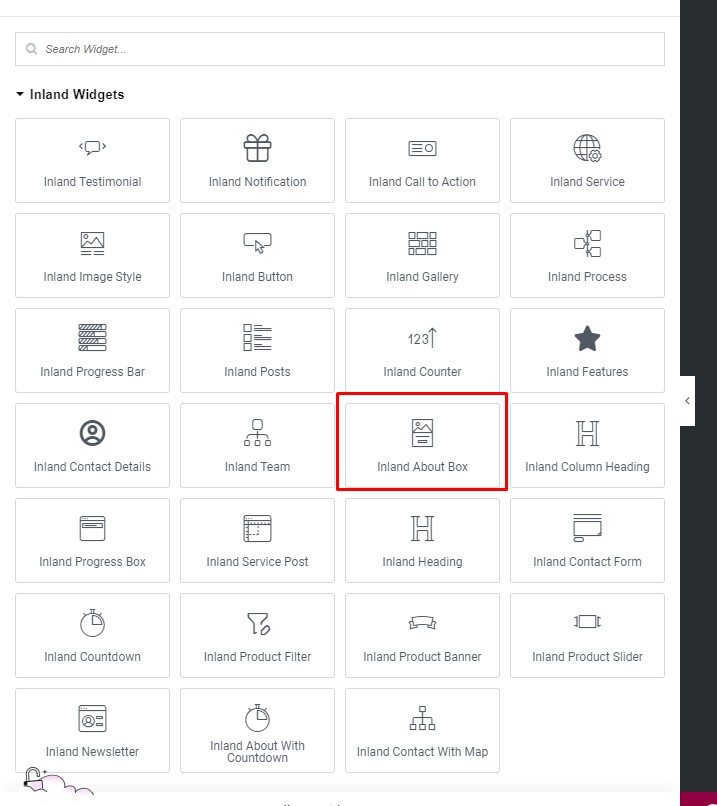
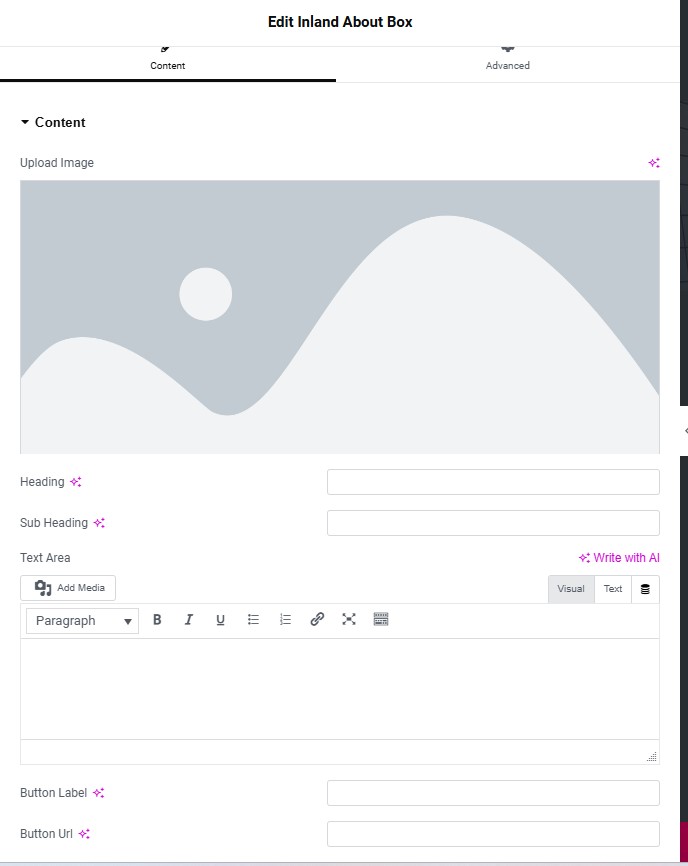
Inland About box
User can manage the About Box using this shortcode. It contents Upload image, heading, sub-heading, Text area, button label and button URL.
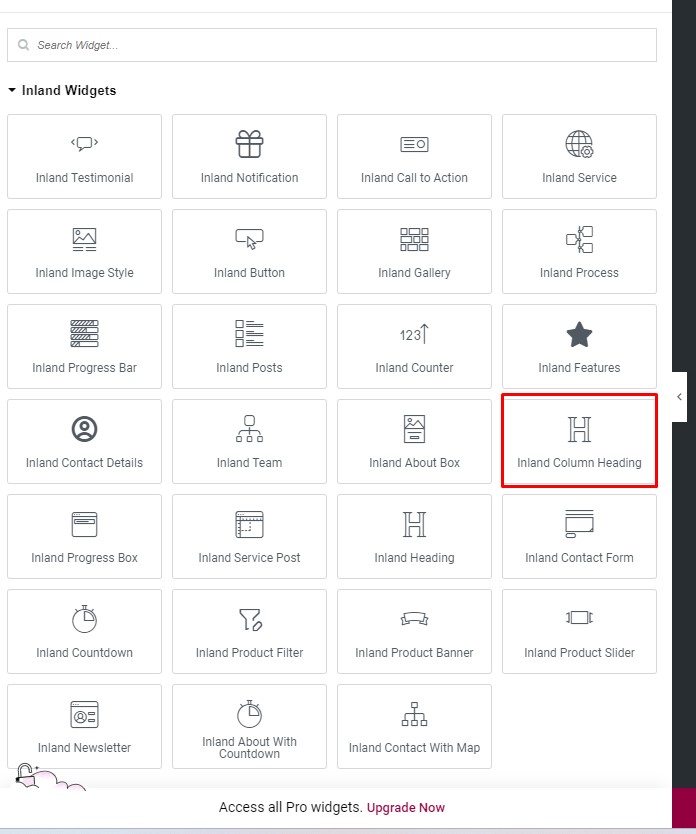
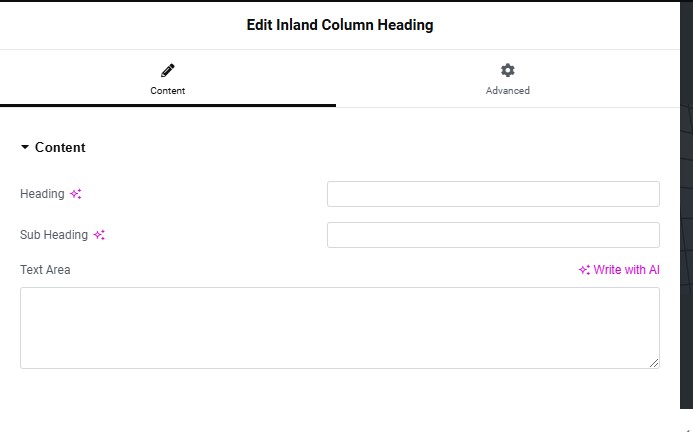
Inland Column Heading
User can manage the Column heading section through this short code. User can manage the heading, Sub heading, text area and AI writer option is also available.
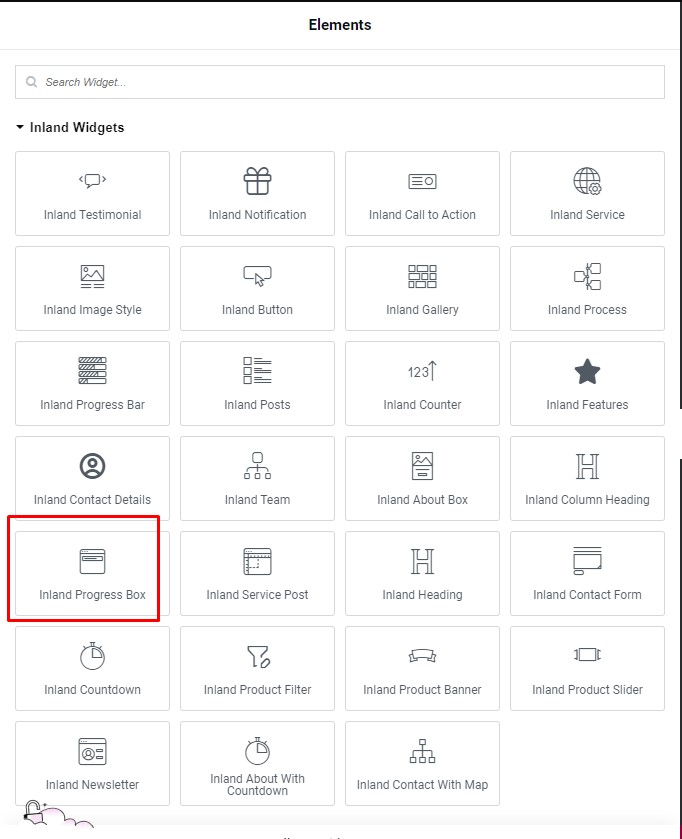
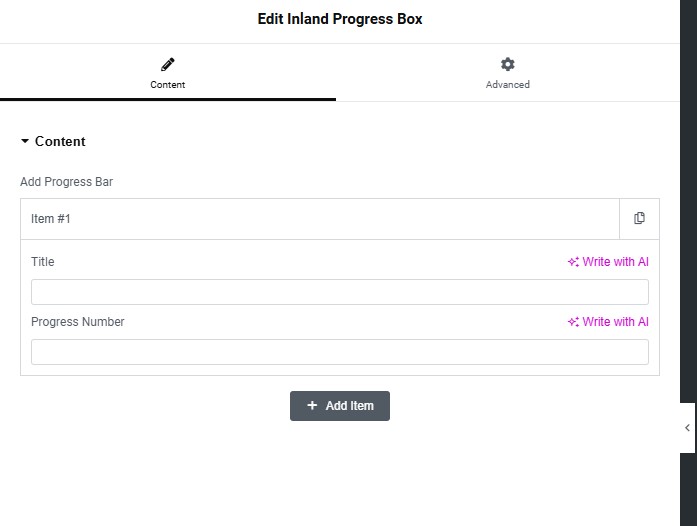
Inland Progress box
User can mangage the Progress box section through this short code. User can add Progress bar, Title and Progress number. Ai writer option is also available.
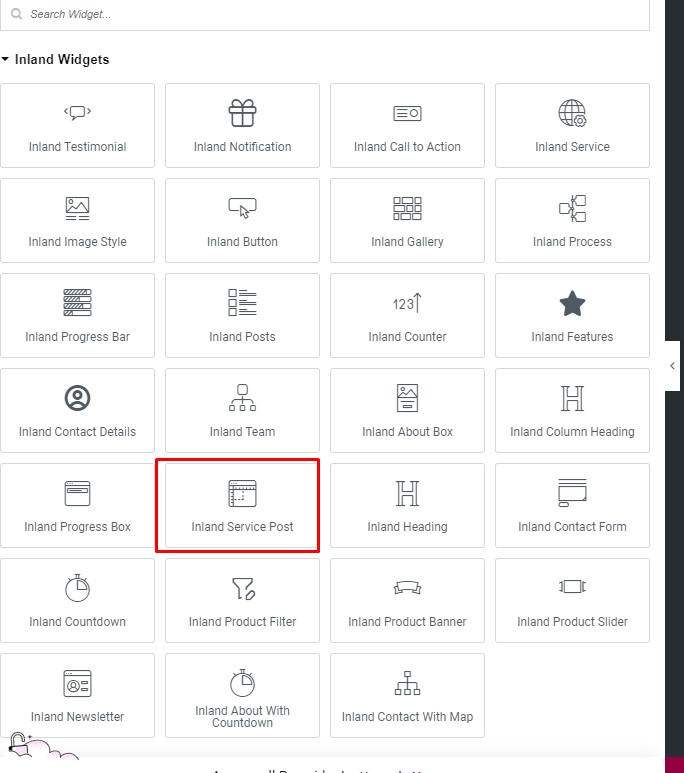
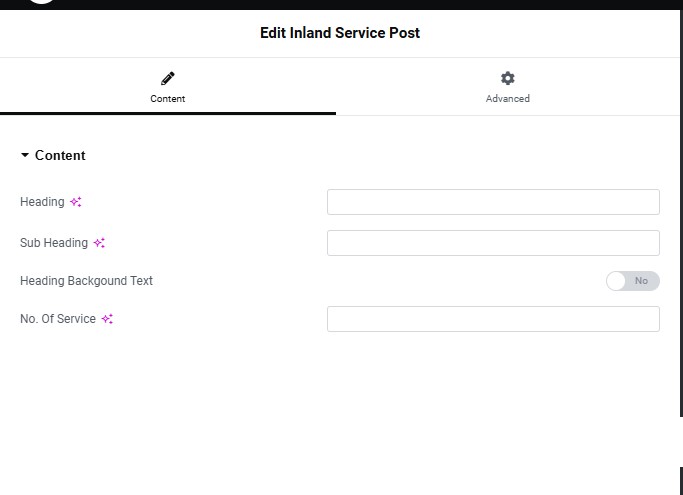
Inland Service Post
Inland service post shortcode contents the options Heading , subheading, heading Background text and number of services to manage the Service post section.
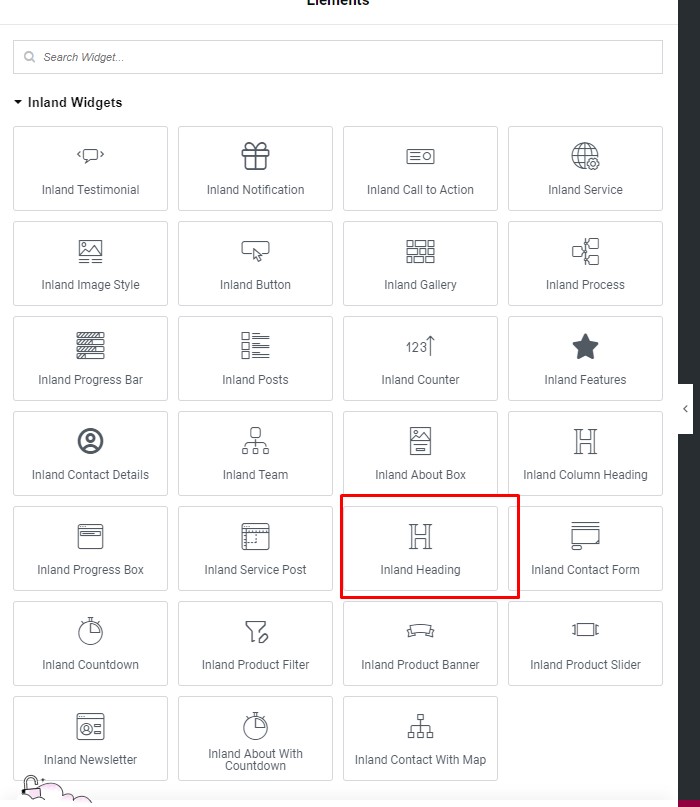
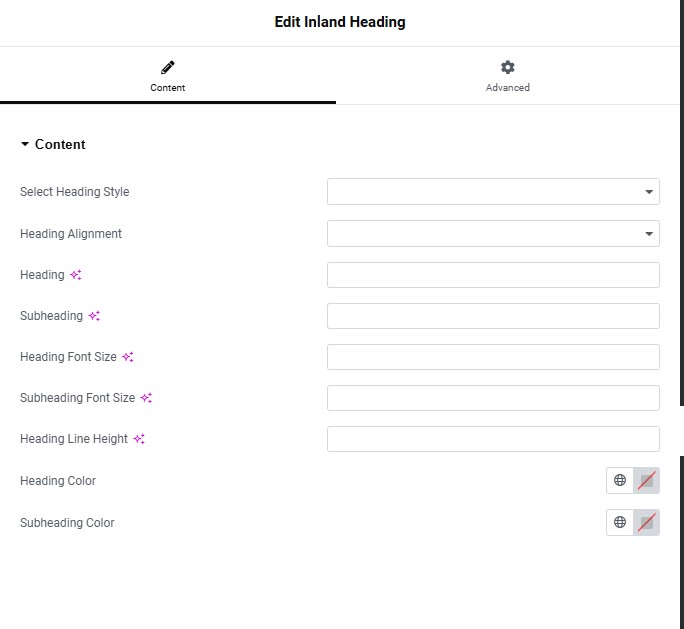
Inland Heading
User can manage the Heading section through this shortcode. It contents Heading, style, alignment, subheading, font size, subheading font size, heading line height, Heading color, subheading color.
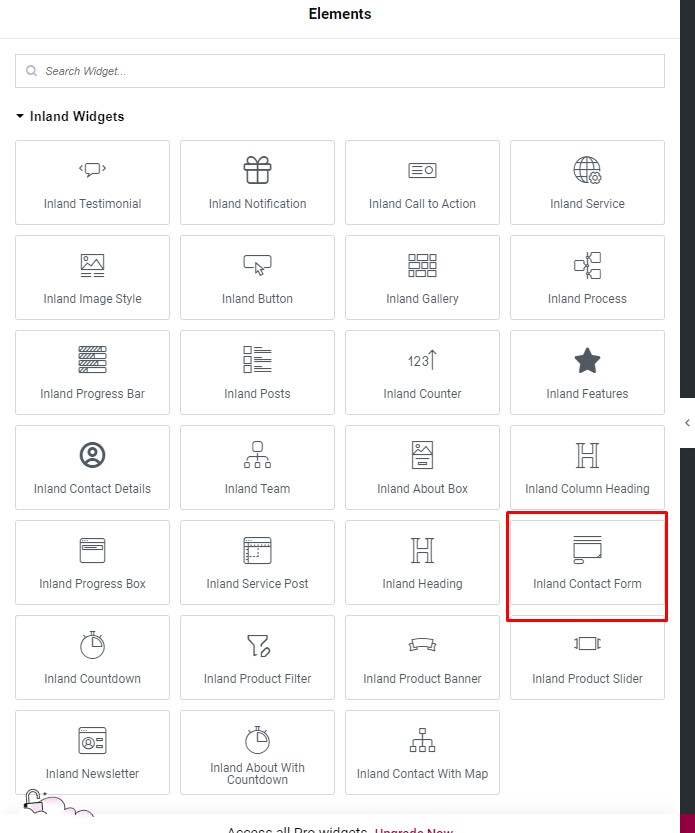
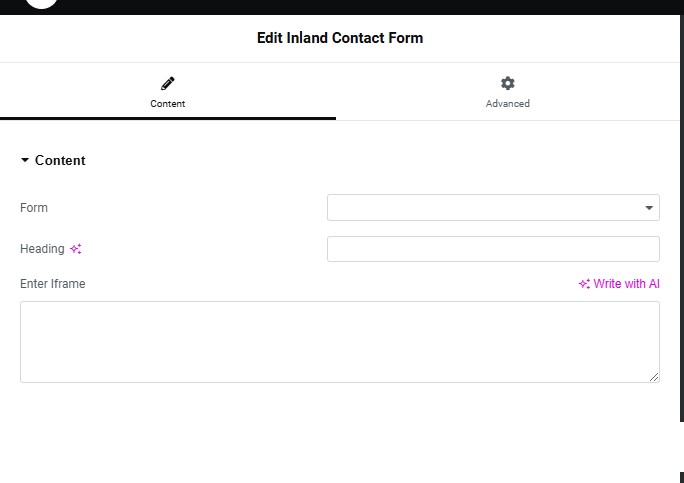
Inland Contact form
User can manage the contact Form Section. It contents Form, heading, Iframe and AI writer is also available.
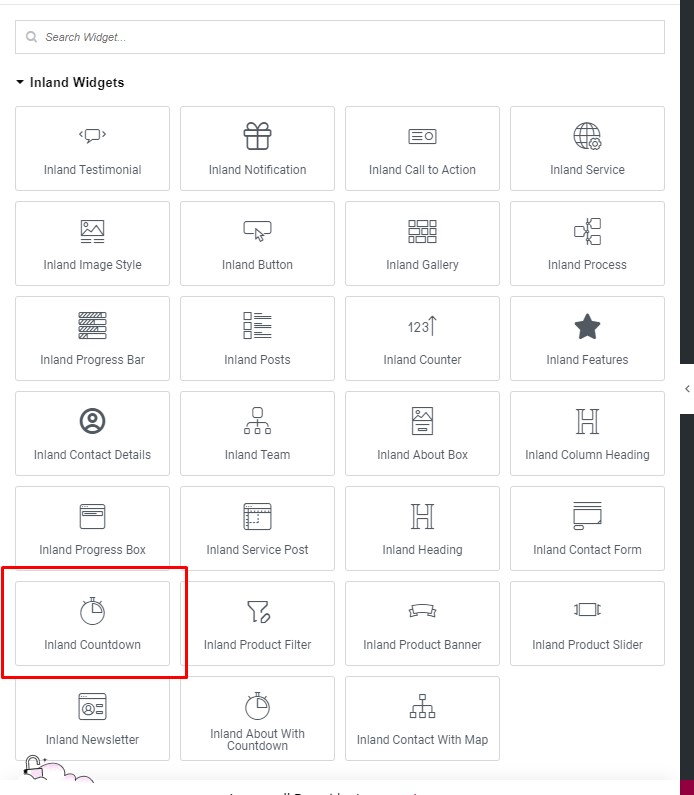
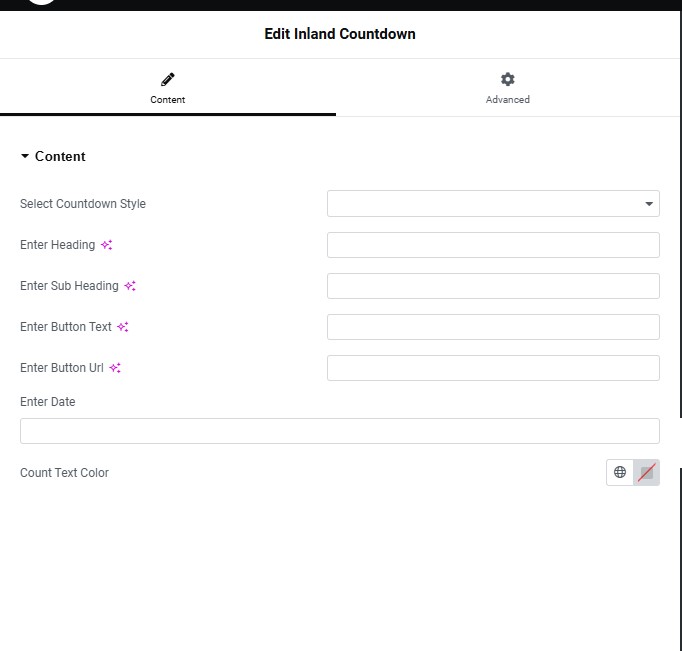
Inland Countdown
This shortcode is used to manage and customize the countdown style, heading, sub heading, button txt, button URL ,date, text color at the Inland Countdown Section.
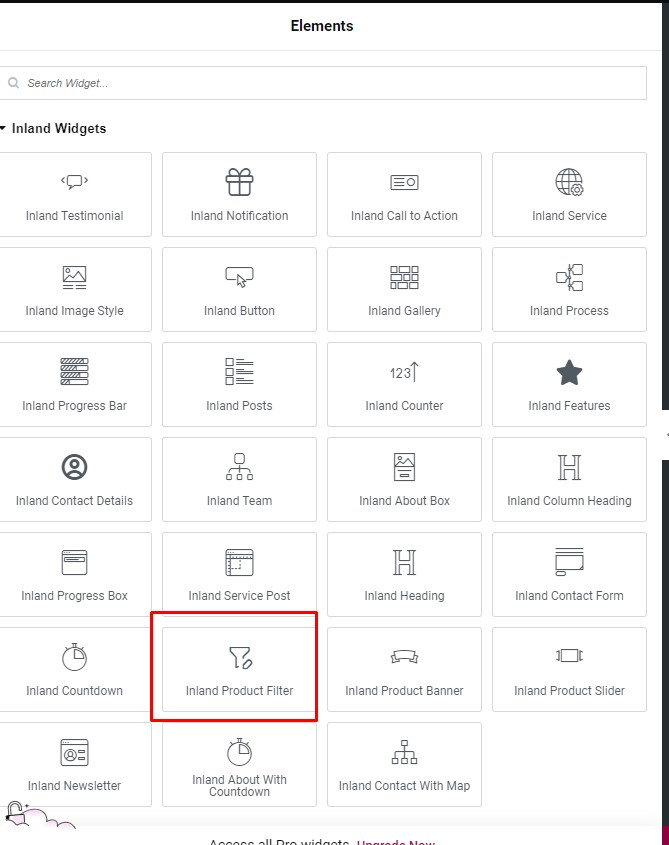
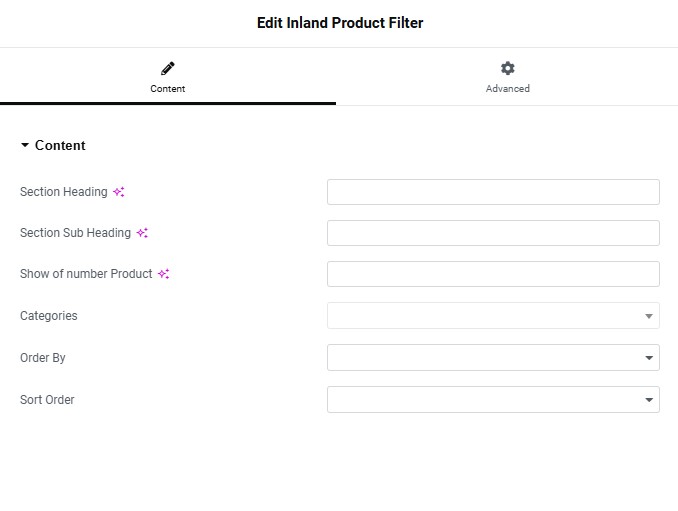
Inland Product filter
User can manage the Product filter section through this shortcode. It contents section heading, Sub heading, Number of product, Categories, order by, sort order.
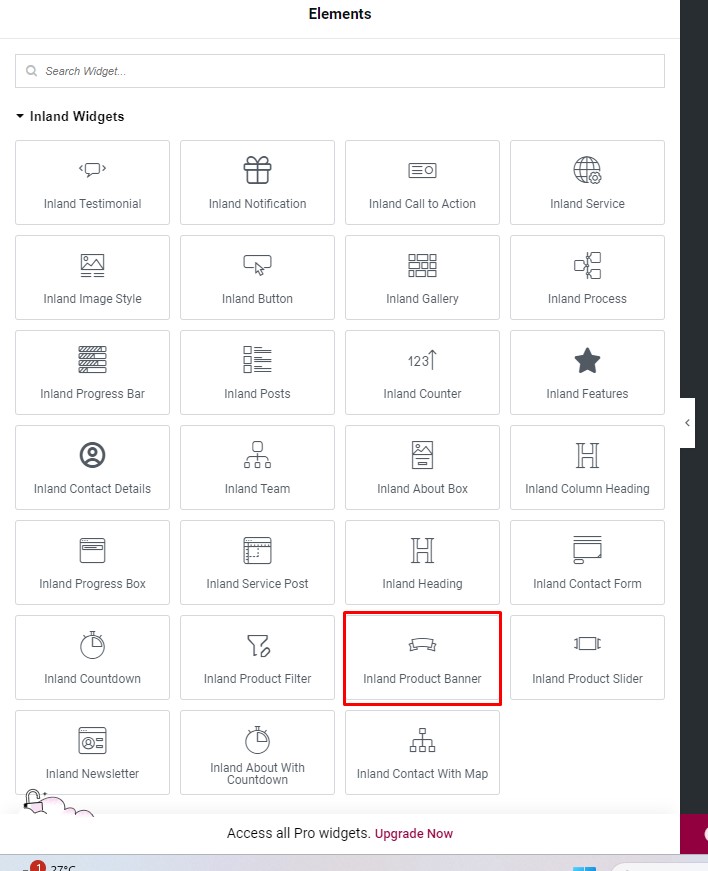
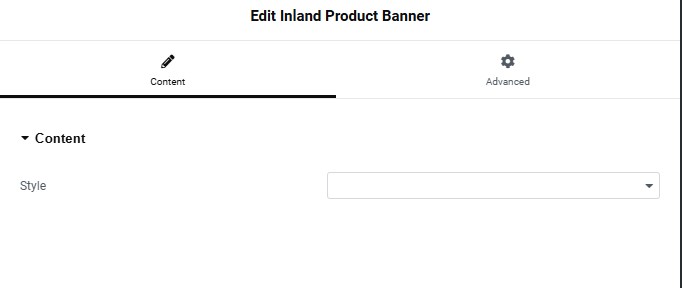
Inland Product Banner
User can manage the Product Banner section through this shortcode. It contents the style of white & dark version.
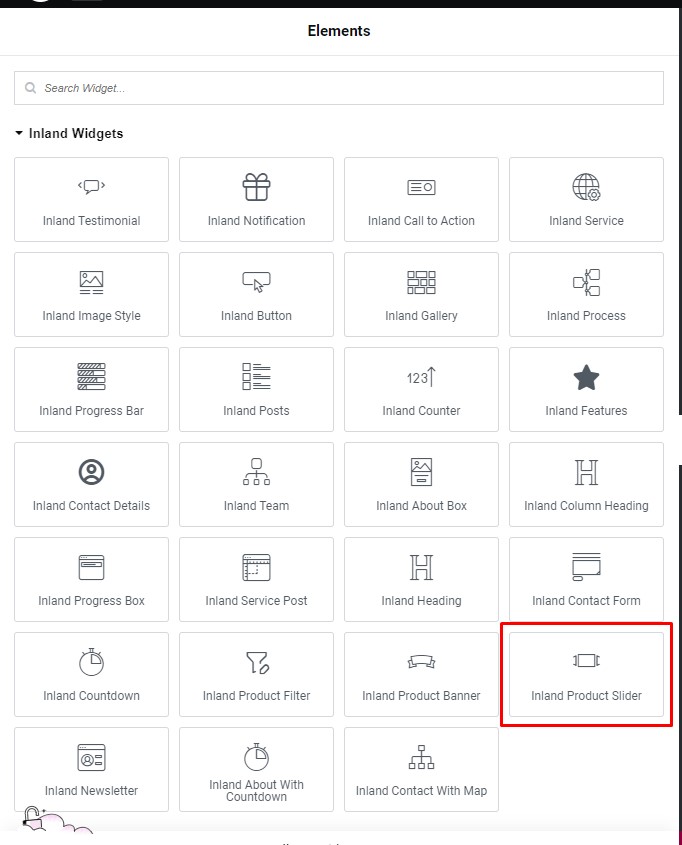
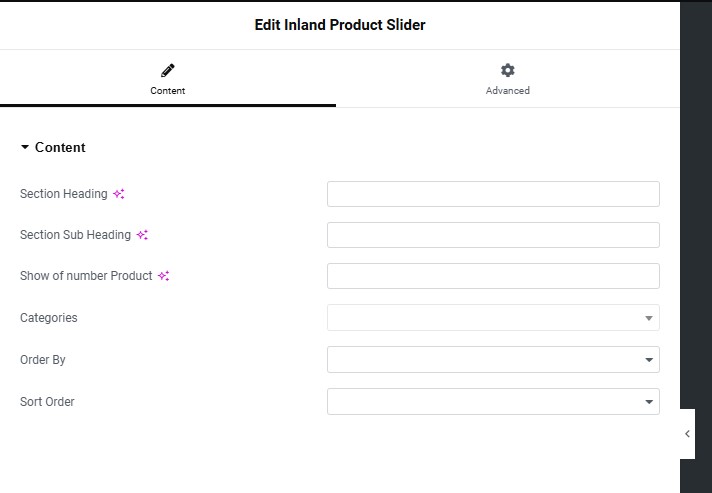
Inland Product Slider
User can manage the Product Slider section through this shortcode. It contents the section heading, Sub heading, Number of product, Categories, order by, sort order.
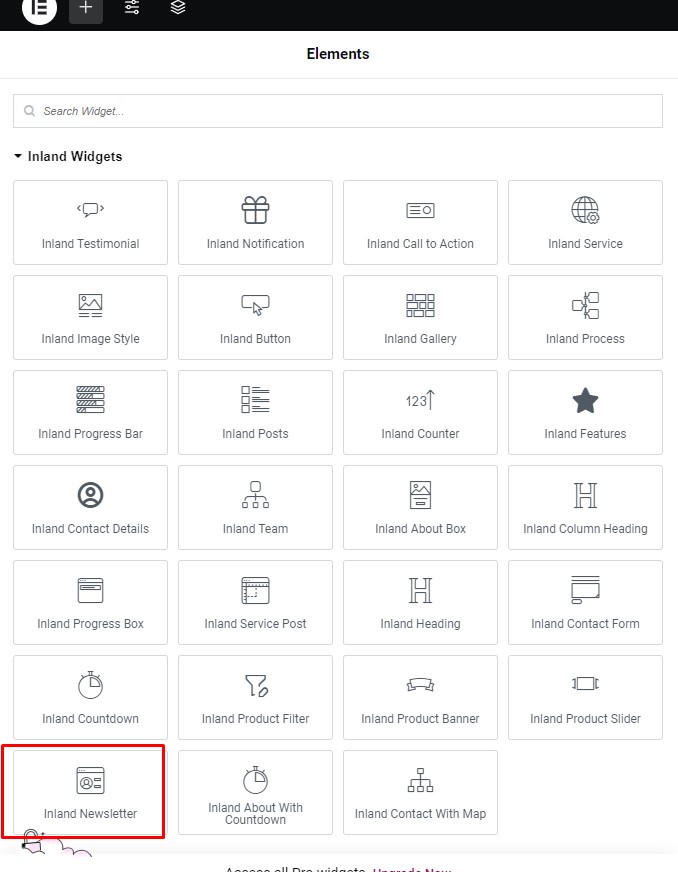
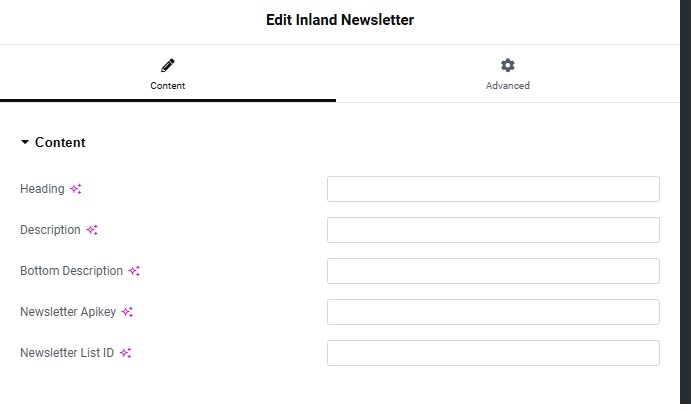
Inland Newsletter
User can manage the Newsletter section through this shortcode. It contents the heading, Description, bottom description,Newsletter APi key, Newsletter list Id.
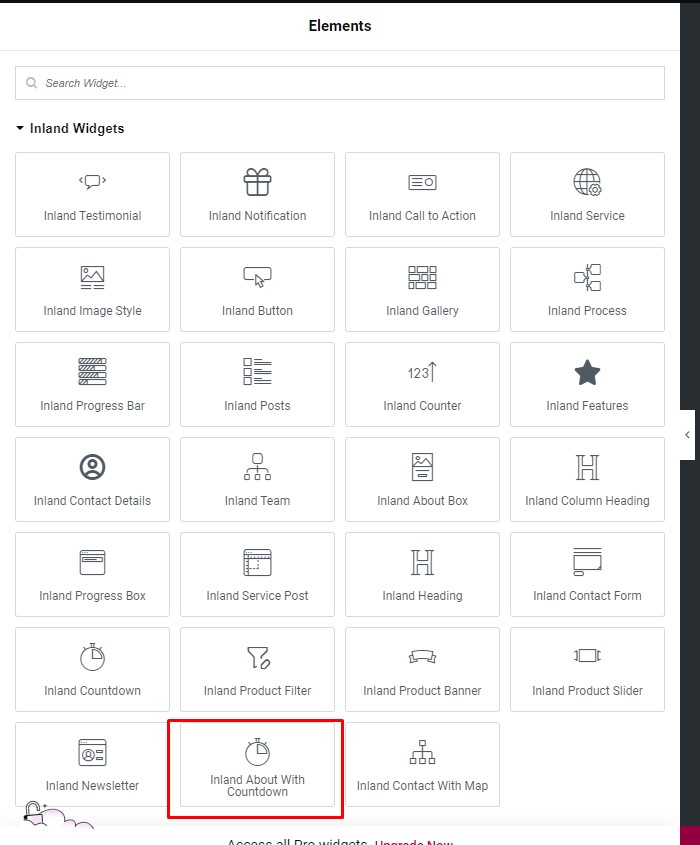
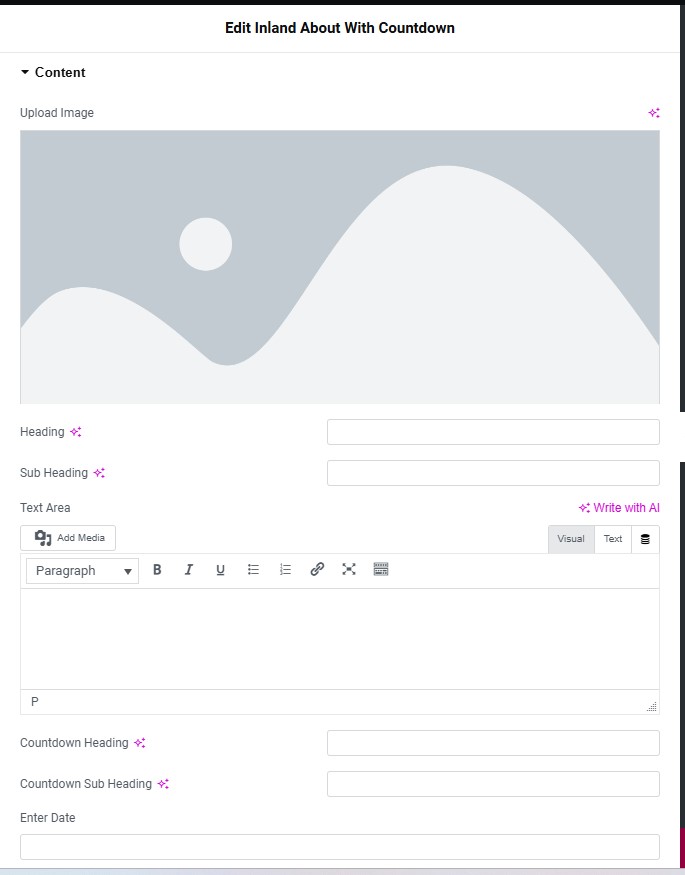
Inland About With Countdown
User can manage the About with countdown section through this shortcode. It contents the Upload image, heading, Sub heading, Text area, Countdown Heading, Countdown Sub heading, End date, count text color, Button label, button URL.
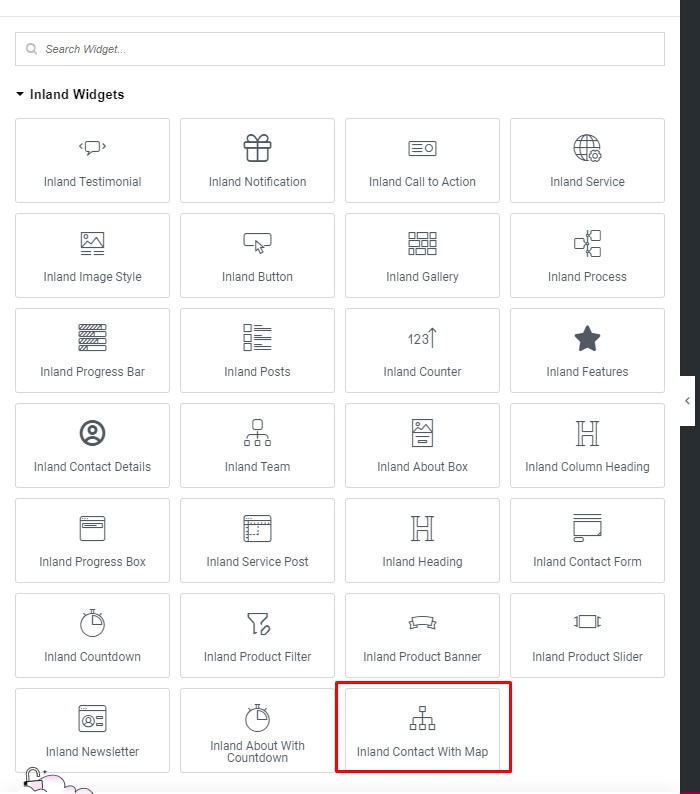
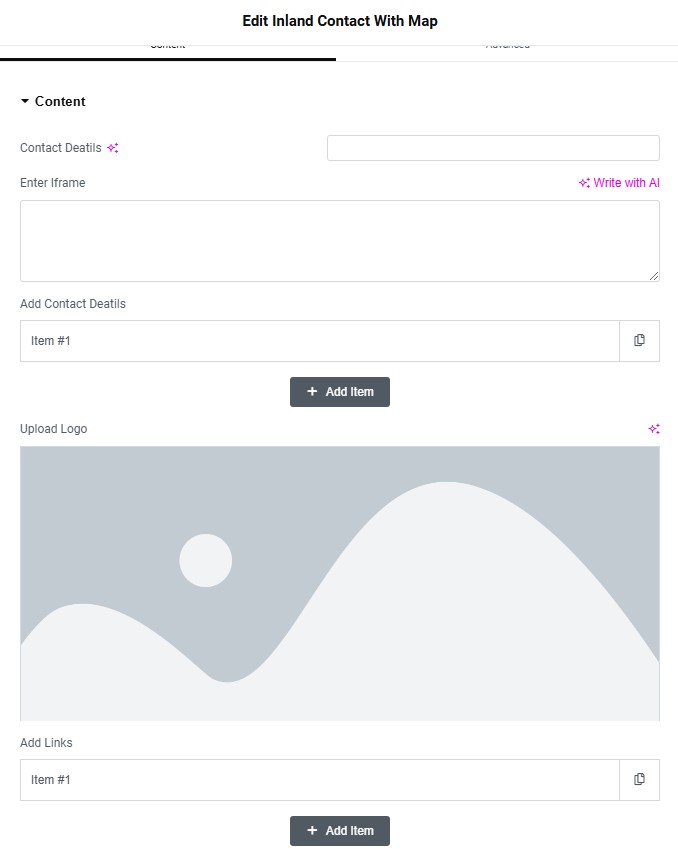
Inland Contact with Map
User can manage the Inland Contact with Map section through this shortcode. It contents the Contact details, Iframe, Add contact details, upload logo ,add link option and Write with AI option is also available.
GPT Sniper
GPT Sniper plugin includes several settings and features. It generates and transforms text using OpenAI API.
Note : The OpenAI API requires payment based on usage. The cost of using this API will depend on the pricing plan that you select and the number of API requests that you make. Please carefully review the pricing plans and usage limit from here https://openai.com/pricing
When you sign up for first time then you can use API key for free for limited period of time and usage.
Settings
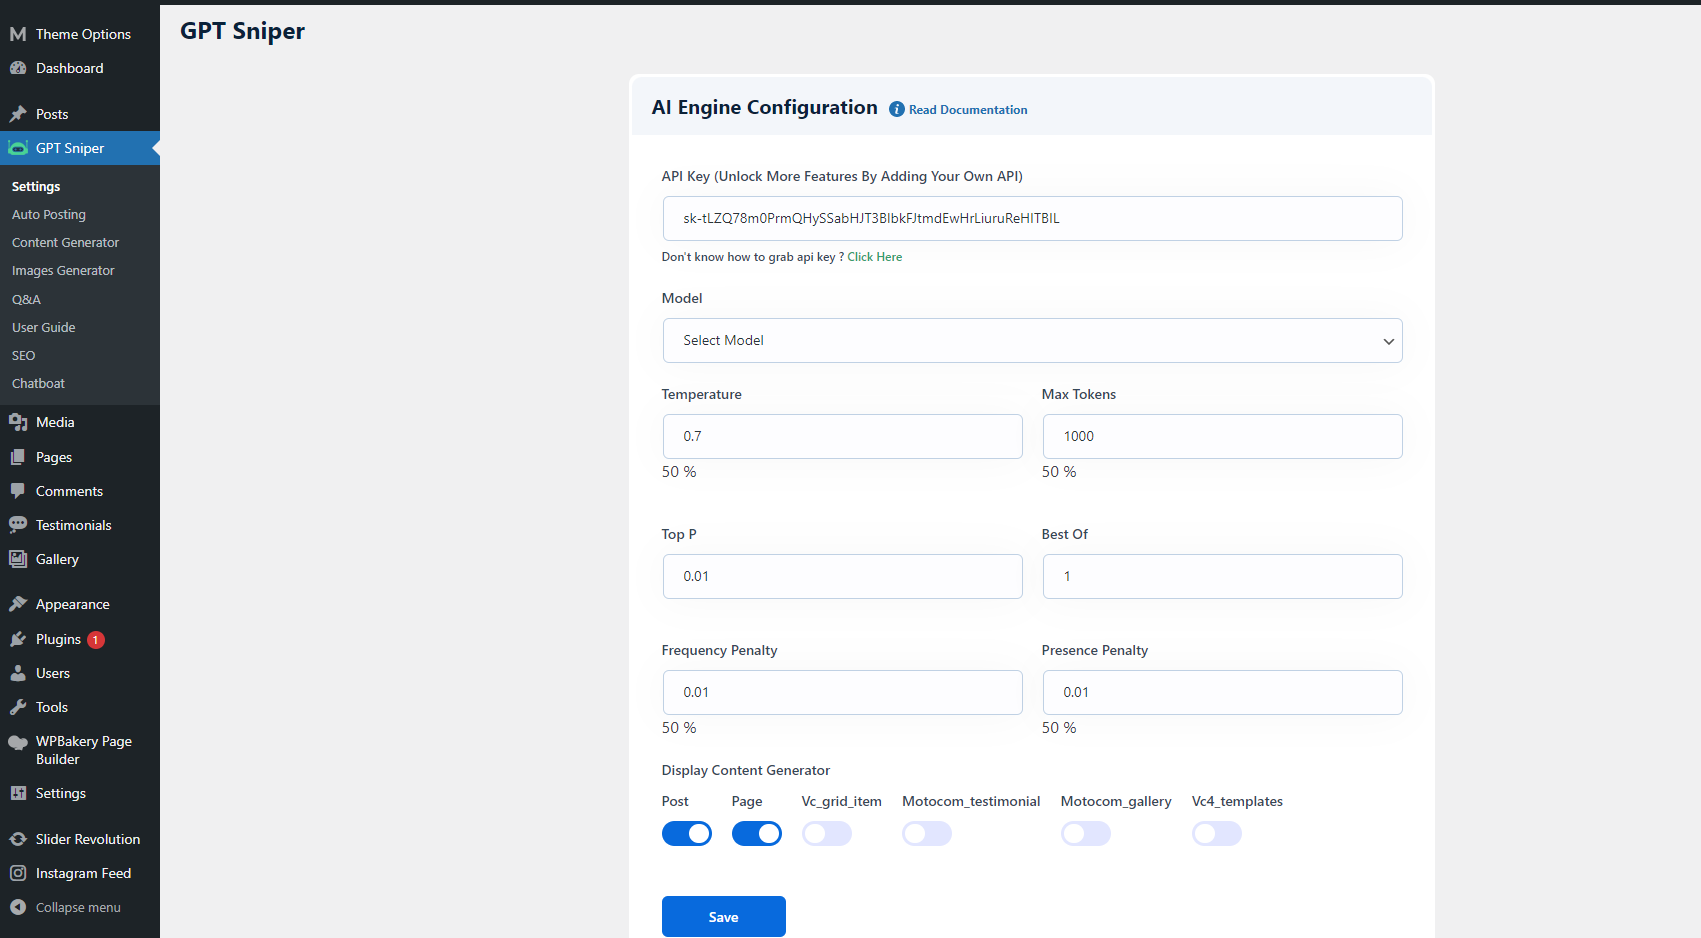
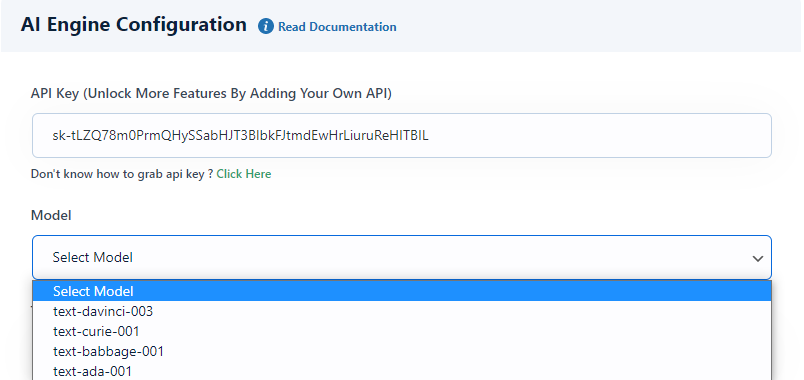
With GPT Sniper settings, you can customize the Openai API settings like Model, Temprature, Max Tokens, etc. After adjusting all the values click on Save button.
API key
Add the API key here to connect Auto Content Generator. To get the API key please Click Here
How to Get API Key
Step 1 - Click here https://openai.com/api/ You will be redirected to the Openai API's website.
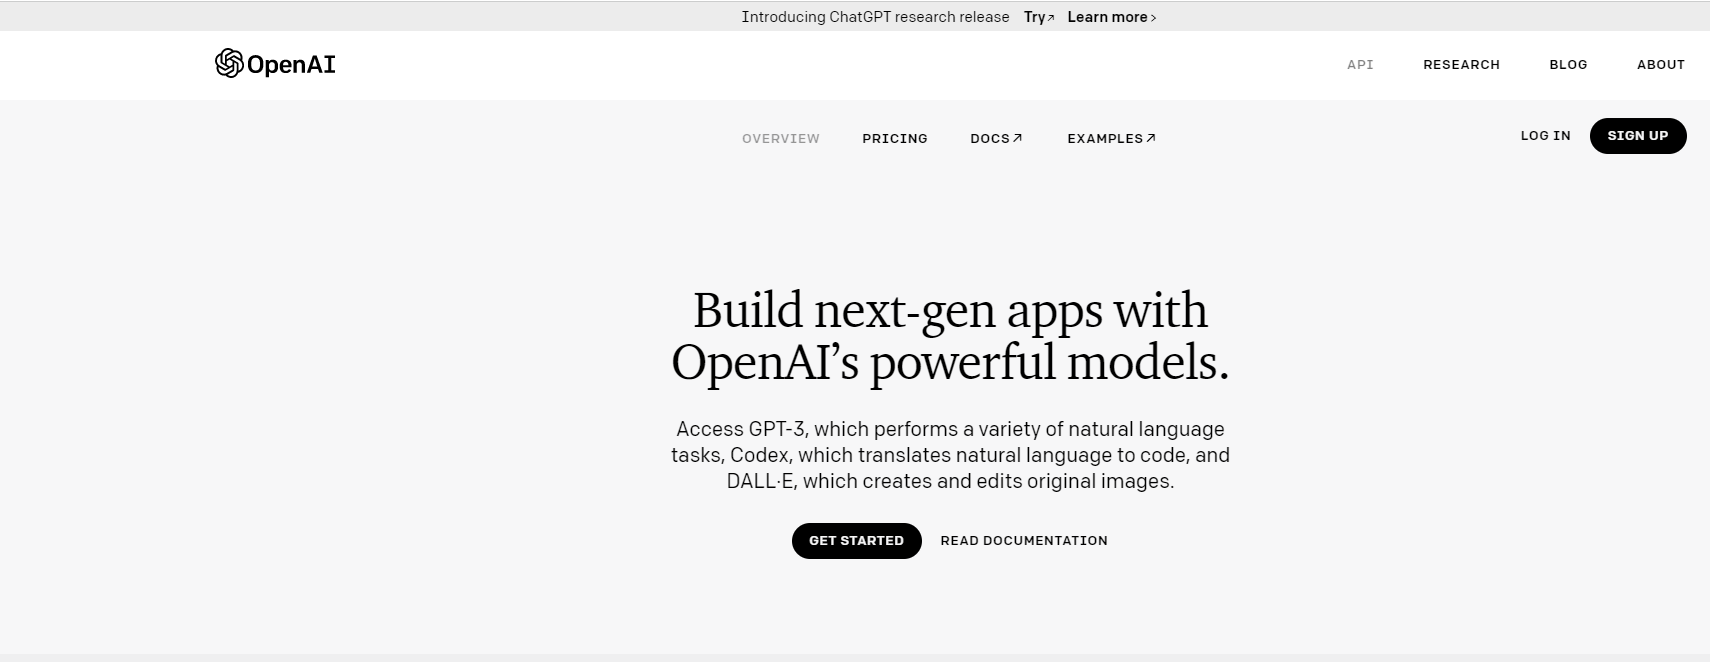
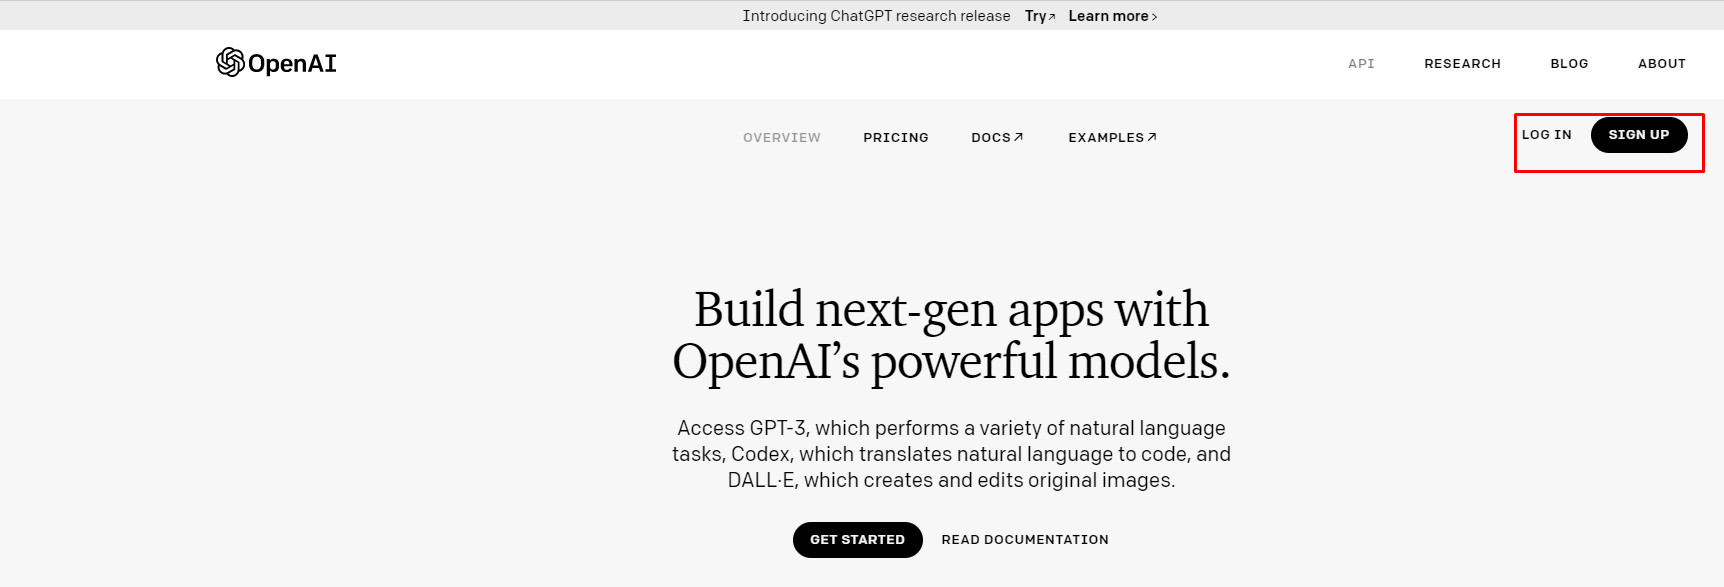
Step 2 - Login to your Openai account, if you already have an account on it. Or else first sign up and then login.
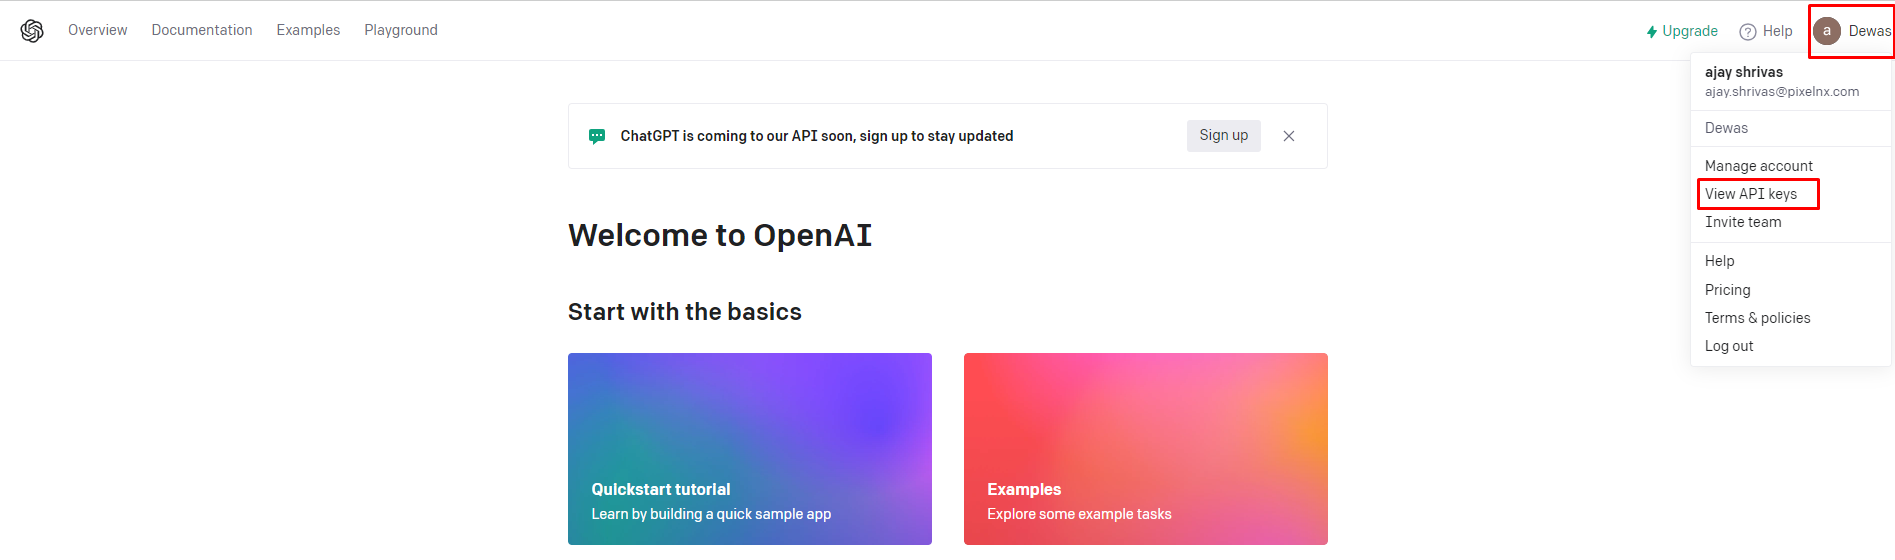
Step 3 - After login, you will be redirected to the dashboard of Openai. Click on the Profile menu and select View API keys.
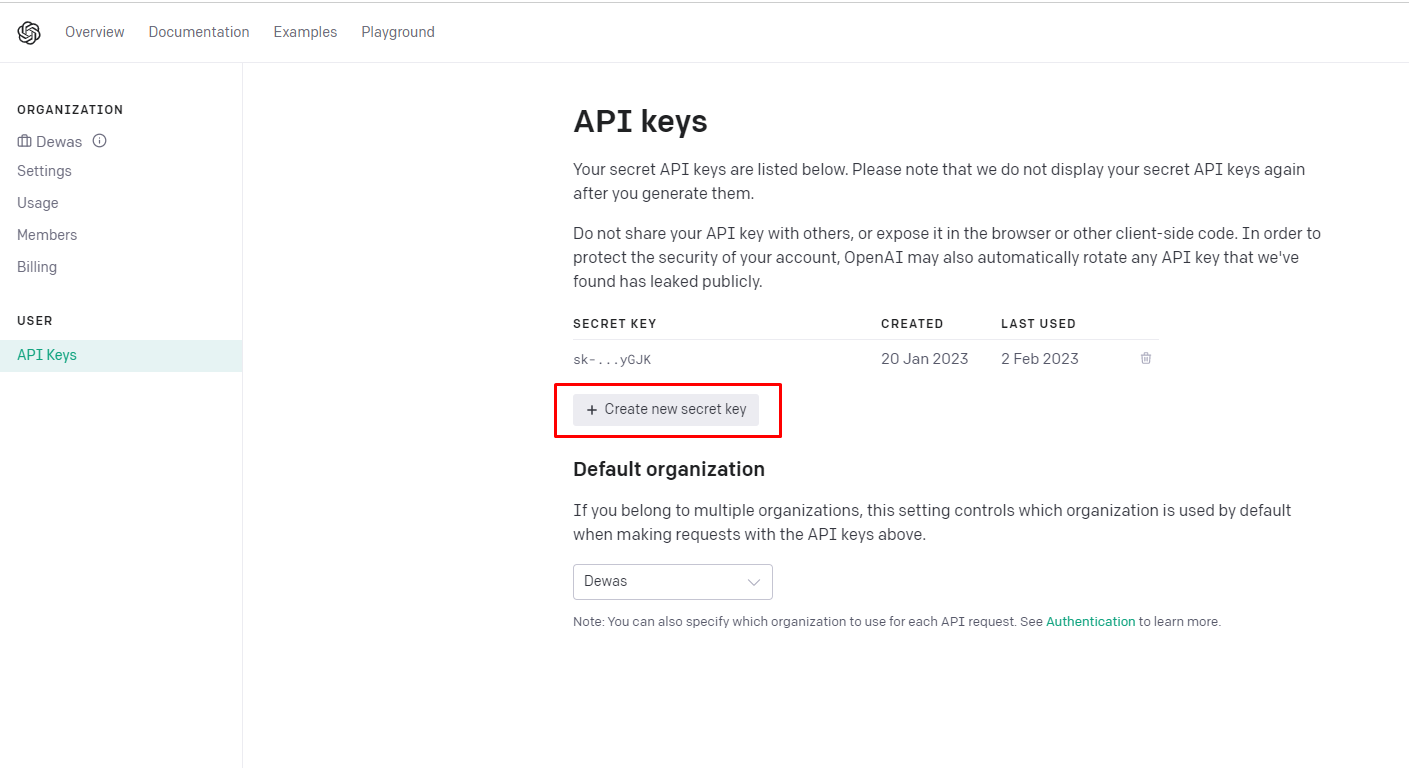
Step 4 - Then click on Create New Secret key button.
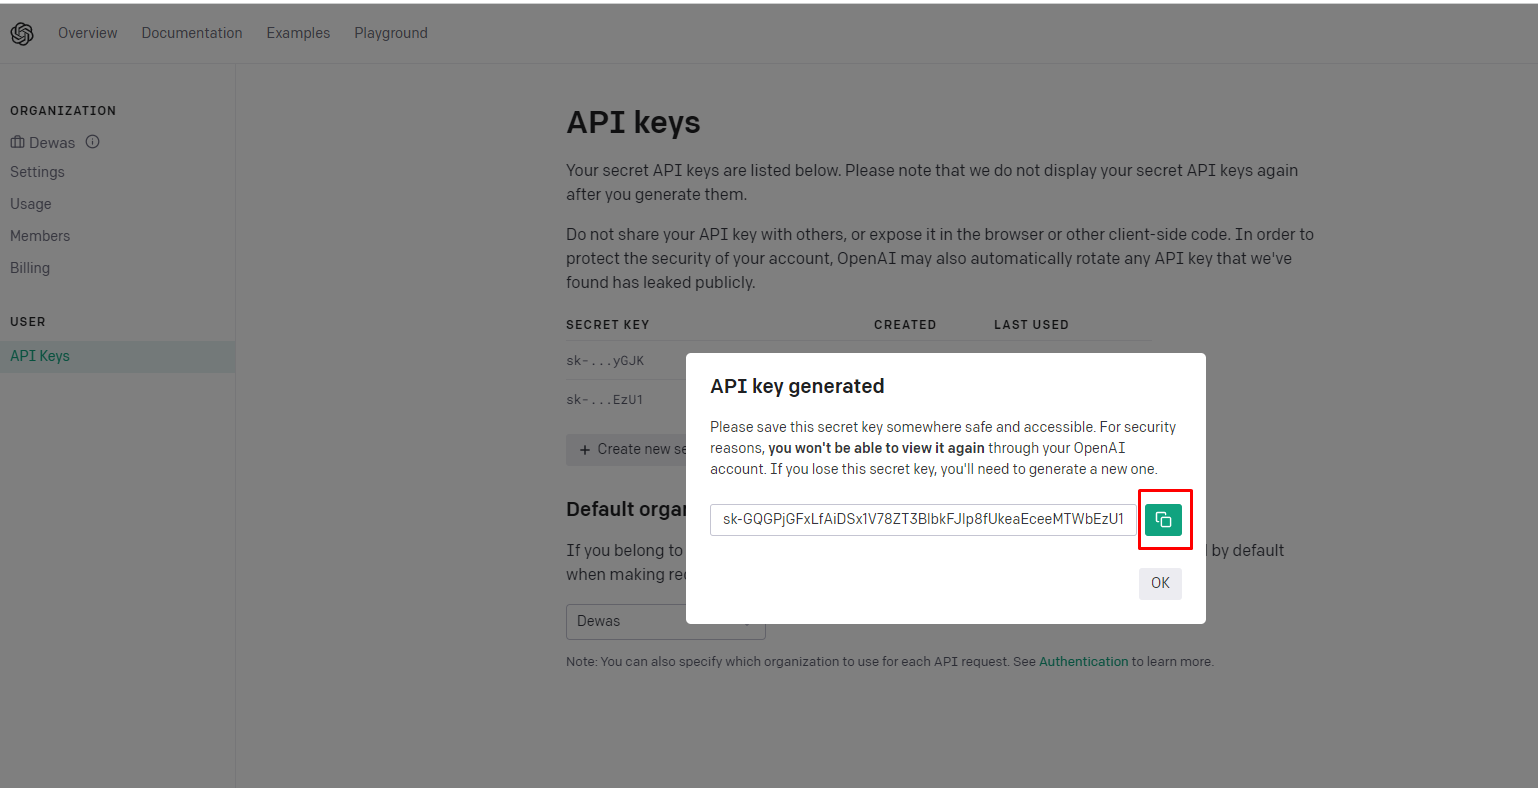
Step 5 - A popup will appear containing the API key. Copy and paste it into the API key field of GPT Sniper settings.
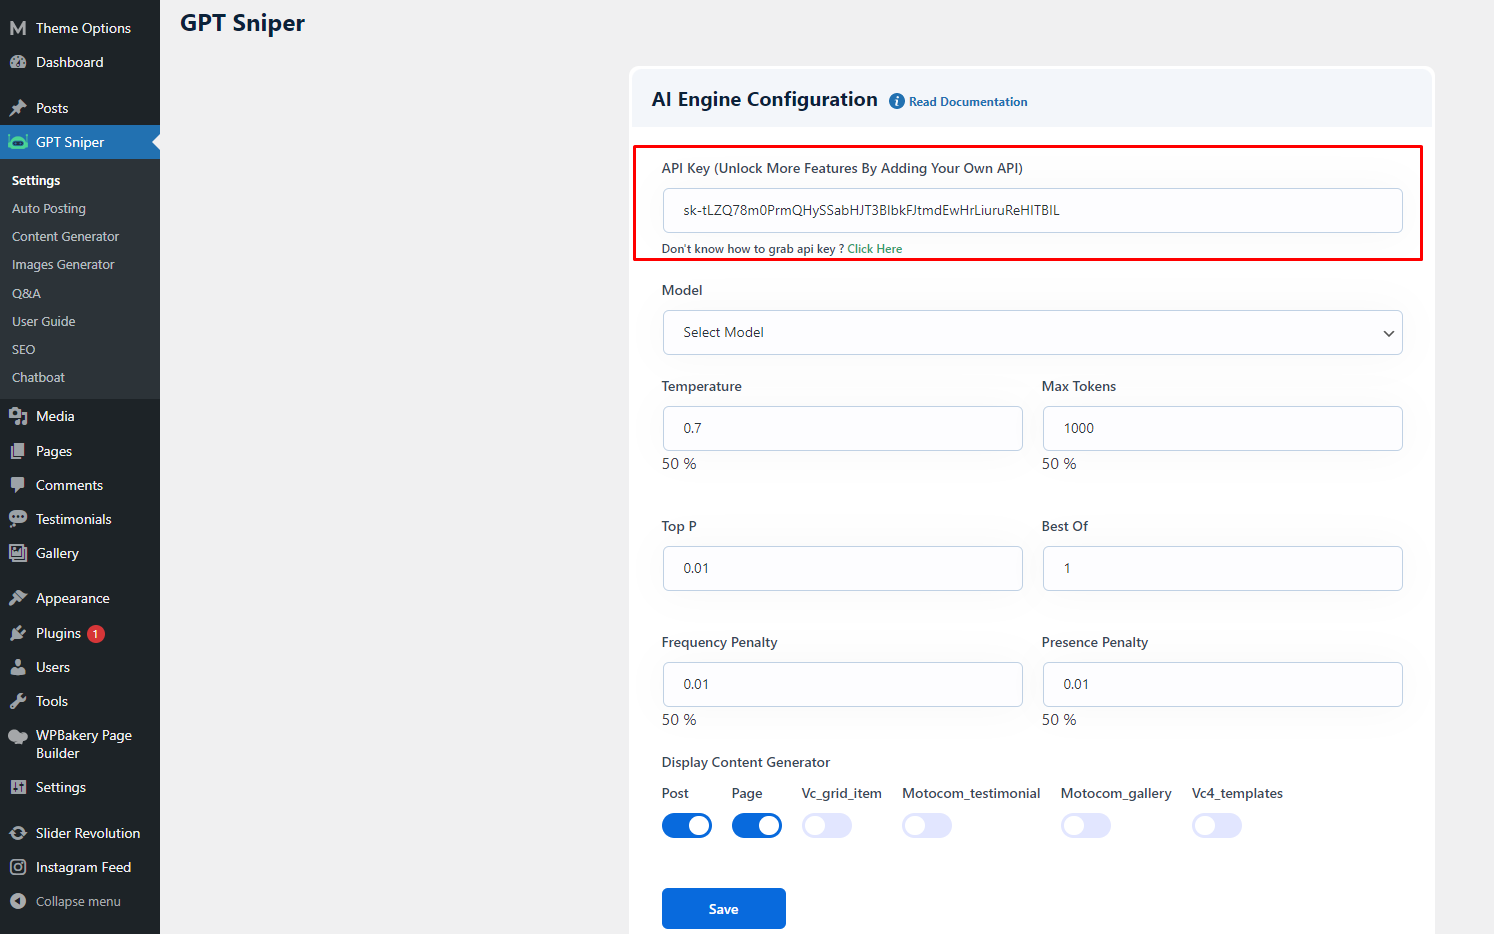
Model Model can understand and generate natural language. We have provided four main models with different levels of power suitable for different tasks.
text-davinci-003 It is the most capable model. Can do any task the other models can do, often with higher quality, longer output and better instruction-following. Also supports inserting completions within text.
text-curie-001 This is very capable, but faster and lower cost than Davinci.
text-babbage-001 It is capable of straightforward tasks, very fast, and lower cost.
text-ada-001 It is capable of very simple tasks, usually the fastest model in the GPT-3 series, and lowest cost.
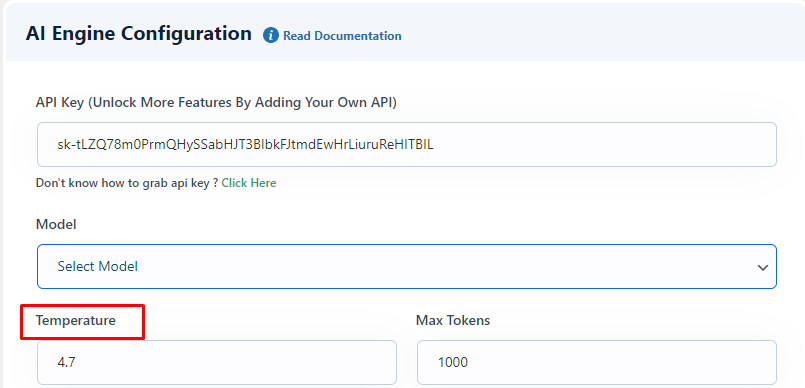
Temperature This setting allows you to customize the temperature value. Temperature controls the randomness in the output, that can be customized to achieve different results. At lower temperatures, it will choose words with a higher probability of occurrence. As the temperature approaches to zero, the model will become deterministic and repetitive.
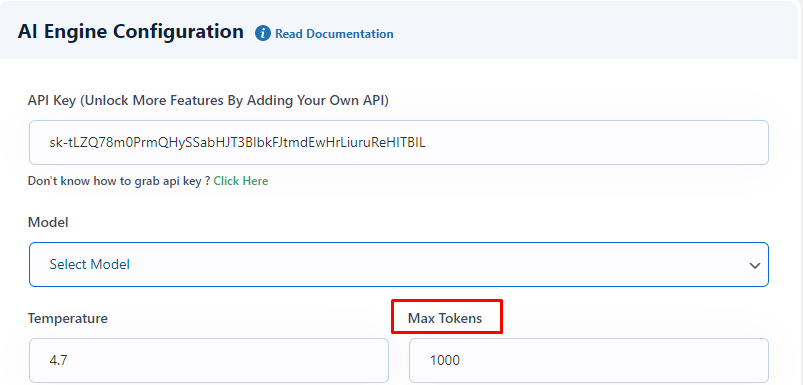
Max Tokens The API processes text by dividing it into tokens, which can be individual words or groups of characters. One token is roughly equivalent to 4 characters or 0.75 words for normal English text. Please make sure that combined length of the text prompt and generated completion must not exceed the model’s maximum context length, which is typically 2048 tokens.
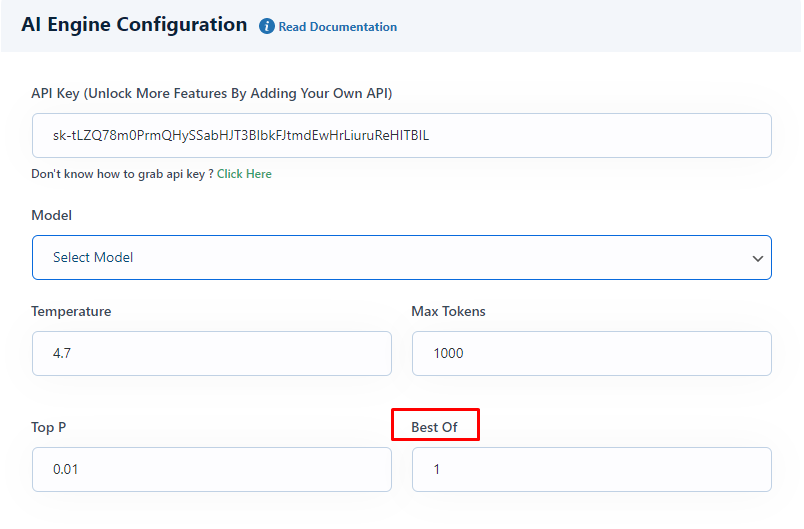
Top P Top P controls diversity using nucleus sampling. Value 0.5 means half of all likelihood weighted options are considered. You can adjust your top_p value in settings options of our plugin as shown below.
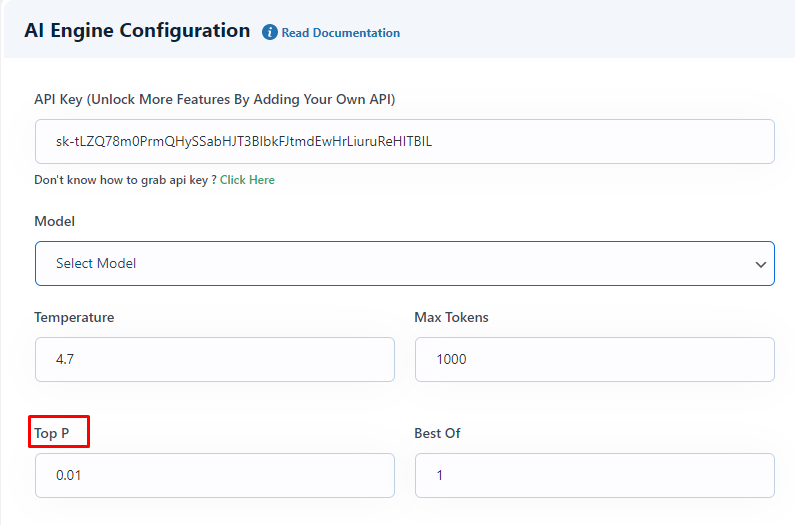
Best Of Best of settings generate multiple completions on server side and returns the best ones based on the highest log probability per token. Streaming will work when it was set to 1. You can customize this value from here.
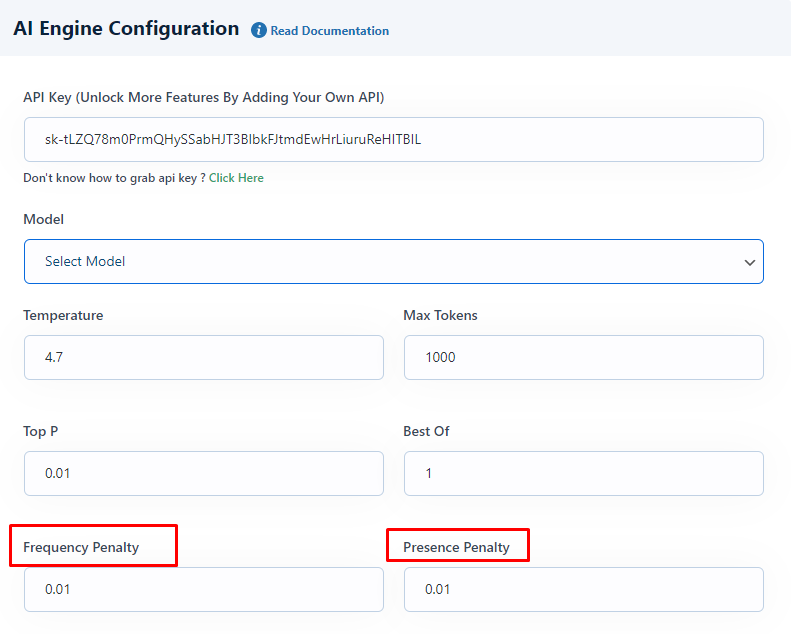
Frequency and Presence PenaltyFrequency Penalty value can be in between -2.0 and 2.0 and it impacts how the model penalizes new tokens based on their existing frequency in the text. To slightly reduce repetitive samples, you can keep reasonable values for the penalty coefficients around 0.1 to 1. Positive values will decrease the likelihood of the model repeating the same line.
Presence Penalty is between -2.0 and 2.0 and it impacts how the model penalizes new tokens based on whether they have appeared in the text so far. Positive values will increase the likelihood of the model talking about new topics.
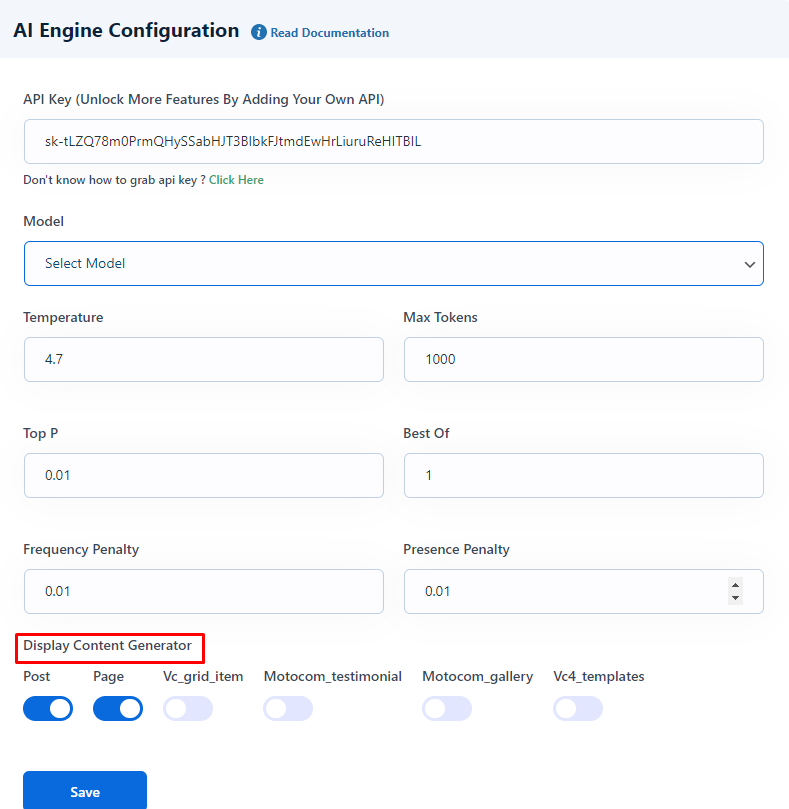
Display Content GeneratorYou can enable the options where you want to show the content generator section. You can enable to show it on blog Post, Page, custom posts like Movie, Trailer, Webseries, Tvshow, and Plans.
Auto Posting
This option allows you to create the schedule for the posts. With this setting you can create new schedule and delete the existing schedule.
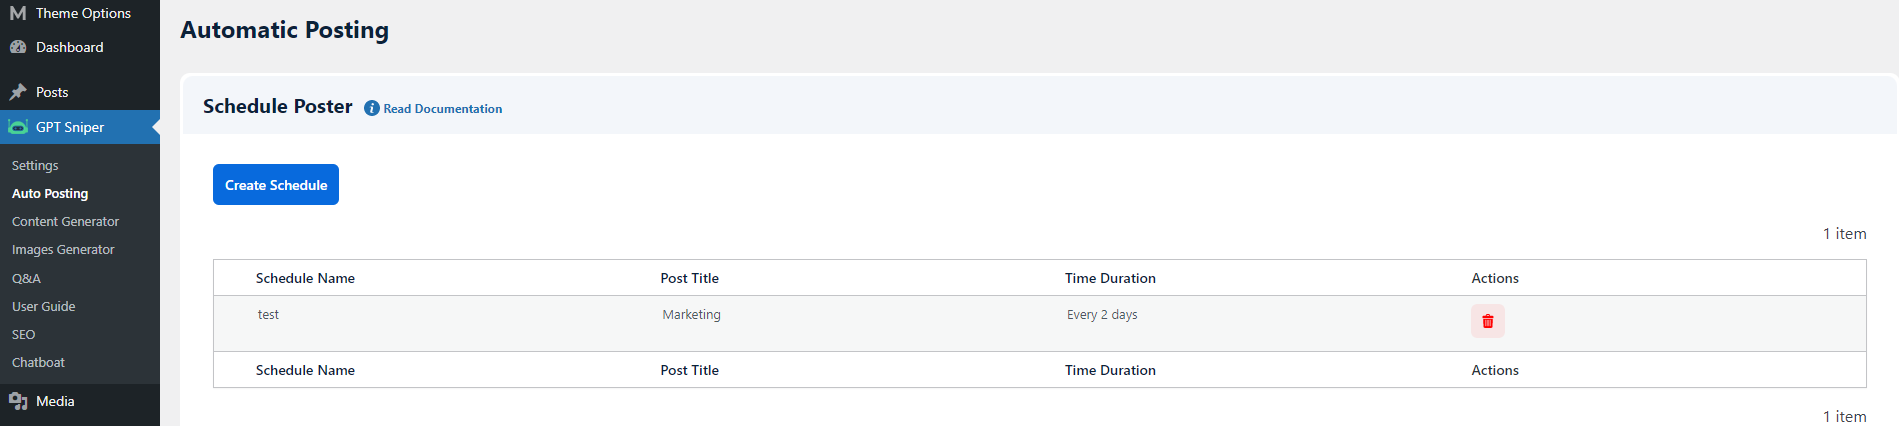
Create Schedule - To create new schedule, click on Create Schedule button, then a popup will appear containing various setting fields.
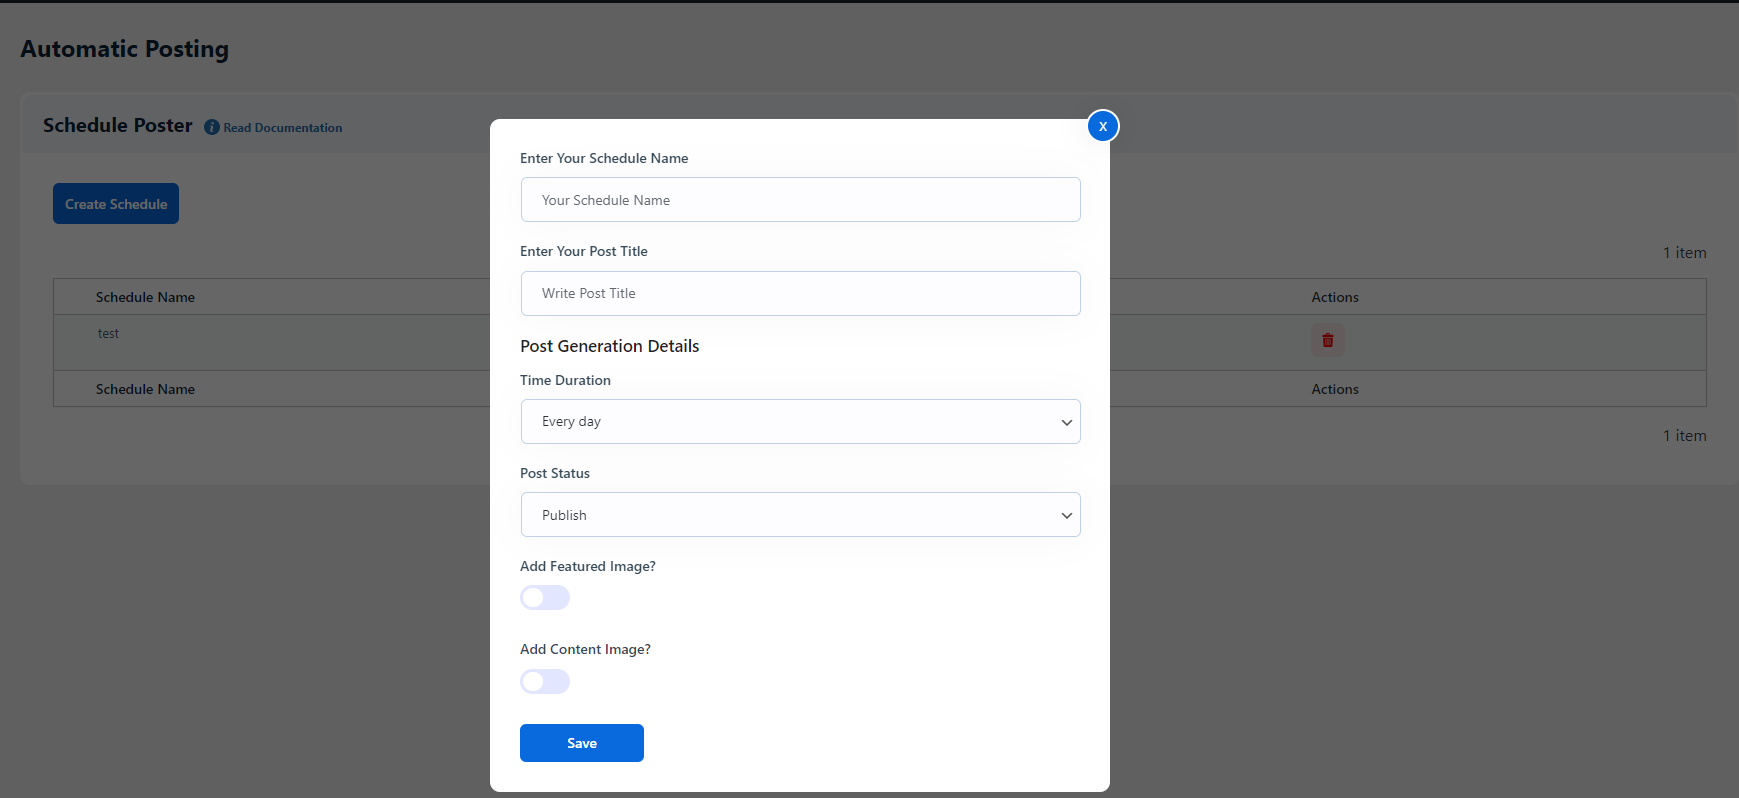
Enter Your Schedule Name - In this field, you can add schedule name.
Enter Your Keywords - In this field, you can enter keywords.
Time Duration - You can select the time duration from the options like everyday, 1 Every 2 days, etc.
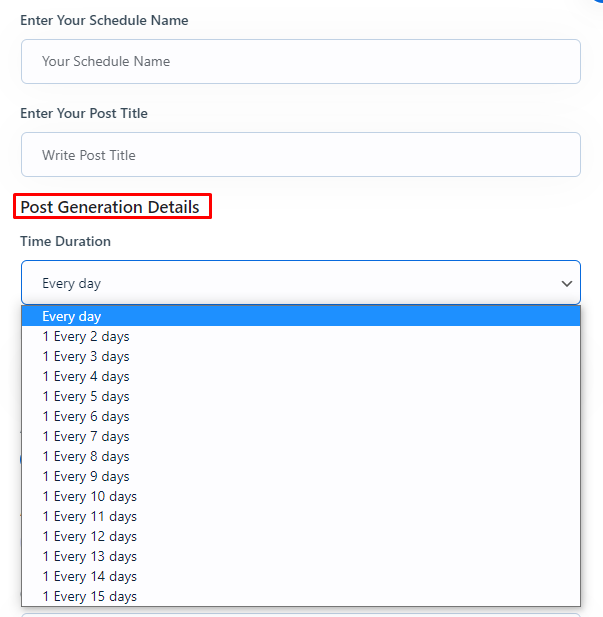
Post Status - You can select Post status either as Publish or Draft.
Add Featured Image - Enable this option to add featured image.
Add Content Image - Enable this option to add content image.
GPT Image Size - You can select the image size from the three given options ( Small, Medium, and Big)
You can track the scheduled posts using a third party plugin named WP Crontrol. For detailed description of this plugin, please Click here
Content Generator
This option allows you to generate the content based on the title entered and the selected language.
Title - Enter the title of the content that you want to search.
No. of Paragraphs - Select the number of paragraphs from the given options.
Language - Select the desired language from this option.
Add Image - You can enable Add Image option if you want to add an image with content.
Image Size - You can select the image size from three given options ( Small, Medium, and Big)
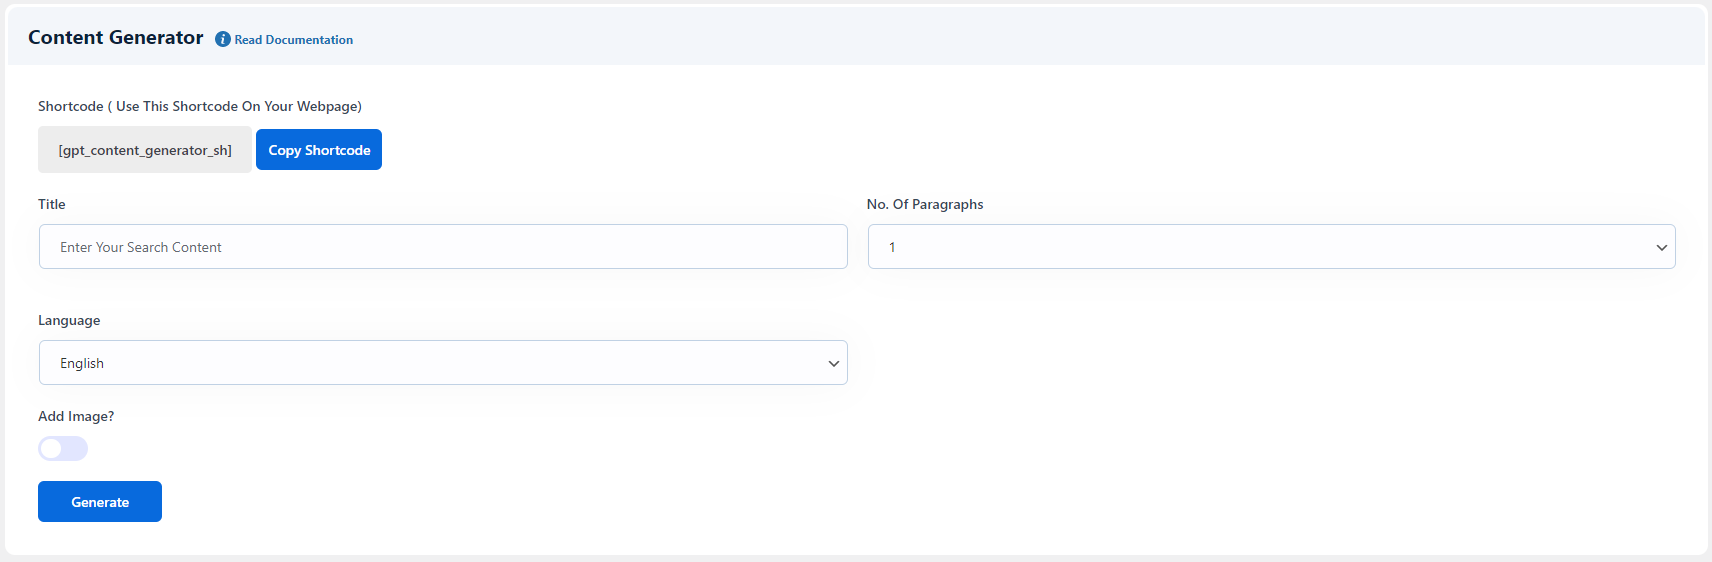
You can use this shortcode [gpt_content_generator_sh] on your webpage to show the content generator on frontend.
How to add shortcode in a page
Step 1 Navigate to WP dashboard >> Pages >> Add New
Step 2 Here you can add this shortcode [gpt_content_generator_sh] and publish the page. You can also add the shortcode on the existing page.
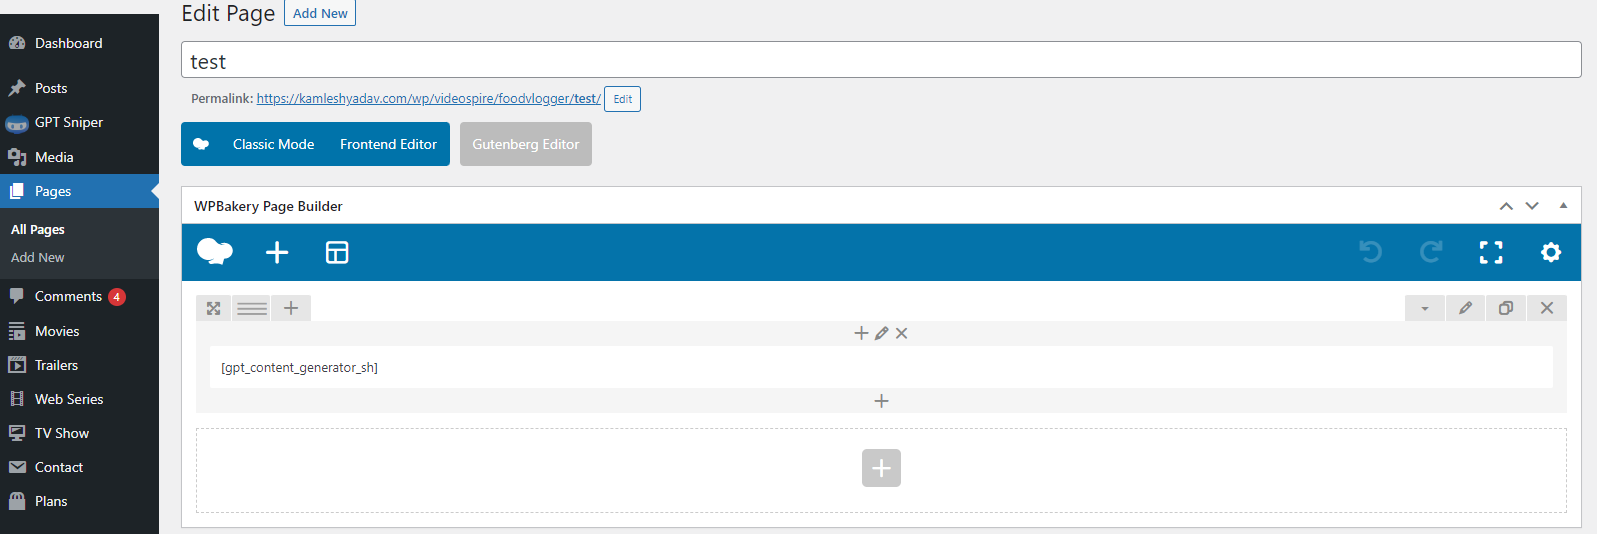
How to use Content Generator in a page
Step 1 Navigate to WP dashboard >> Pages >> Add New
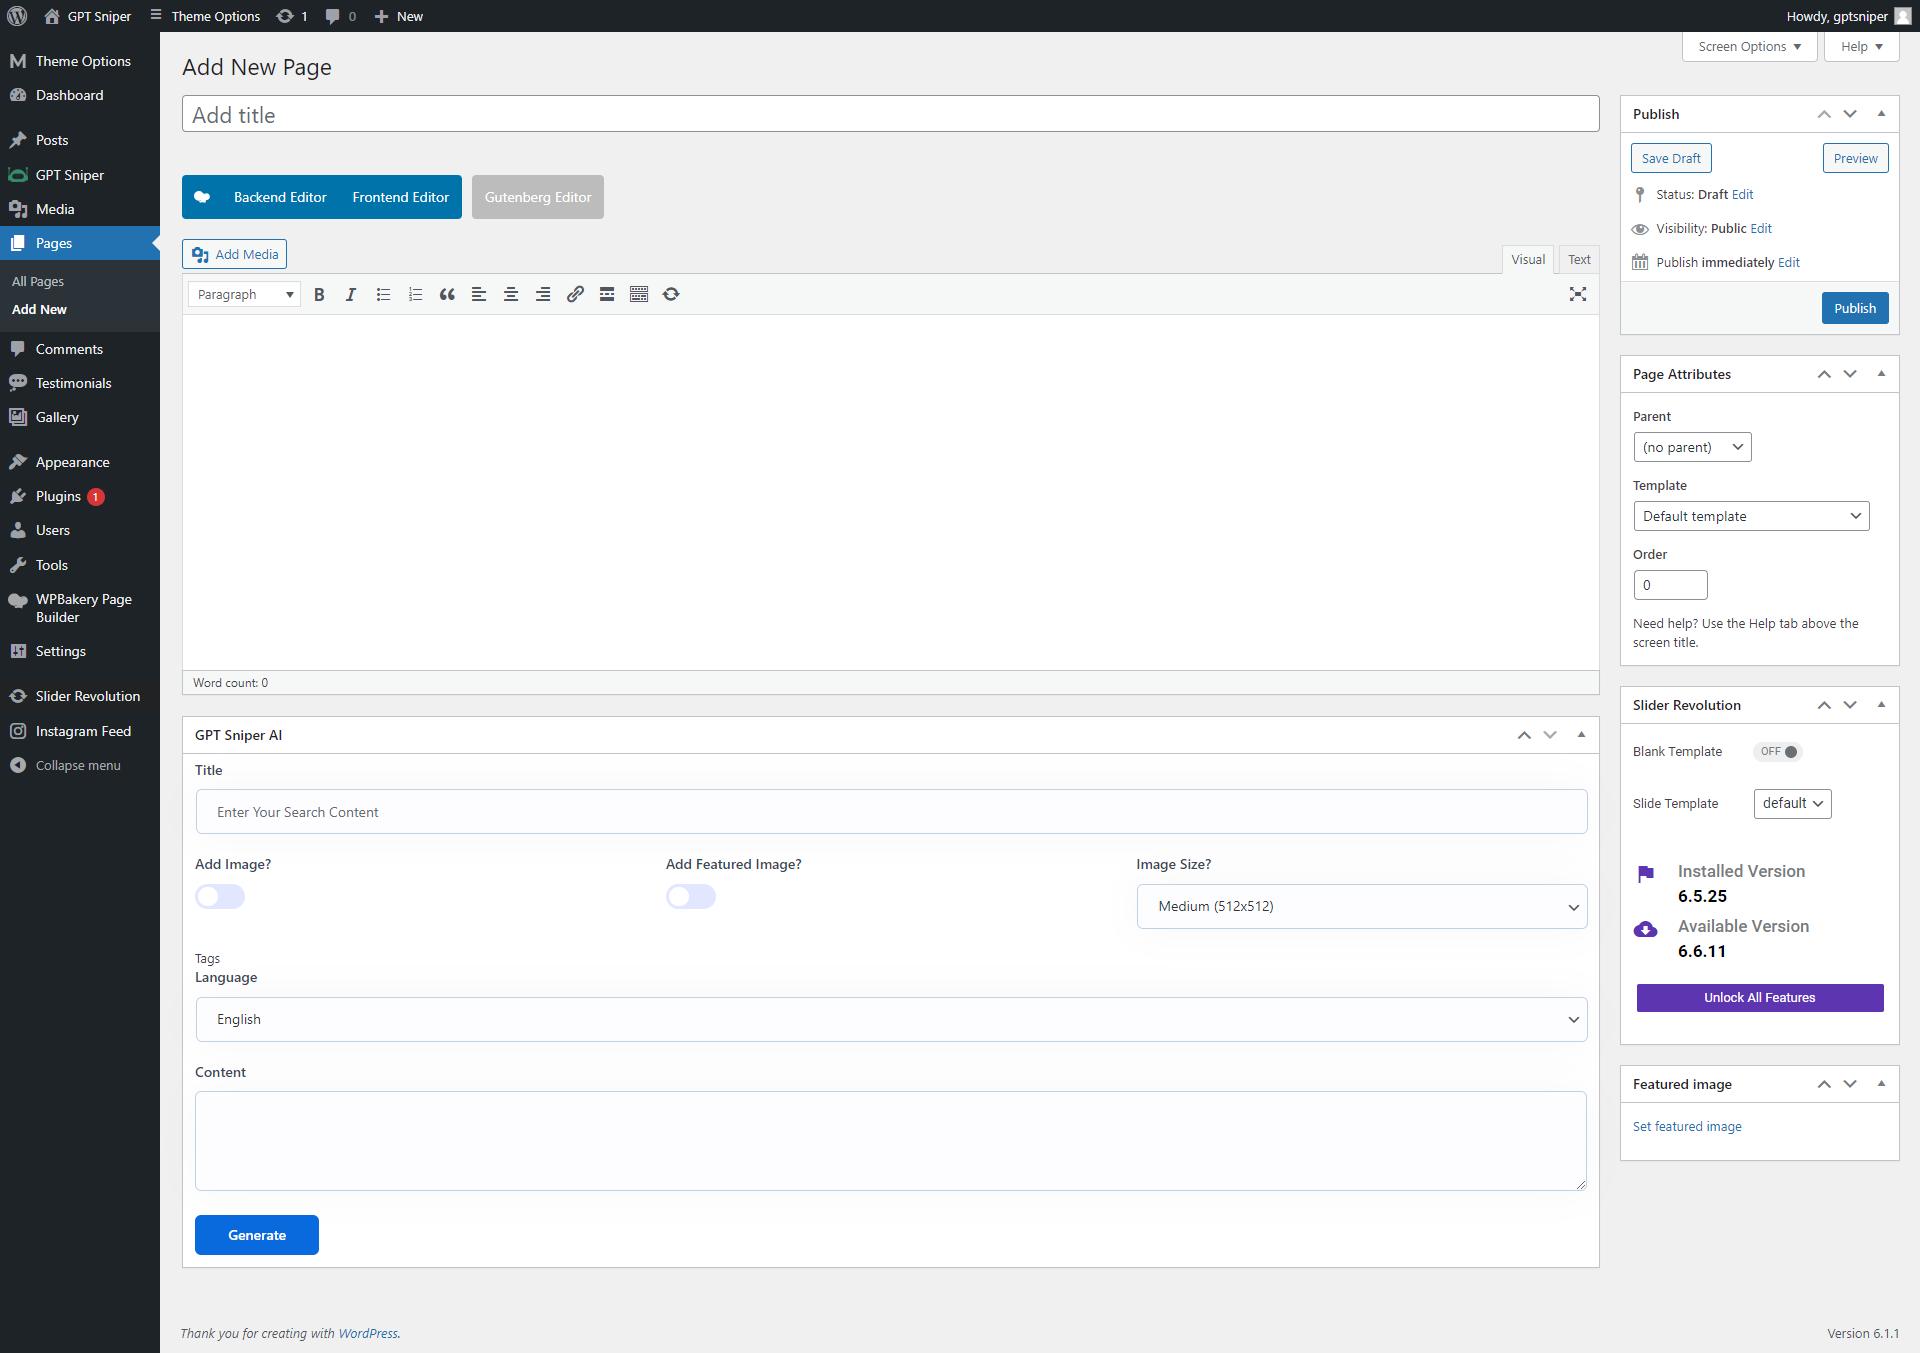
Step 2 Here you will get Gpt Sniper AI section like this. In this, you can enter title, select no. of paragraphs and desired language, enable image and featured image option if needed and select image size from the available options. After entering all the details click on Generate Button. You can use the generated content at the desired location.
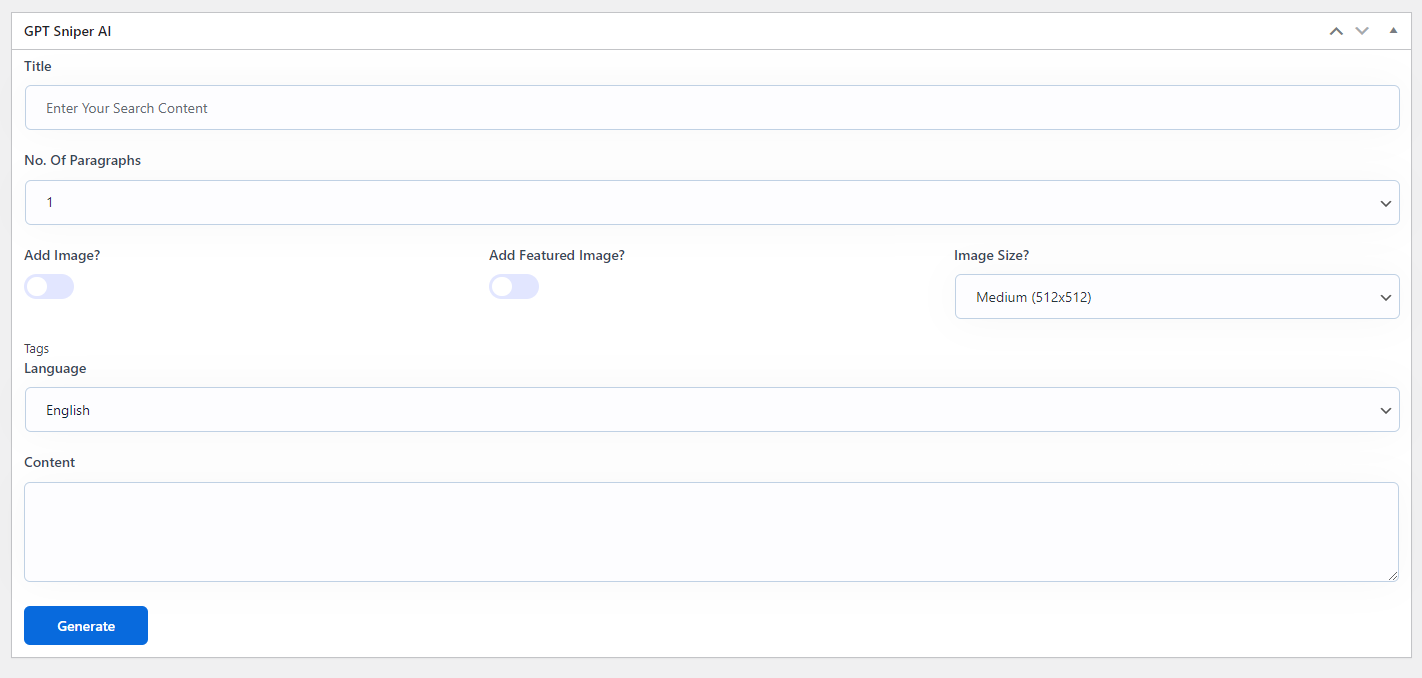
How to use Content Generator in a post
Step 1 Navigate to WP dashboard >> Posts >> Add New.
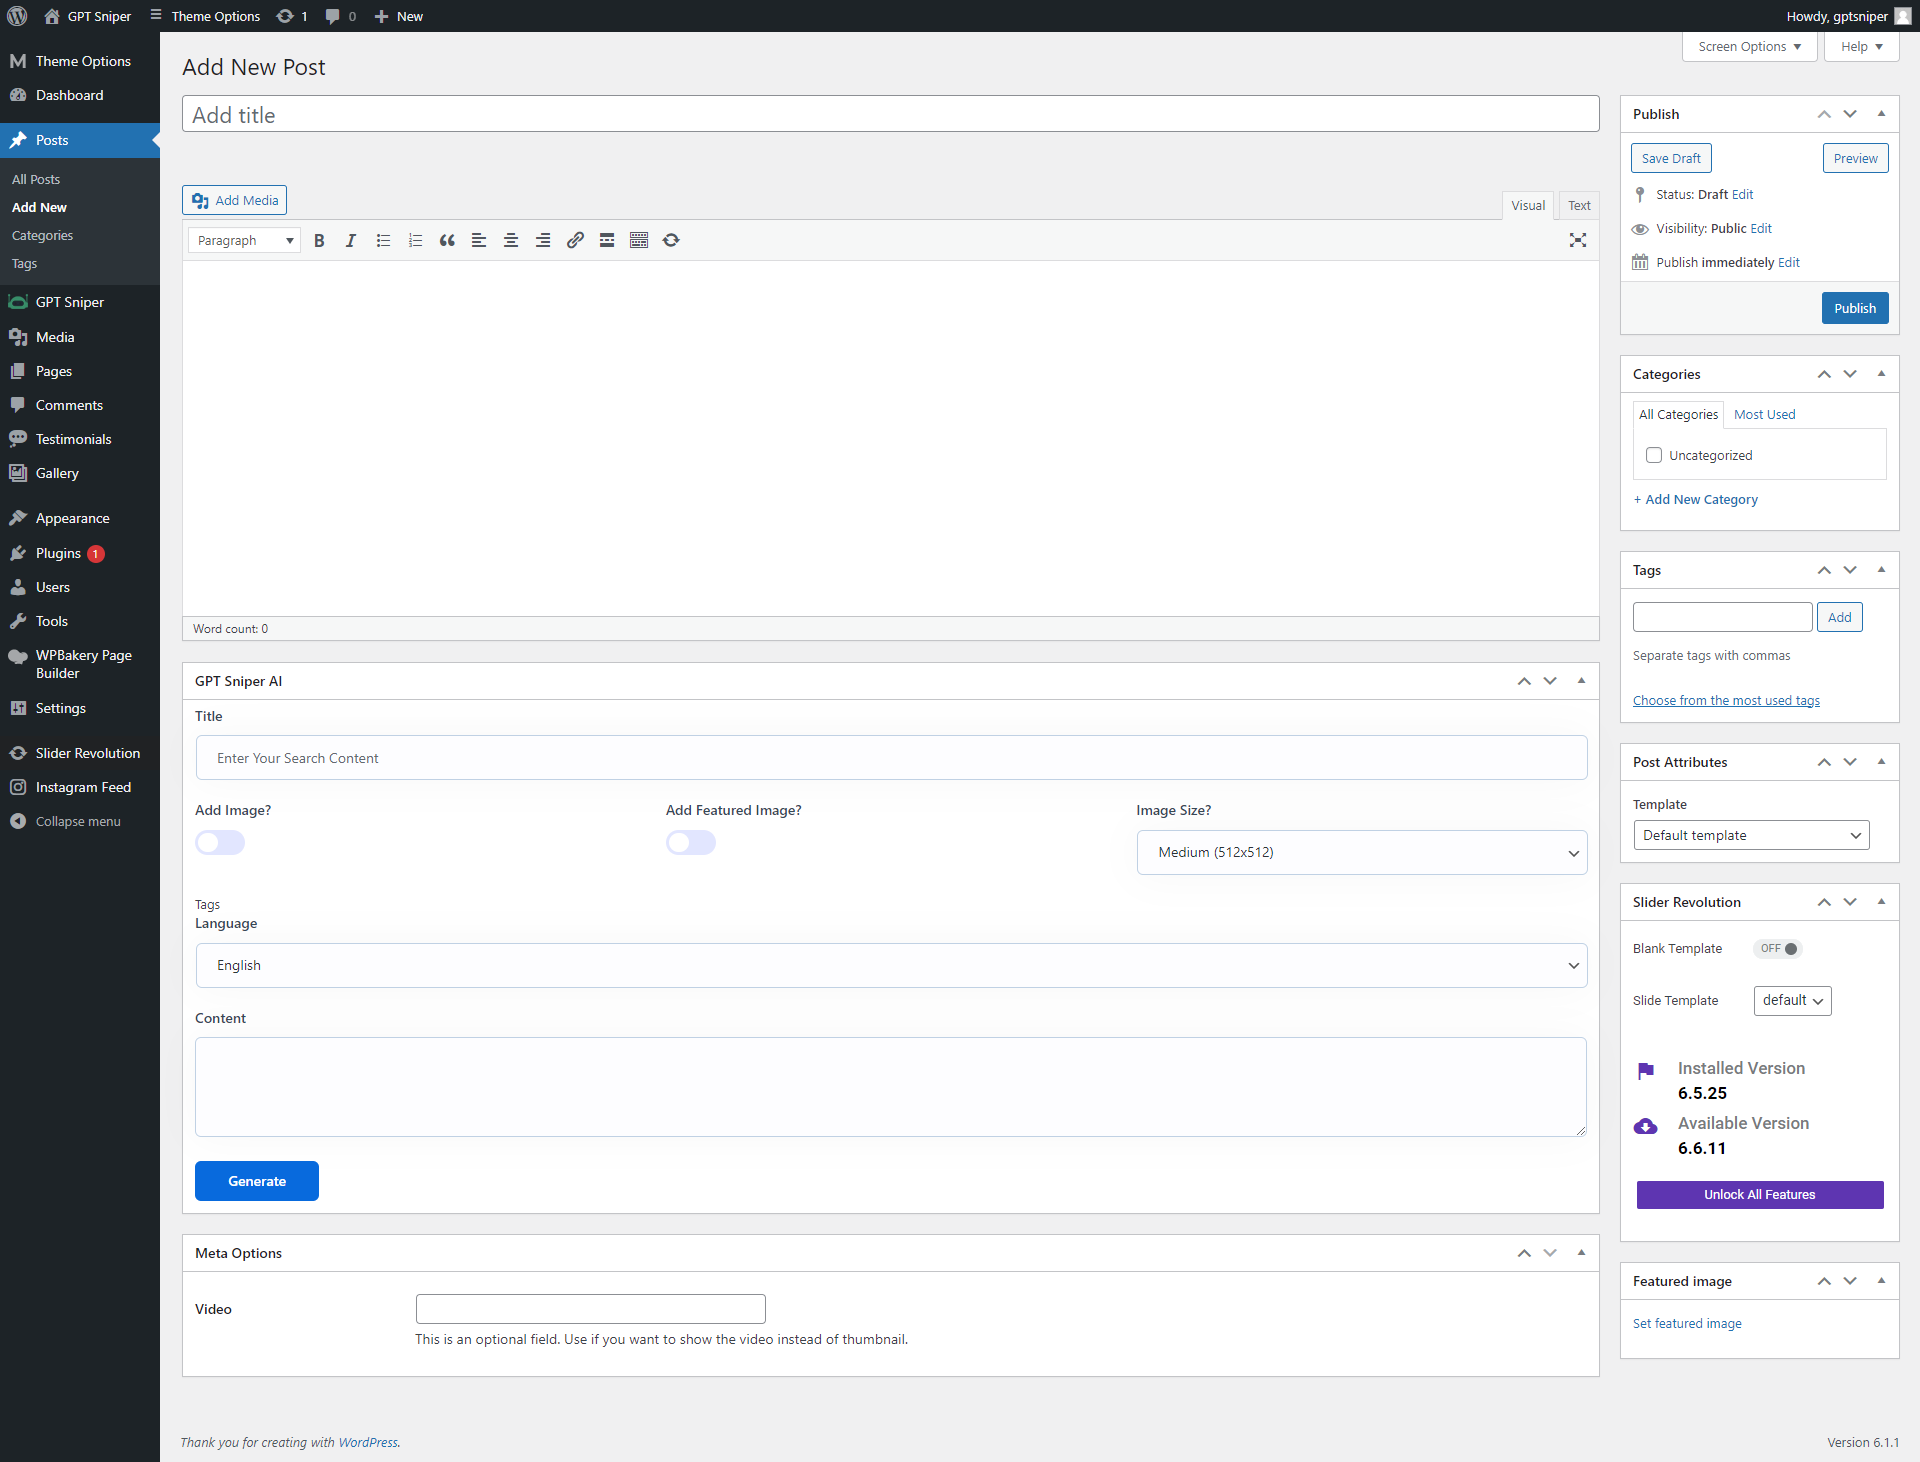
Step 2 Here you will get Gpt Sniper AI section like this. In this, you can enter title, select no. of paragraphs and desired language, enable image and featured image option if needed and select image size from the available options. After entering all the details click on Generate Button. You can use the generated content at the desired location.
Featured Image option
1. Navigate to WP dashboard >> Posts >> Add New. Here you will see Featured Image option at the right - side. Click on set featured image option.
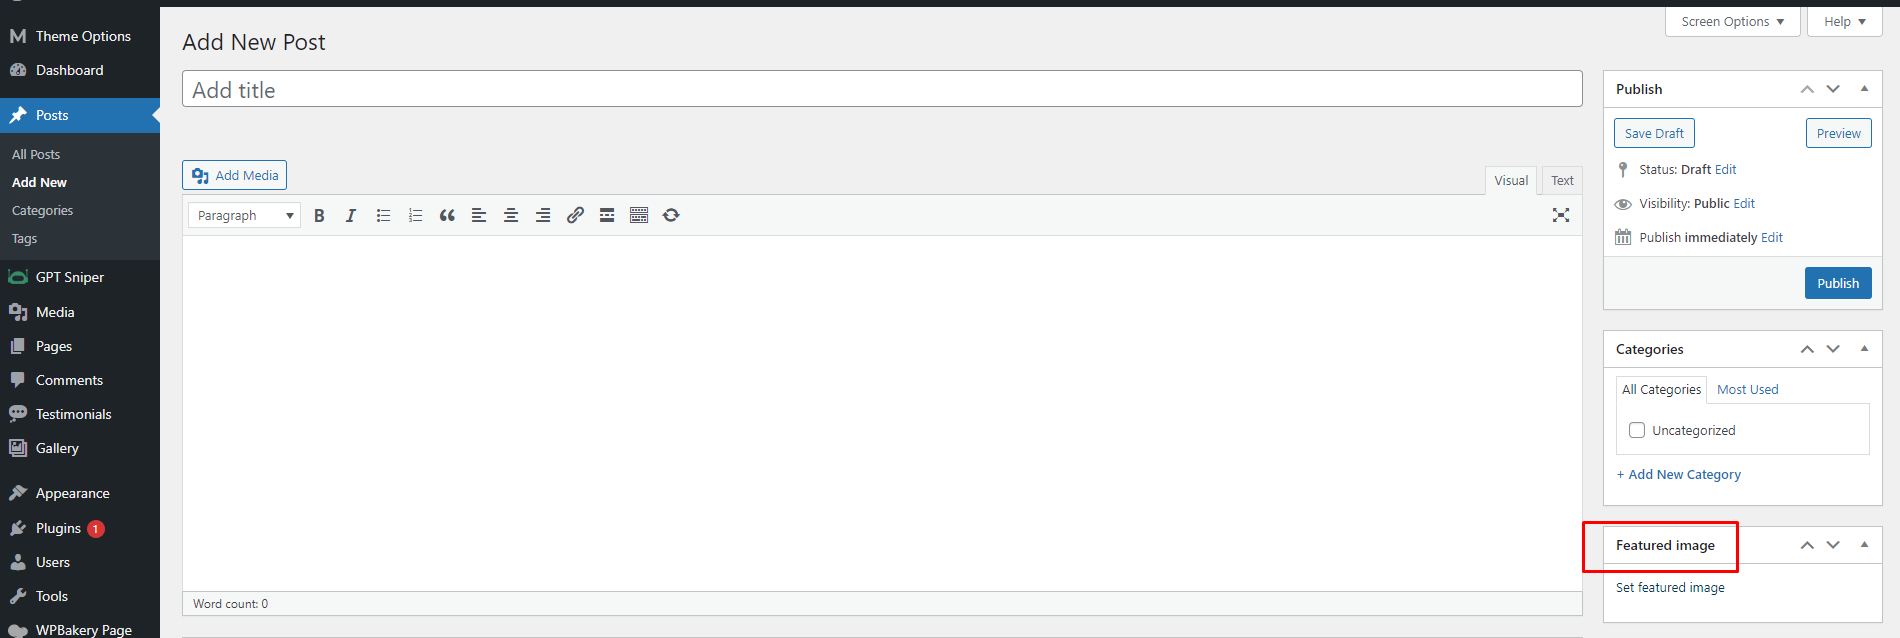
2. You will see GPT Sniper option in it. Enter the keyword in search bar and click on Find Image button.
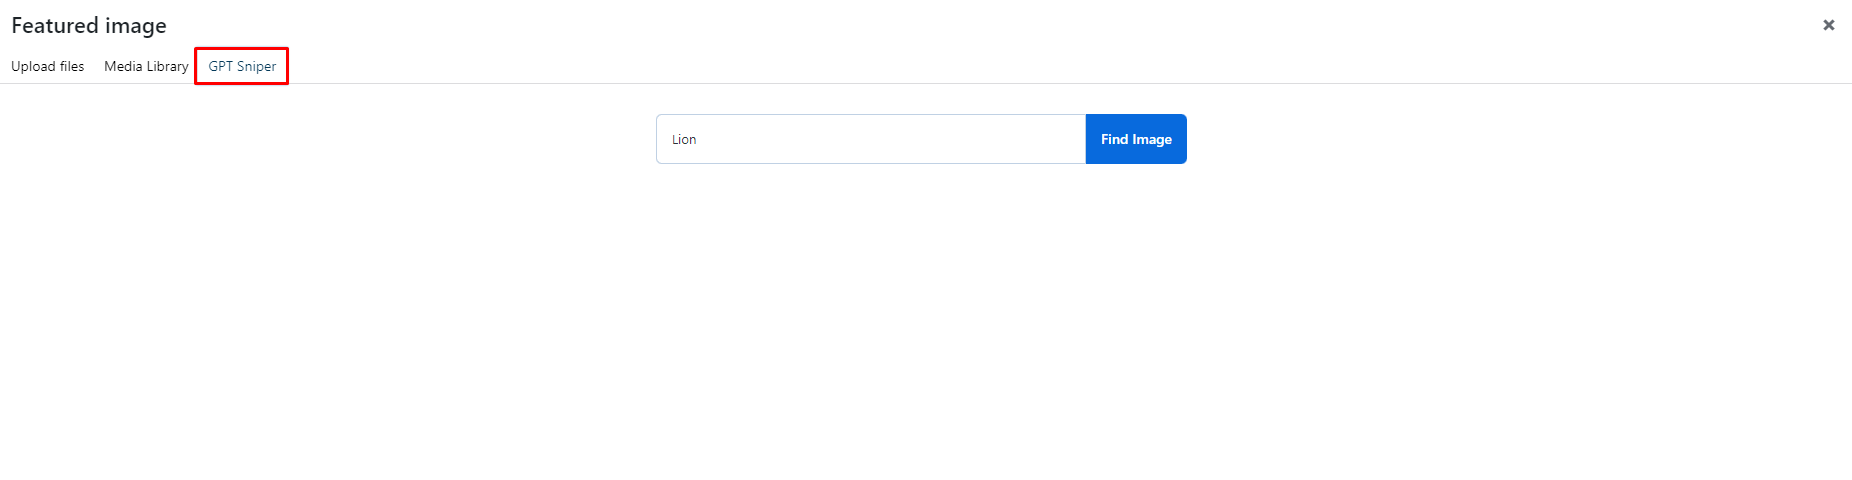
3. On clicking, you will get multiple images and can use any of the image as a featured image in your post.
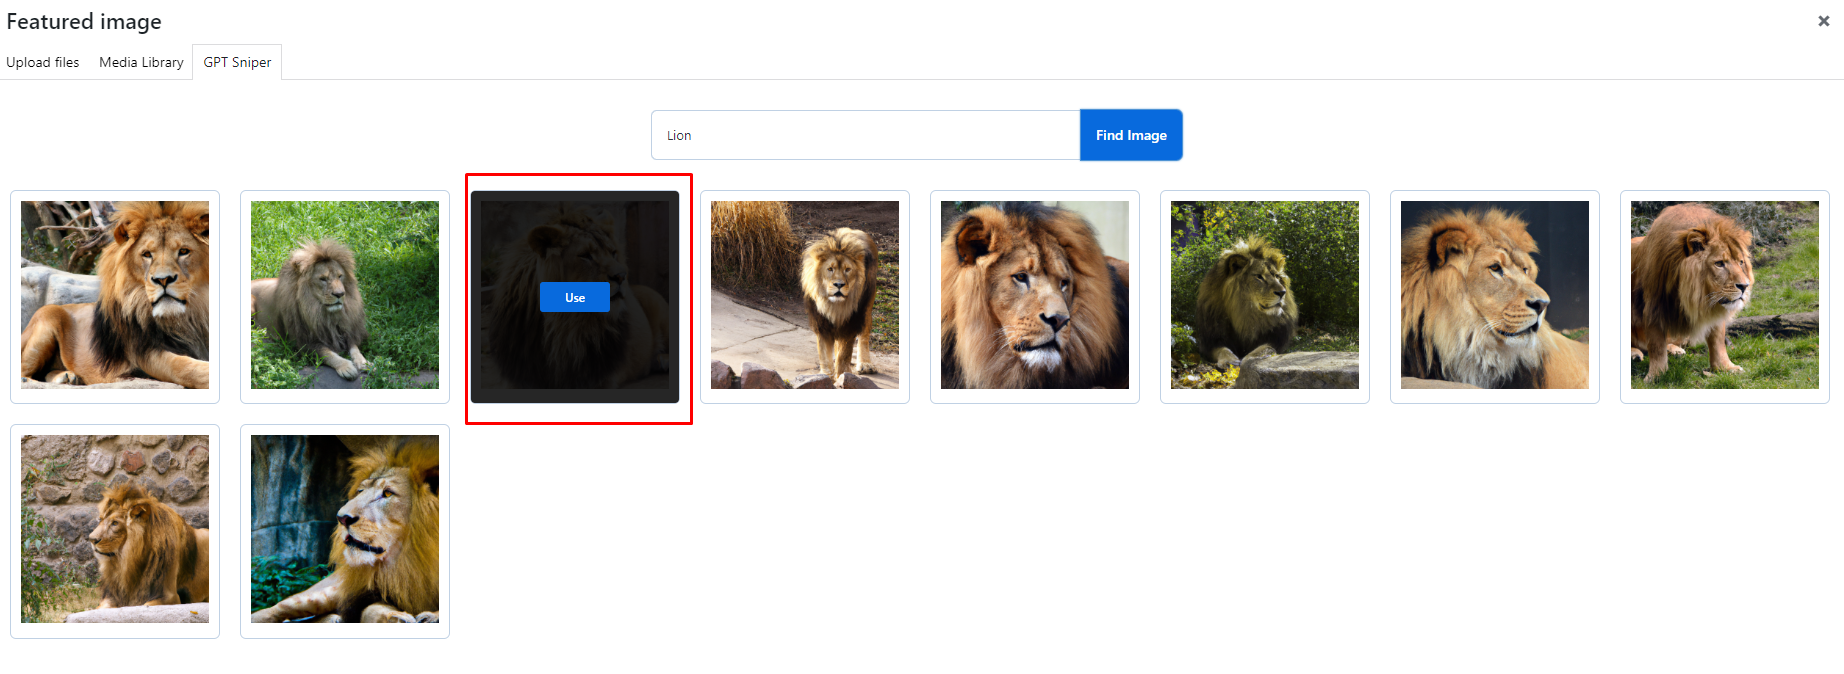
Note : Similarly you can add featured image to any of the custom post type.
Images Generator
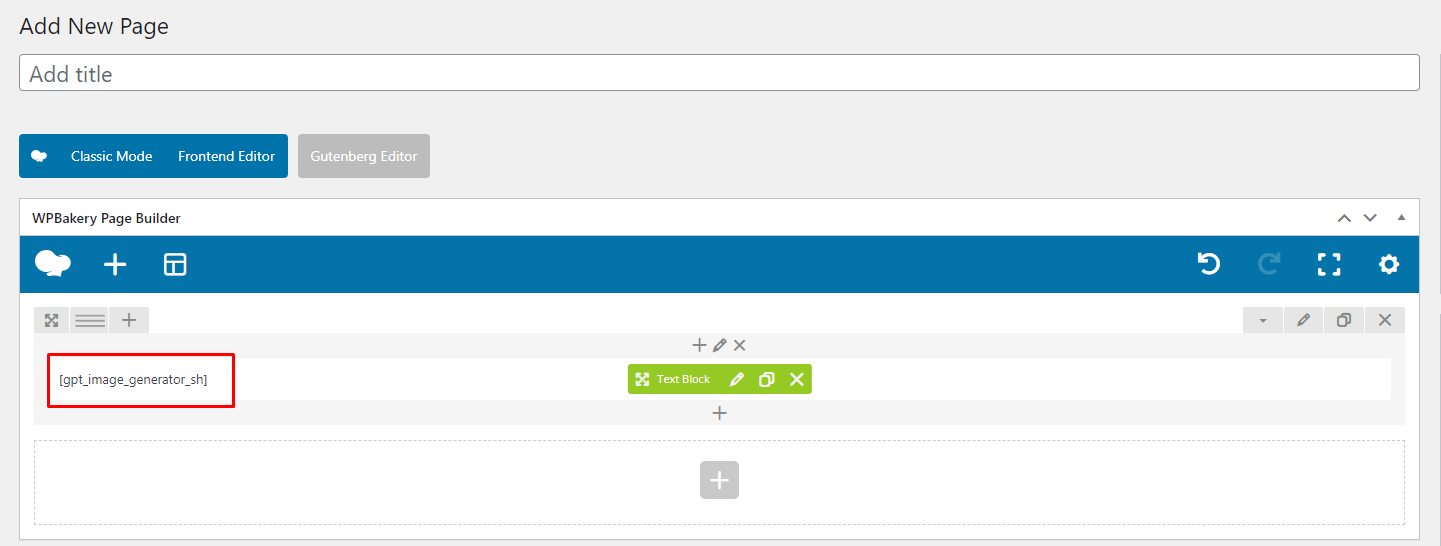
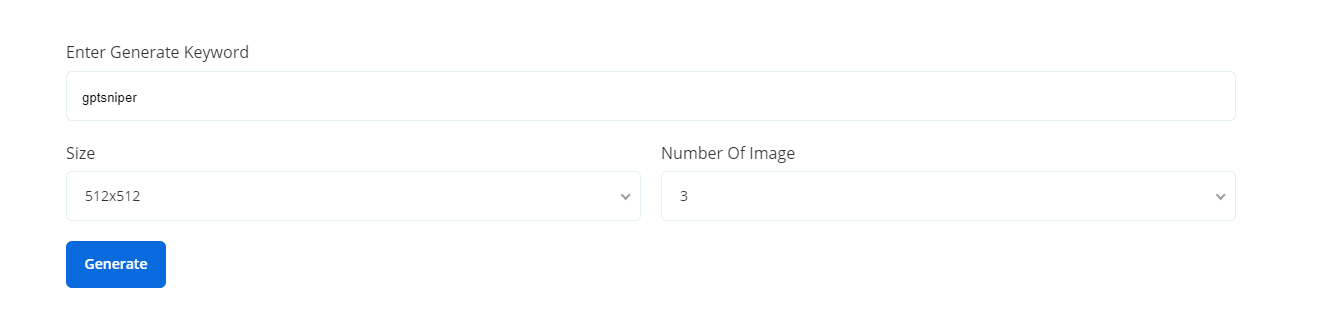
The image Generator feature helps in image generation. This option allows you to enter an image keyword, and select the desired filters like the size of the images, the number of images to generate, the artist, style, lighting, resolution, and many more. You can use this shortcode [gpt_image_generator_sh] on your webpage to show the image generator on frontend.
Note: Please make sure to enter the image keyword because it serves as a basis for image generation.
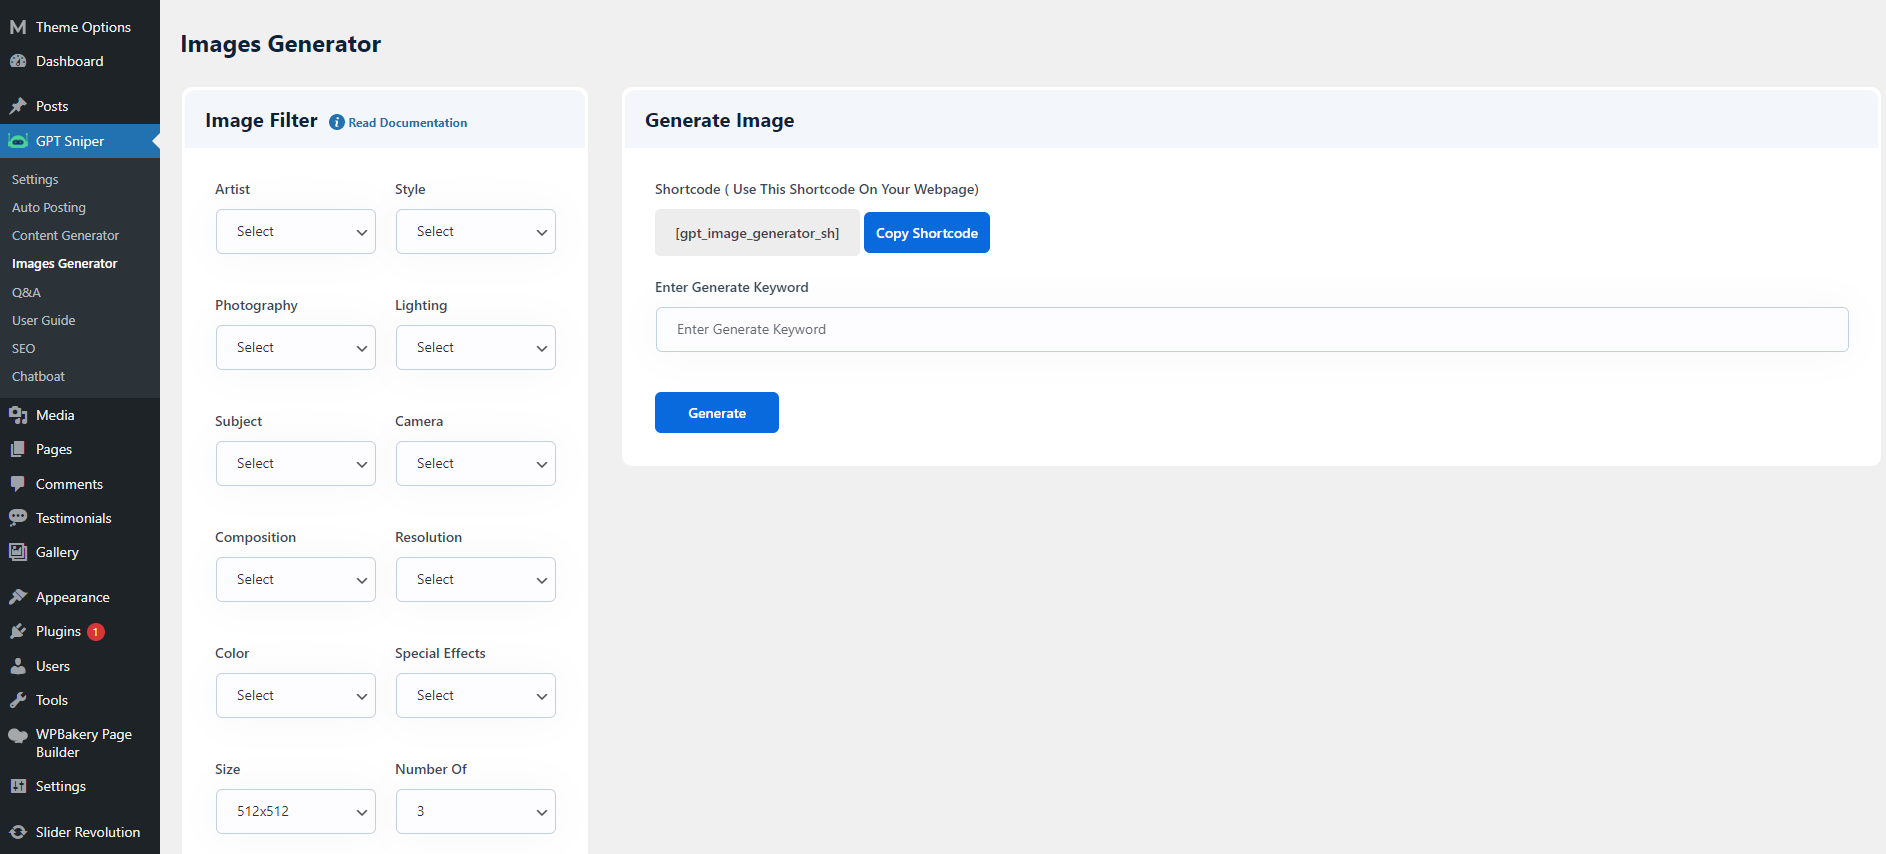
Image Filter Image Filter option allows you to filter the image on the basis of various parameters like Artist, Style, Photography, Lighting, Subject, Camera, Composition, Resolution,Color, Special Effects, Size, and Number of Images to generate.
You can select the images with the following options : 256x256, 512x512, and 1024x1024.
Number of images to generate ranges from 1 to 10. The Artist filter includes Salvador Dali, Leonardo da Vinci, Frida Kahlo and many more.
There are several Subject option are available to choose from, including Landscapes, People, Animals, Food, Cars and more.
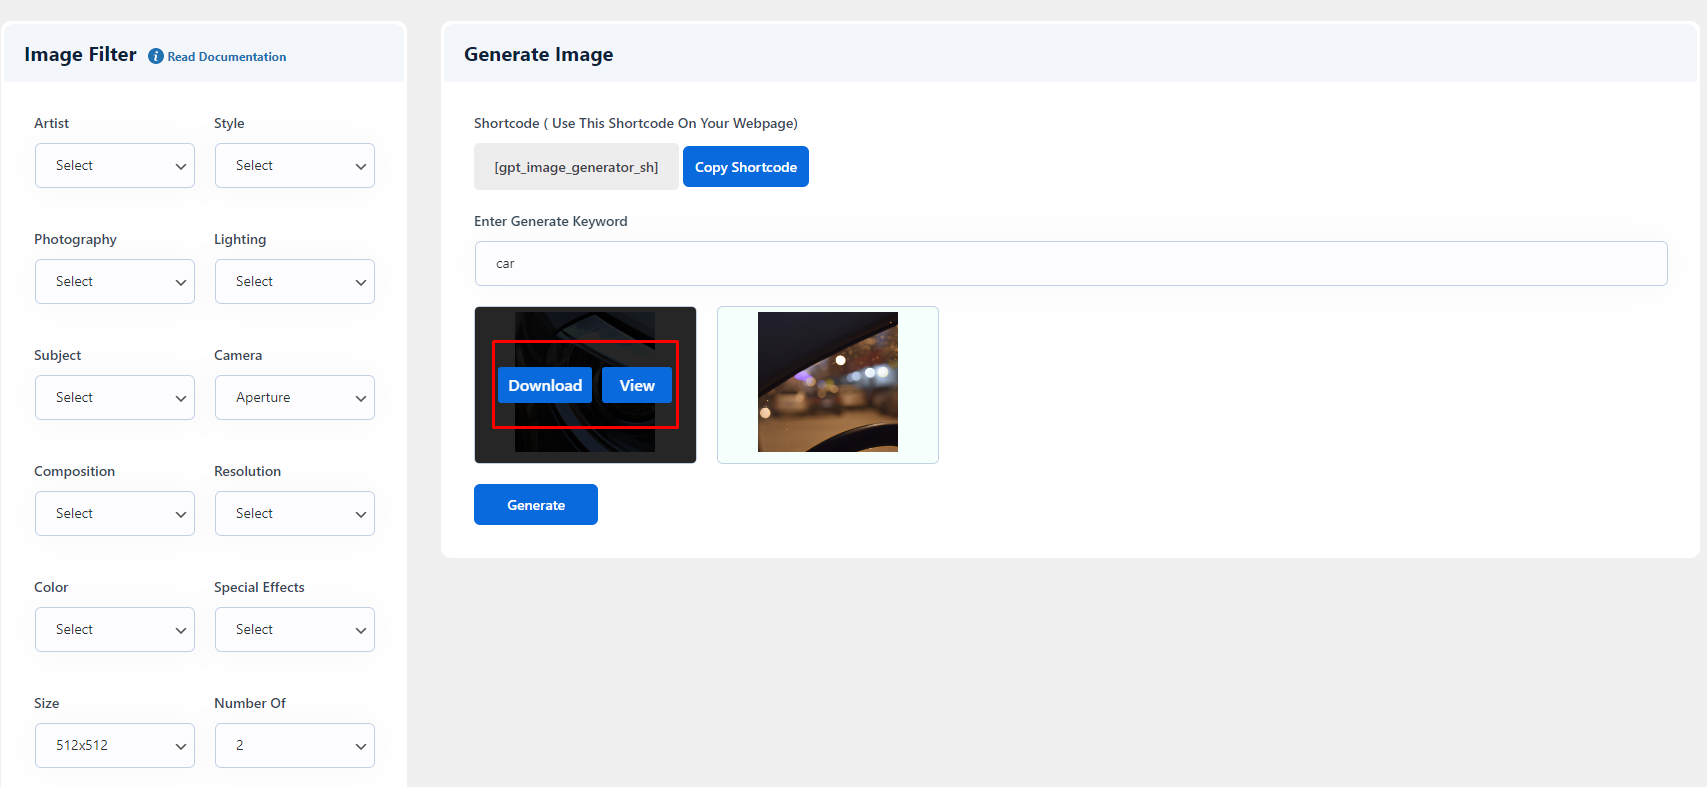
Generate Image You need to enter the image keyword here, and after selecting the desired filters click on Generate button. Once images get generated, hover on the image, and you will get two options: Download and View. You can select any of the desired options.
The Download option allows you to download images in the media library, and with the View, you can preview images before downloading.
How to add shortcode in a page
Step 1 Navigate to WP dashboard >> Pages >> Add New
Step 2 Here you can add this shortcode [gpt_image_generator_sh] and publish the page. You can also add the shortcode on the existing page.
It will look like this on frontend.
Q&A
Q & A is an extraordinary feature of the plugin. It allows you to add relevant Q&A to your content. You can generate a list of questions and answers by simply entering questions one by one. Along with this, you can copy the shortcode and can show it on the desired webpage.
It consist of two settings : Q&A Settings and Ask Questions
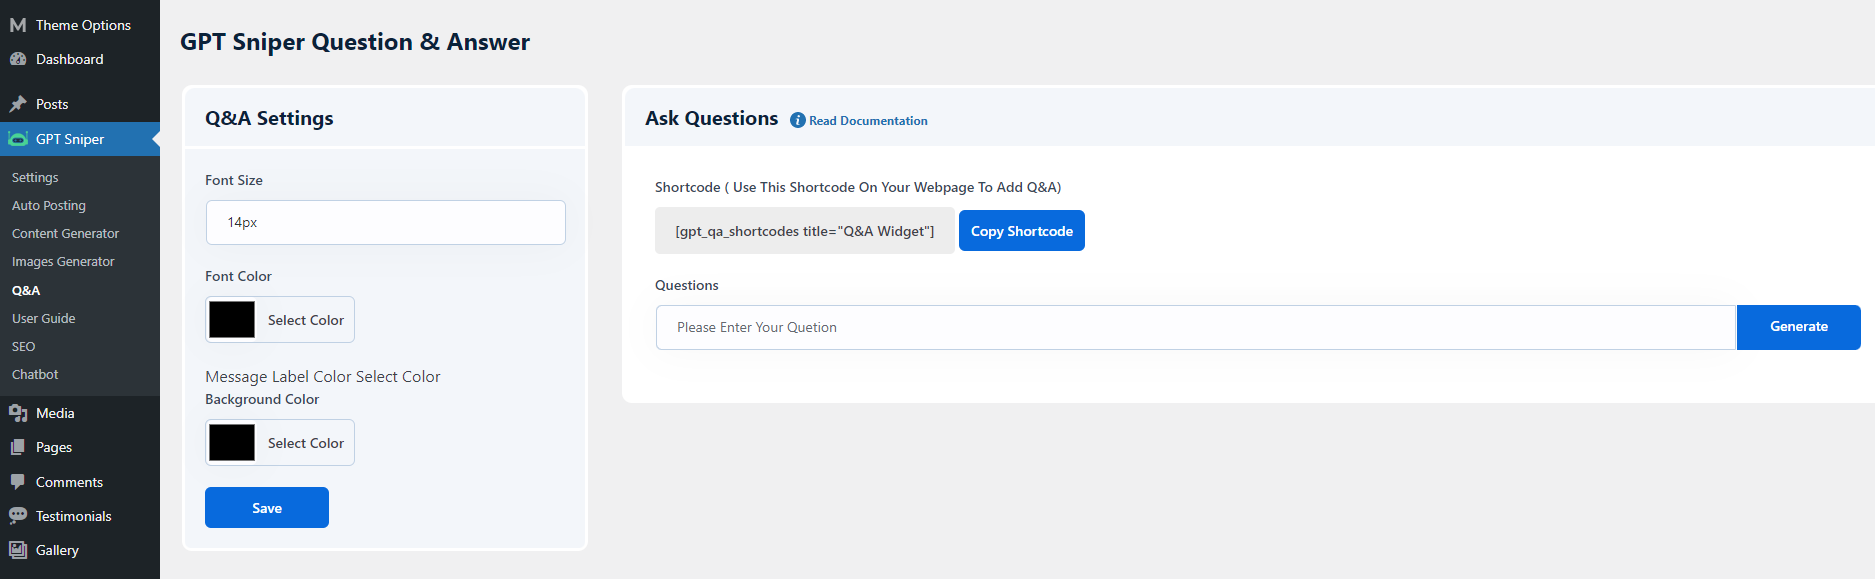
Q&A Settings - This setting allows you to customize the font size, font color, and background color of Q&A. These changes will be reflected on the frontend page on which you have added Q&A shortcode.
Ask Questions - This setting contains Q&A shortcode which can be used to show Q&A section on the desired page. Along with this you can also generate questions and answers here also
Enter the question and click on Generate button.
How to Add Q&A in a page
To add a Q&A to your website, please add the shortcode[gpt_qa_shortcodes title="Q&A Widget"] in the desired page like this.

SEO
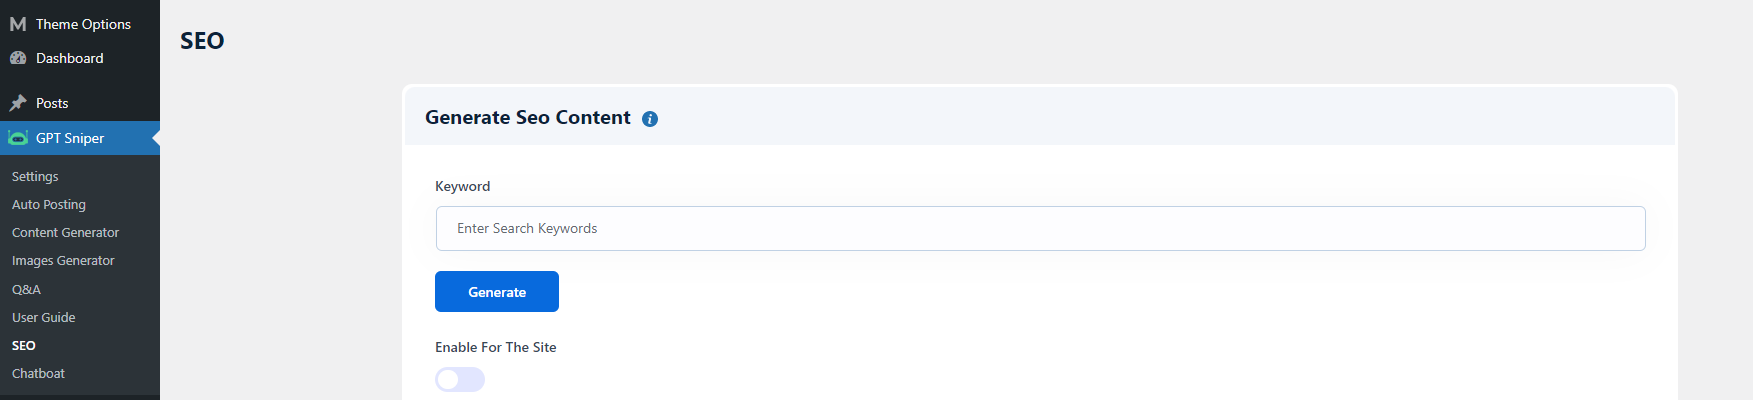
The SEO option enables you to generate SEO-optimized content. For this, you need to enter search keywords. After entering the keyword, click on Generate button. The plugin will automatically generate Page Title and Meta Description.
Enable for Site You can enable this option to show the Meta Description and Page Title in the HTML code of the page.
Chatbot
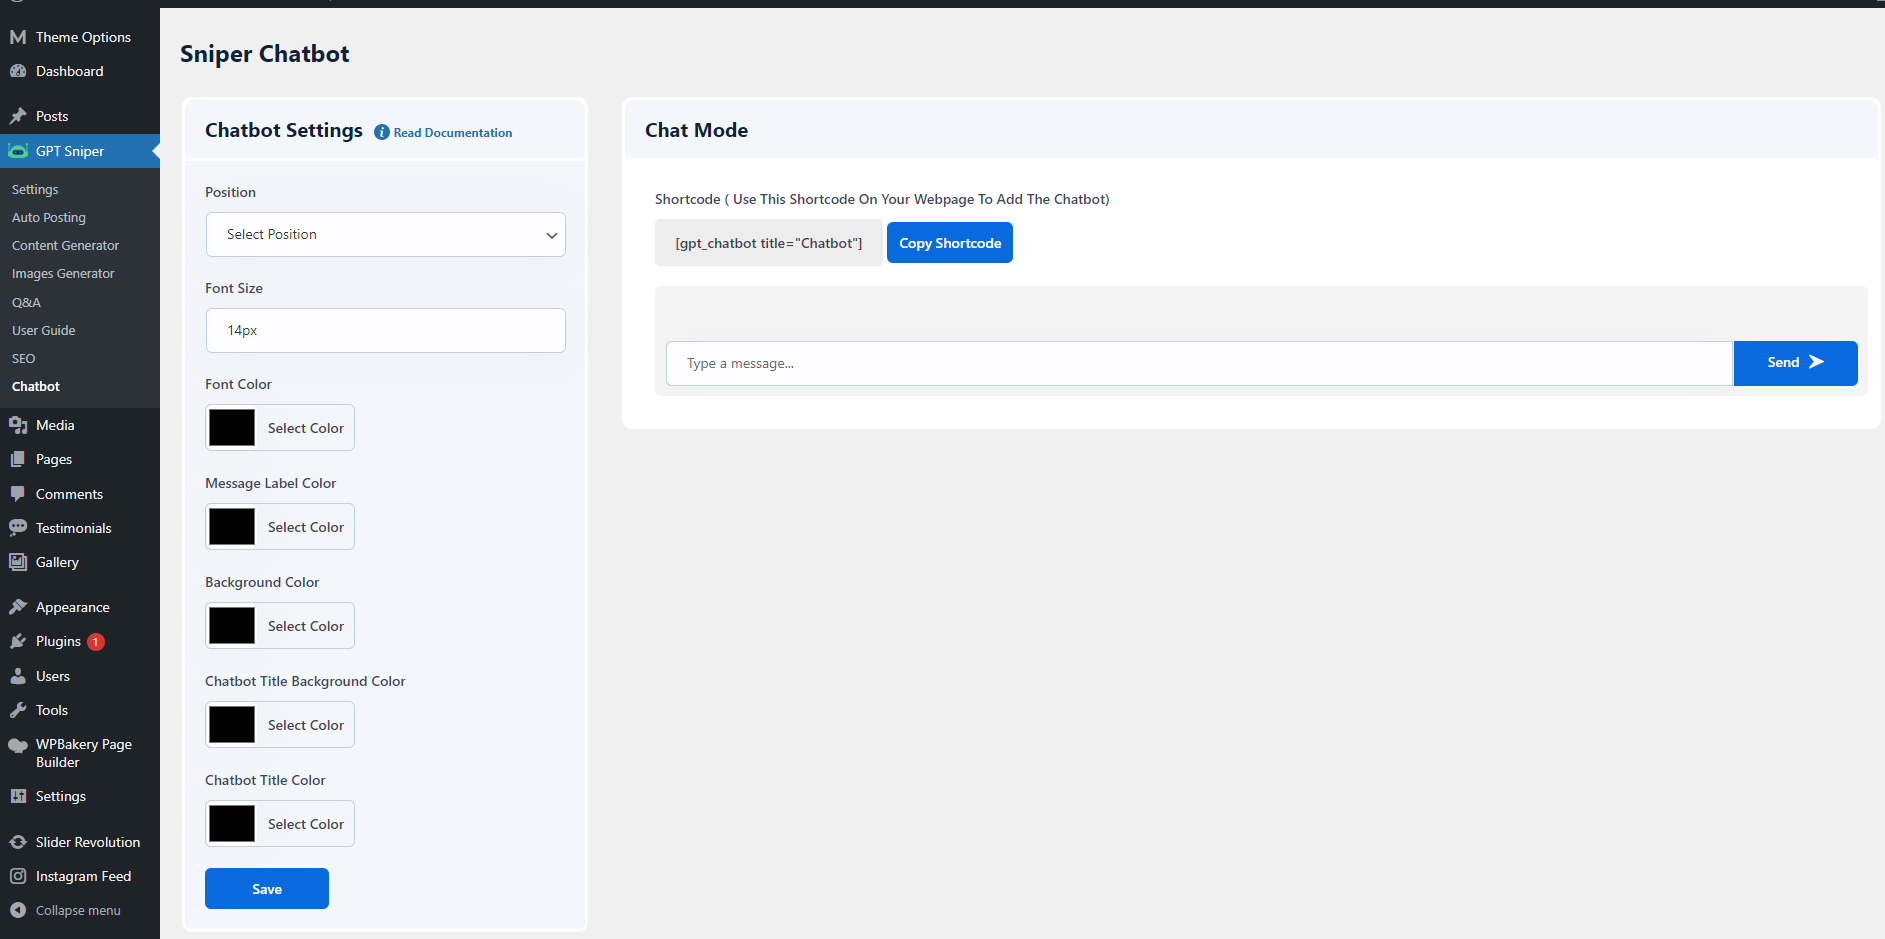
Chatbot feature consists of Chatbot Settings and Chat Mode.
Chatbot Settings - This setting allows you to customize the chatbot position either on Left Side or Right Side, and enter the font size in which you want to display the text. Along with this, you can also adjust the Font color, Message Label color, and Background color.
Chat Mode This setting contains chatbot shortcode which can be used to show chatbot on the desired page.
How to Add Chatbot in a page
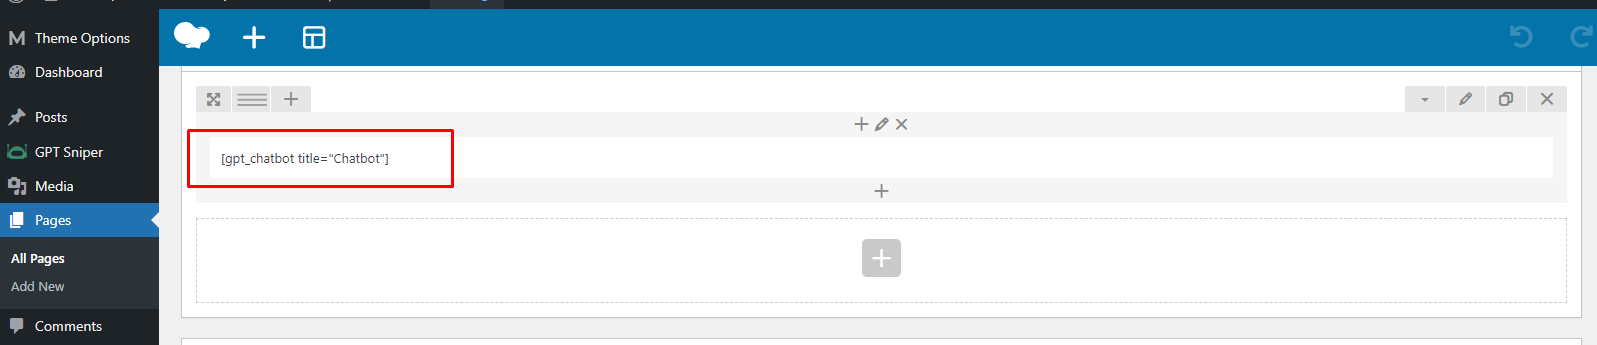
To add a chatbot to your website, please add the shortcode [gpt_chatbot title="Chatbot"] in the desired page like this.
Help And Support
In order to receive a technical support assistance, you need to have a valid purchase code. To get the code, please navigate to your ThemeForest "Downloads" page and click on the theme download link.
After getting the Purchase code, please follow the steps mentioned on the link click Here to get your product verified. And then share your Purchase code and token ID with the support team.
If you have any questions that are beyond the reach of this help file, feel free to contact us. We will respond as soon as possible (within 24 – 48 hours, usually faster). We are open from 10am to 7pm (IST), from Monday till Friday.
NOTE: As authors of this theme we do provide support only for the theme-related features.
Outro
Thank you for your purchase. If you have any questions that are beyond the scope of this help file, please contact us through support@pixelnx.com
Once again, thank you so much for purchasing this script. As I said at the beginning, I'd be glad to help you if you have any questions relating to this script. No guarantees, but I'll do my best to assist. If you have a more general question relating to the script, you might consider visiting the forums and asking your question in the "Item Discussion" section.